
Call Smith Builders to set up a free estimate for your next project now: 801-647-7123.
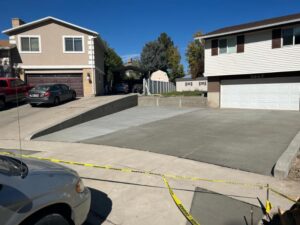
Installing a concrete driveway in North Salt Lake is a significant investment that enhances your home’s curb appeal and functionality. Understanding the installation process can help you prepare for what to expect and ensure a smooth project from start to finish. Here’s a step-by-step guide to the process of installing a concrete driveway.
- Initial Planning and Permits
- Site Preparation
- Sub-Base and Base Installation
- Formwork and Reinforcement
- Pouring the Concrete
- Finishing
- Curing
- Sealing and Maintenance
1. Initial Planning and Permits
Before any physical work begins, thorough planning is crucial. This includes:
- Design and Layout: Decide on the driveway’s size, shape, and location. Consider any existing landscaping and the overall aesthetic of your property.
- Permits: Check with North Salt Lake’s local building department to determine if you need any permits for your driveway installation. Ensuring all paperwork is in order will prevent any legal issues.
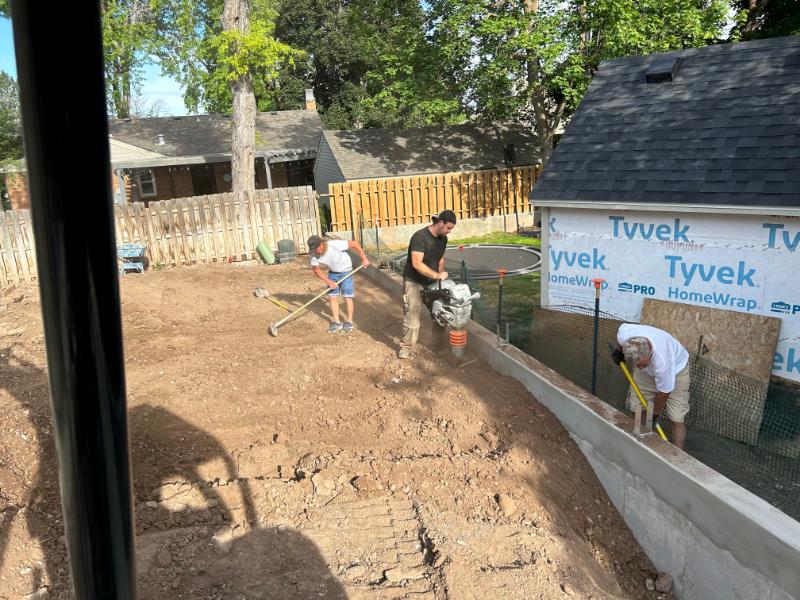
2. Site Preparation
Proper site preparation sets the foundation for a durable concrete driveway.
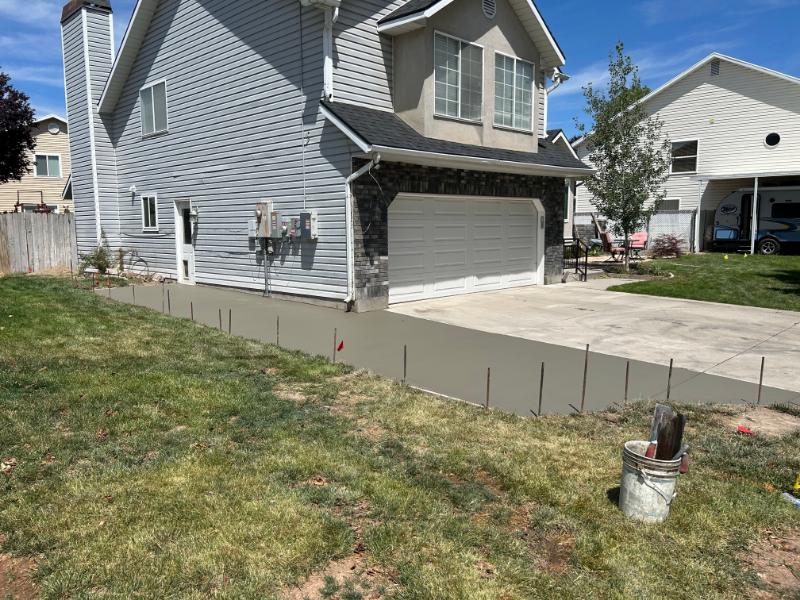
- Clearing and Excavation: Remove any existing driveway materials, vegetation, and debris from the area. Excavation is then done to the appropriate depth, usually around 6-12 inches, depending on soil conditions and the intended use of the driveway.
- Grading: Grade the site to ensure proper drainage, preventing water from pooling on the driveway surface. The area should slope slightly away from structures to direct water runoff.
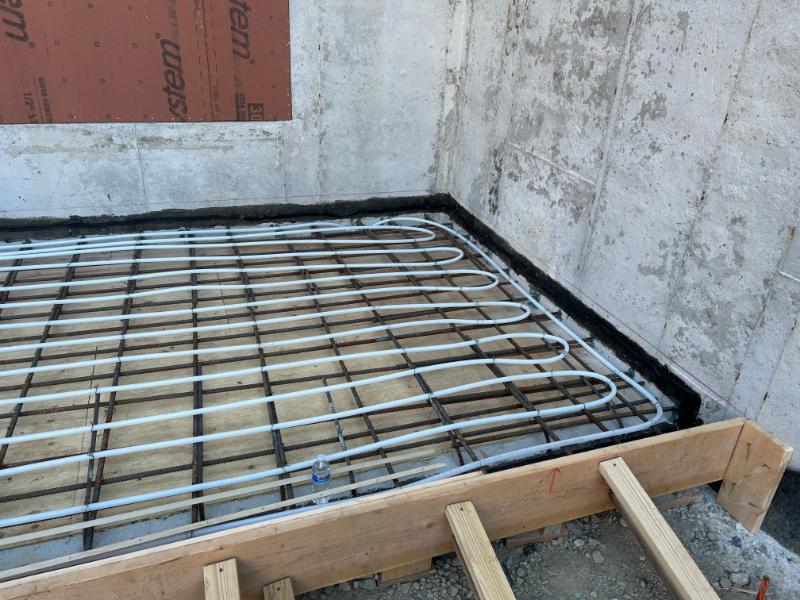
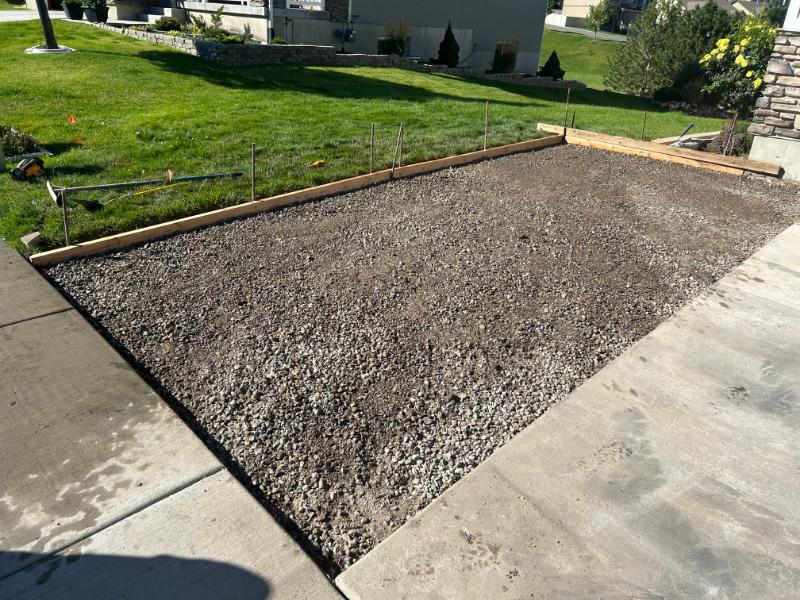
3. Sub-Base and Base Installation
The sub-base and base layers provide a stable foundation for the concrete.
- Sub-Base Installation: Lay a sub-base of compacted gravel or crushed stone, typically 4-6 inches deep. This layer supports the concrete and helps with drainage.
- Compacting: Use a plate compactor to compact the sub-base thoroughly. Proper compaction prevents settling and ensures a stable foundation.
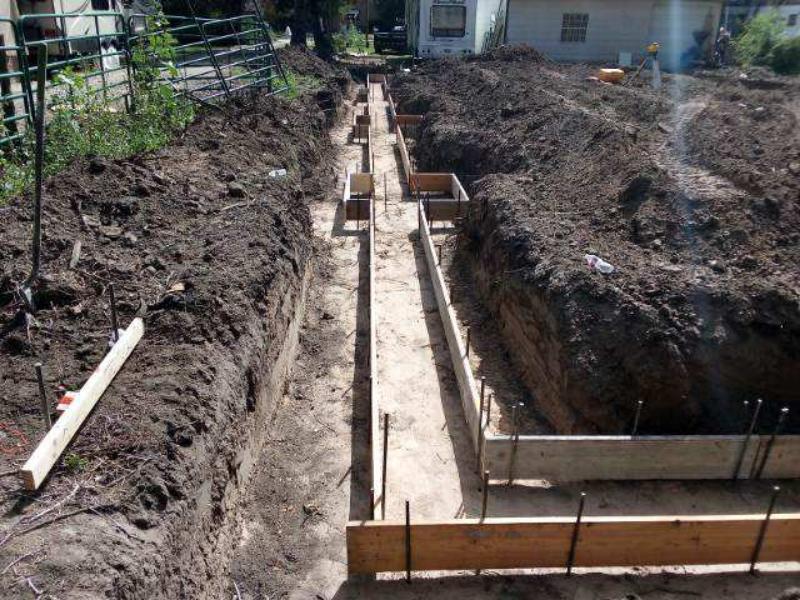
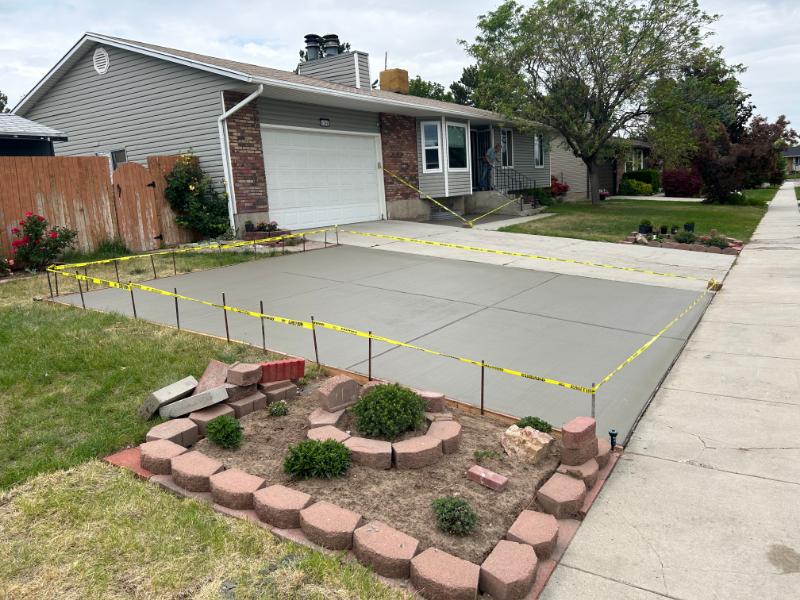
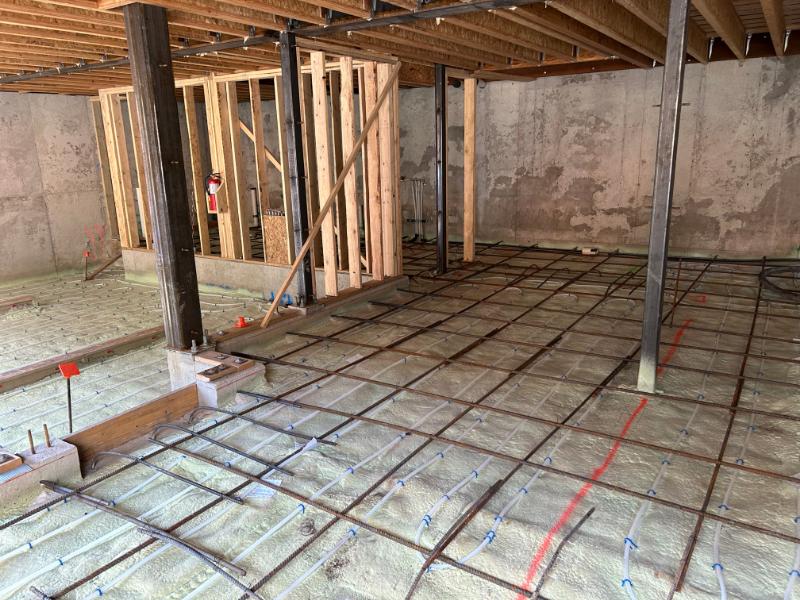
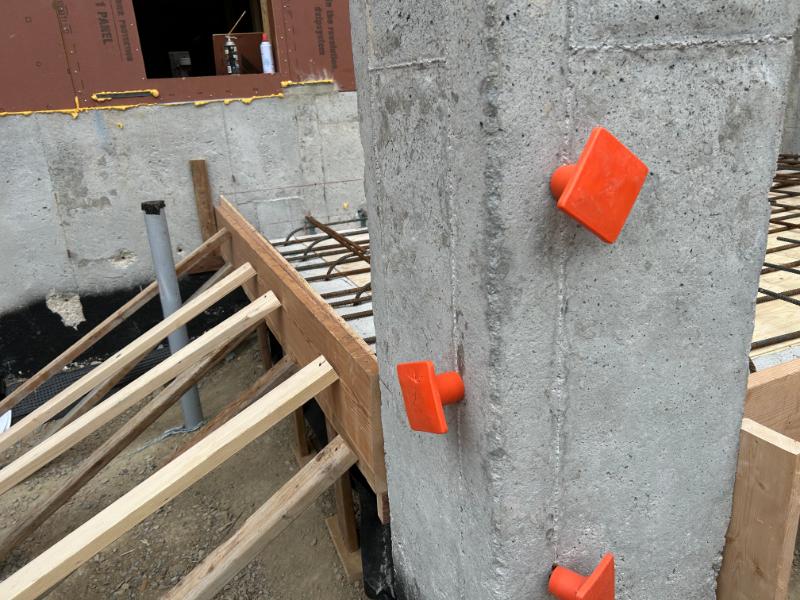
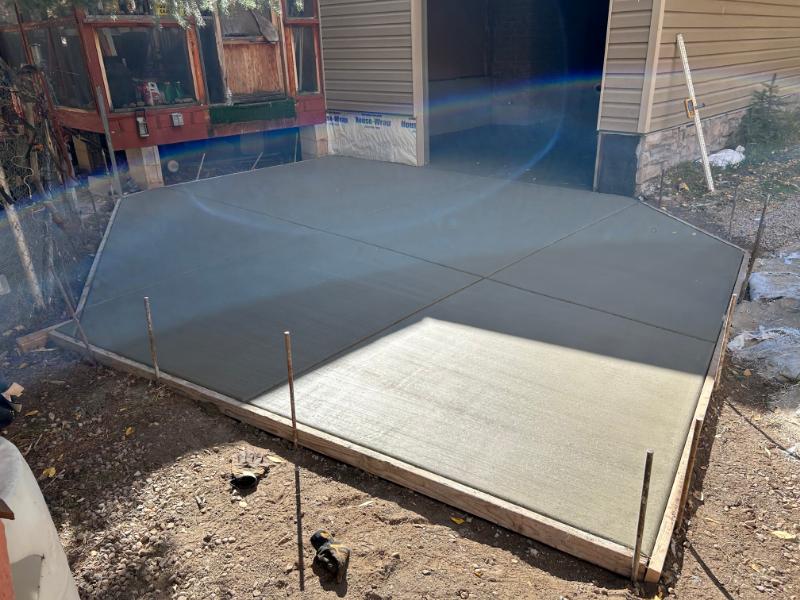
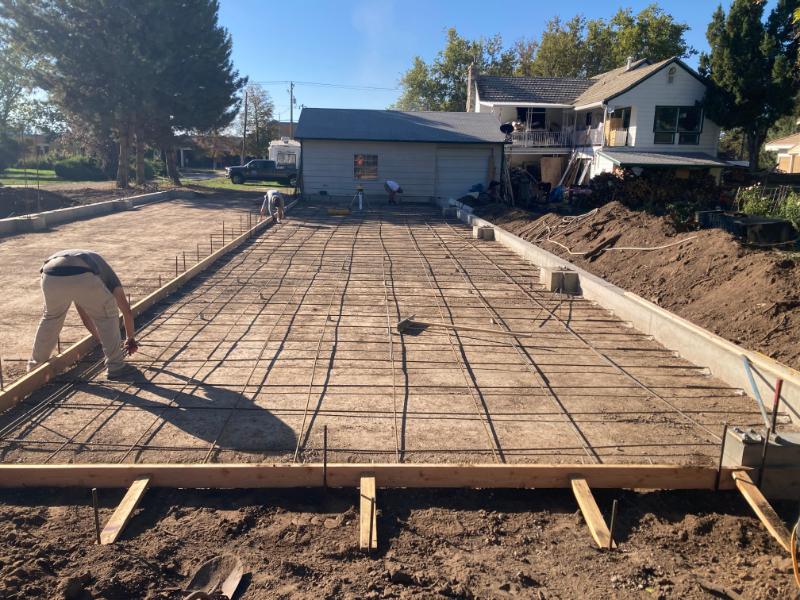
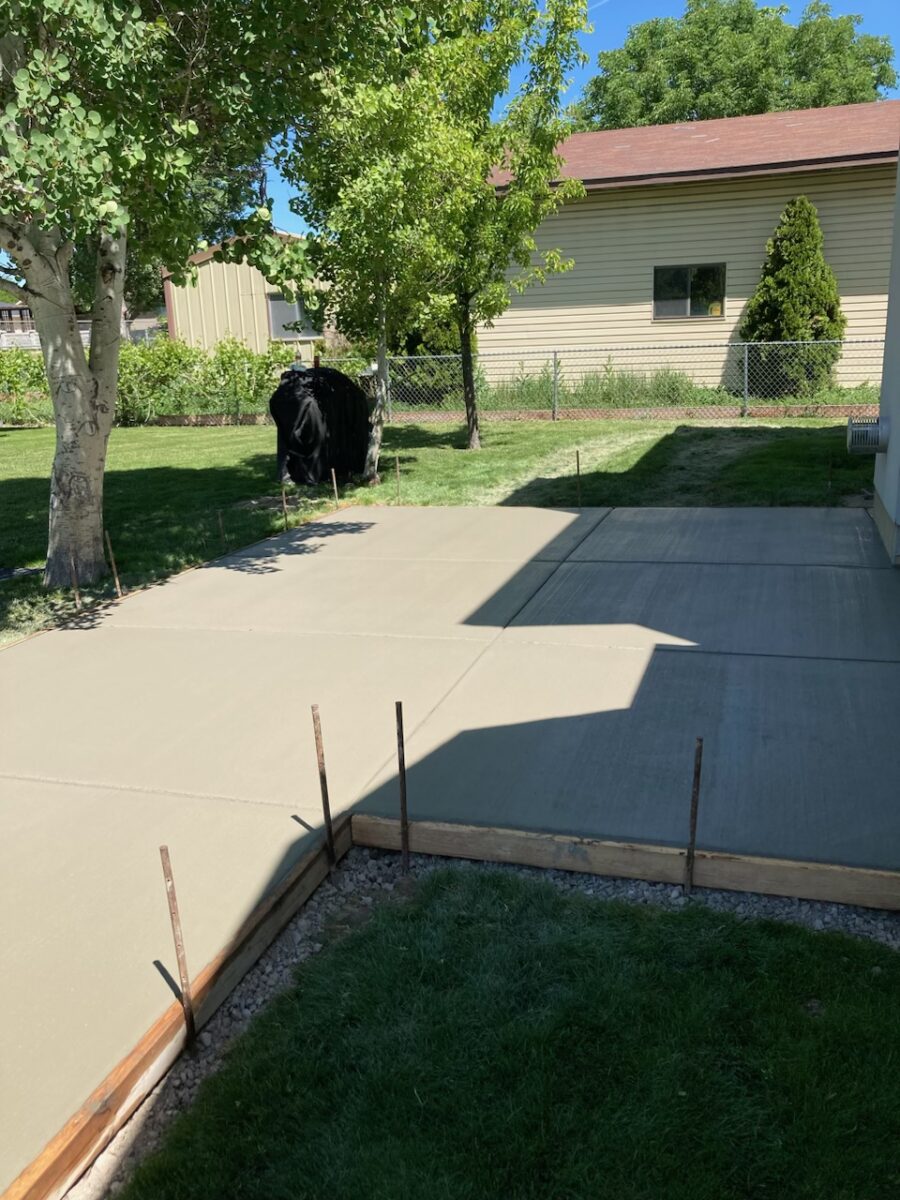
4. Formwork and Reinforcement
Setting up forms and reinforcement is critical for shaping and strengthening the driveway.
- Formwork: Install wooden or metal forms along the edges of the driveway to contain the concrete. Ensure the forms are secure and level.
- Reinforcement: Place steel rebar or wire mesh within the forms to reinforce the concrete. This reinforcement helps prevent cracking and adds structural integrity.
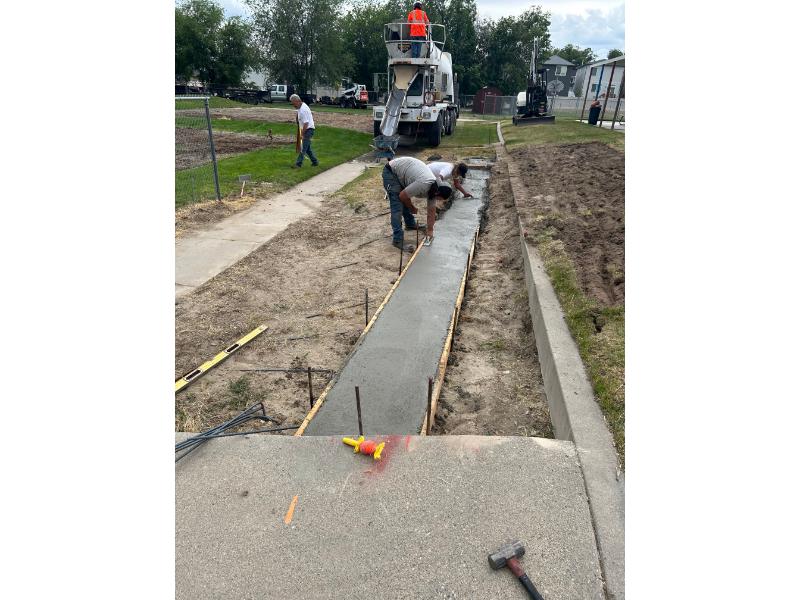
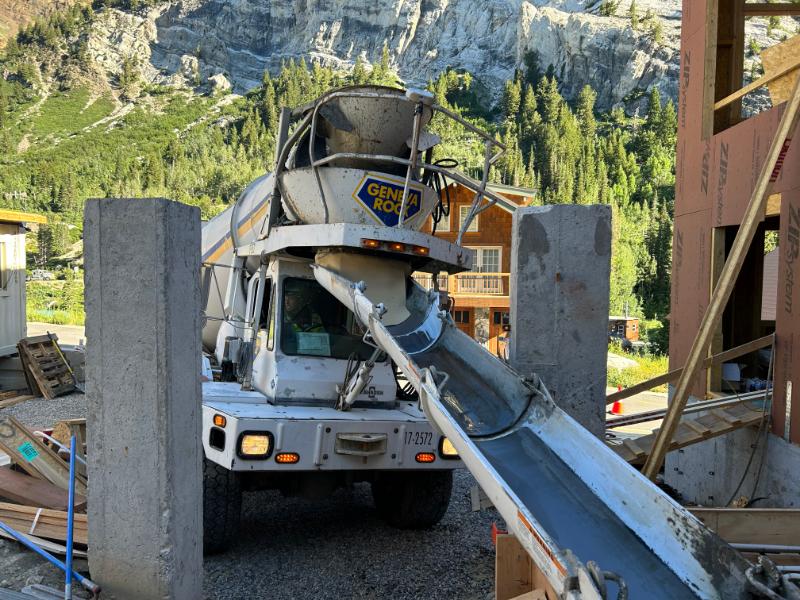
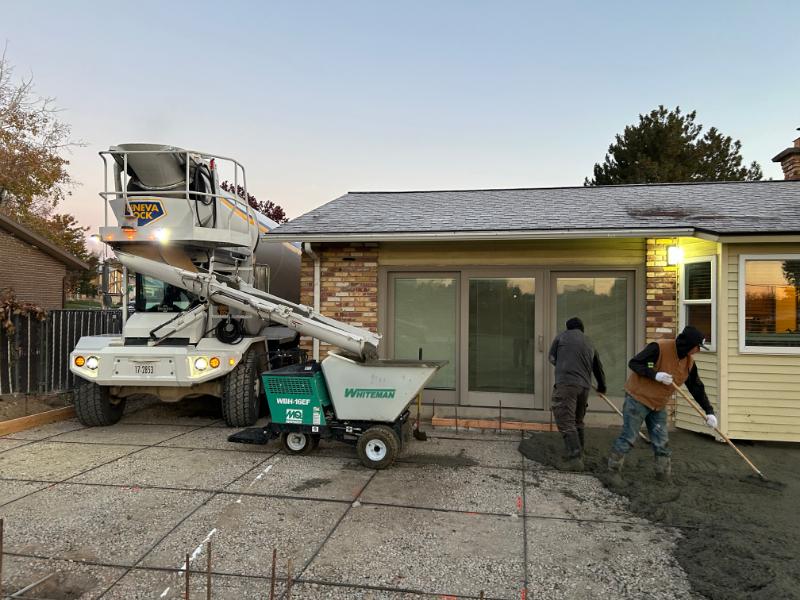
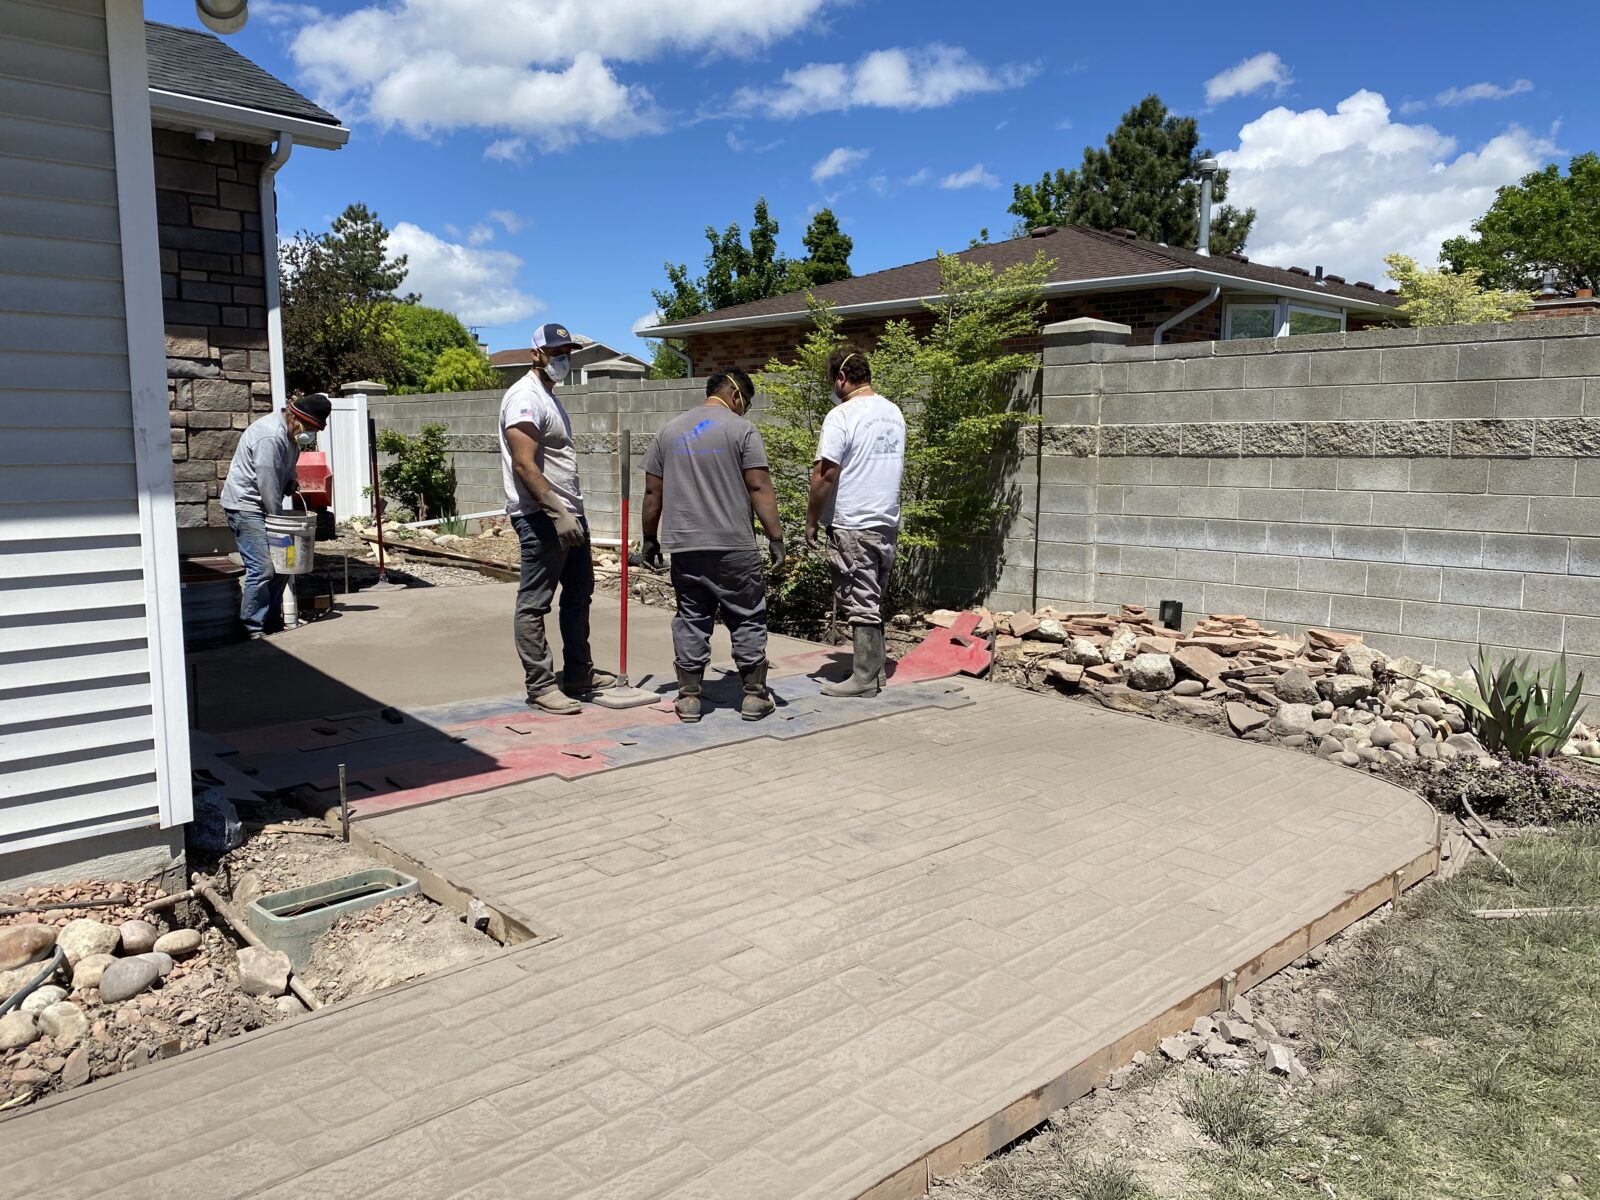
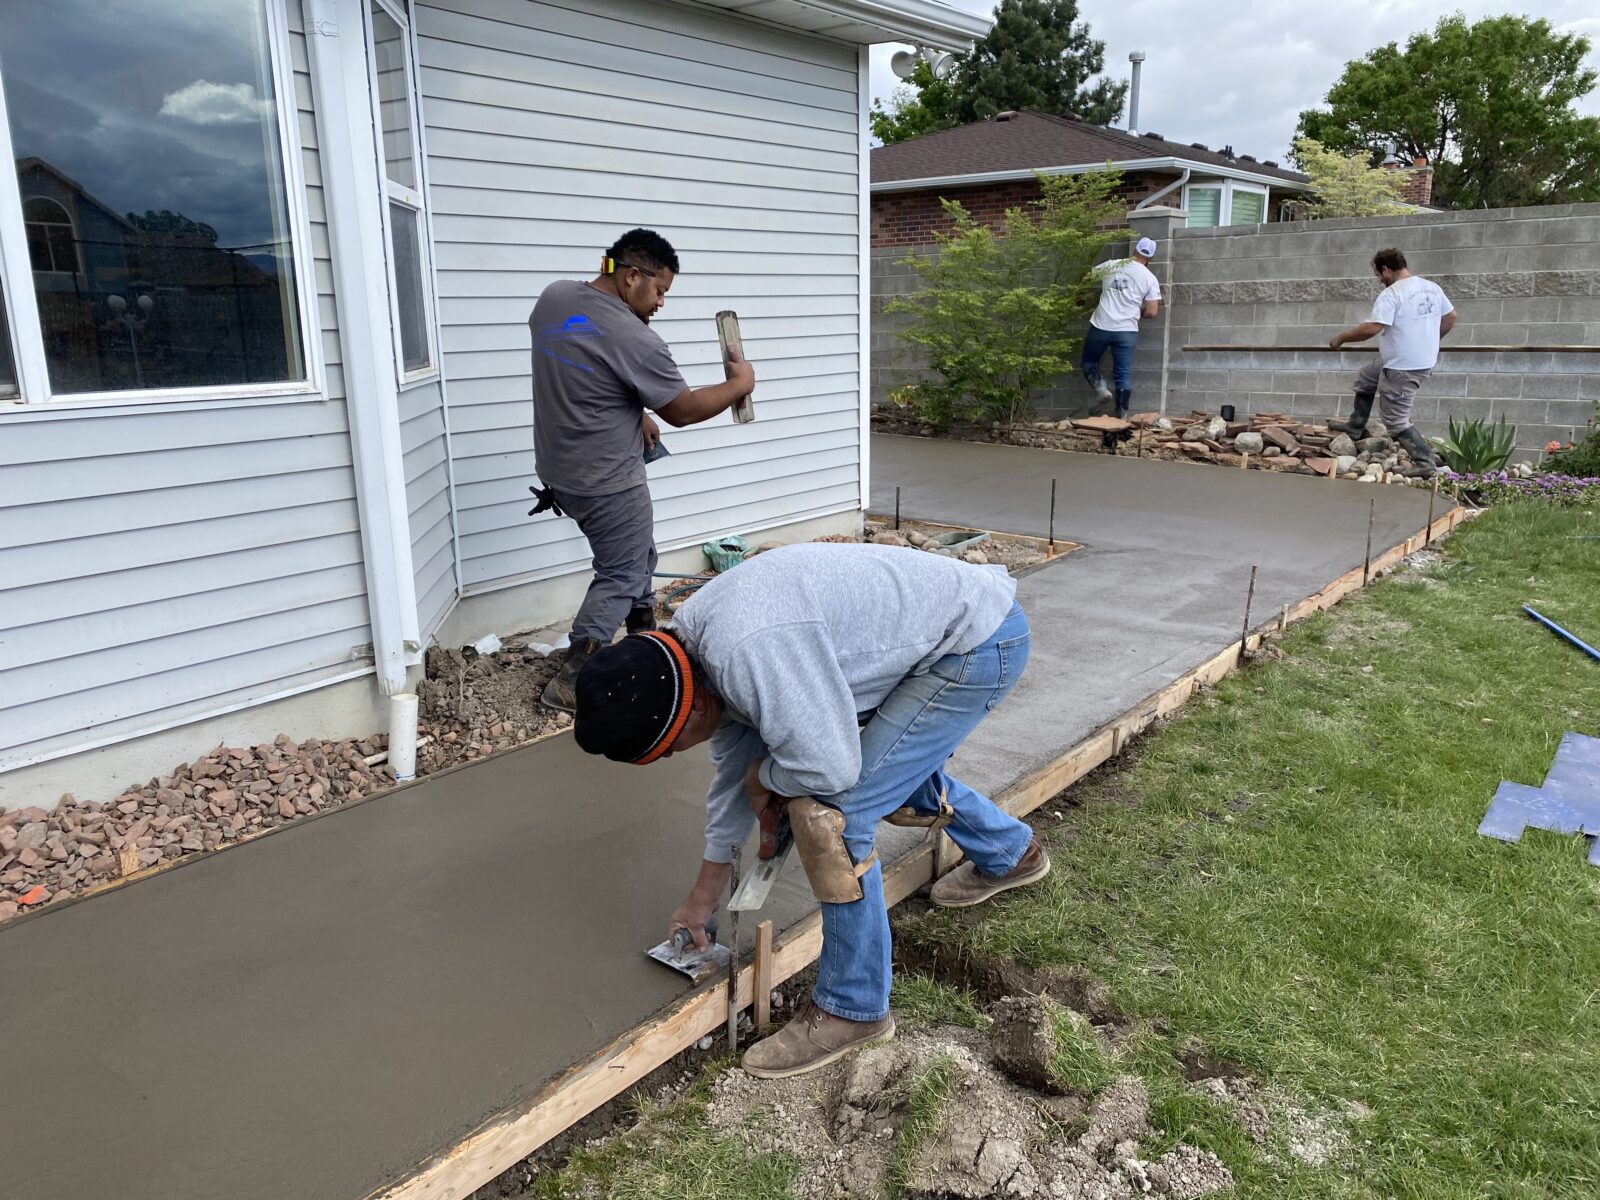
5. Pouring the Concrete
The concrete pouring process requires precision and expertise.
- Mixing: Concrete is mixed to the correct consistency, either on-site or delivered from a ready-mix plant.
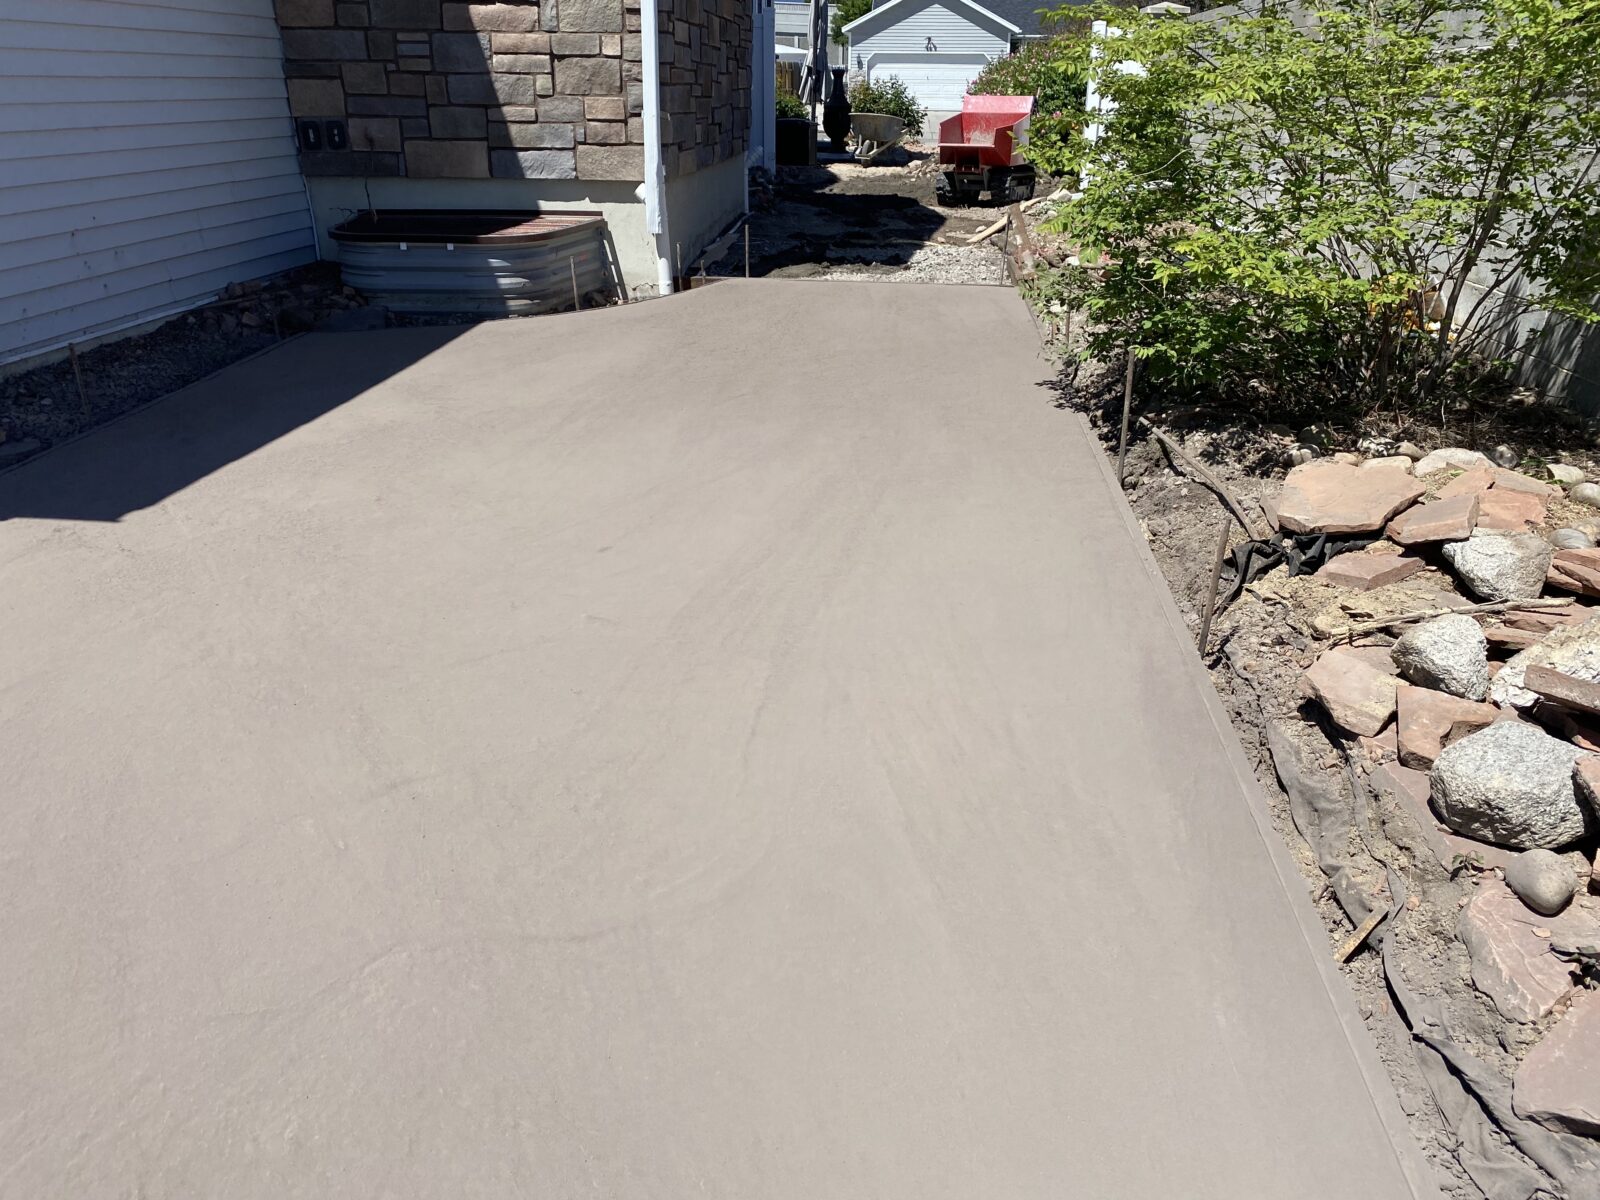
- Pouring: Pour the concrete into the forms, starting at one end and working systematically to the other. Use shovels and rakes to spread the concrete evenly.
- Leveling: Level the surface using a screed, which is a long, straight board or metal tool. This step ensures a flat and even surface.
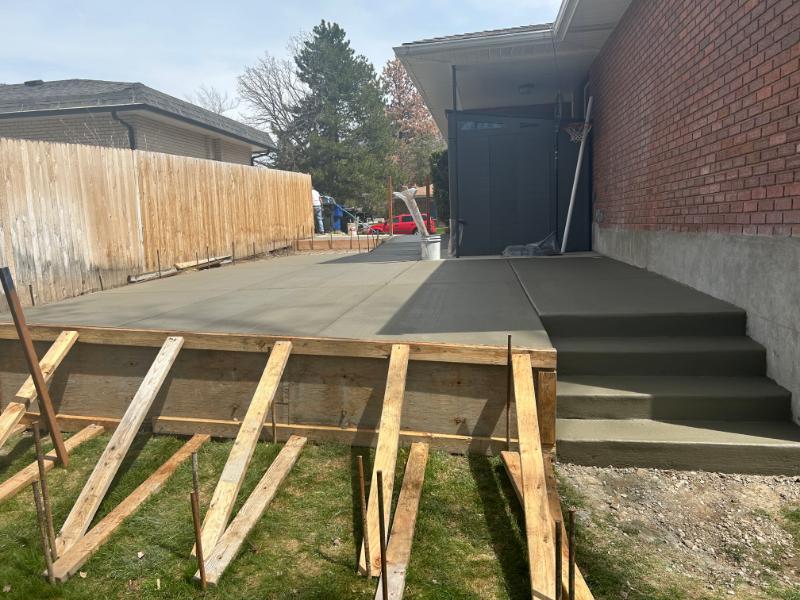
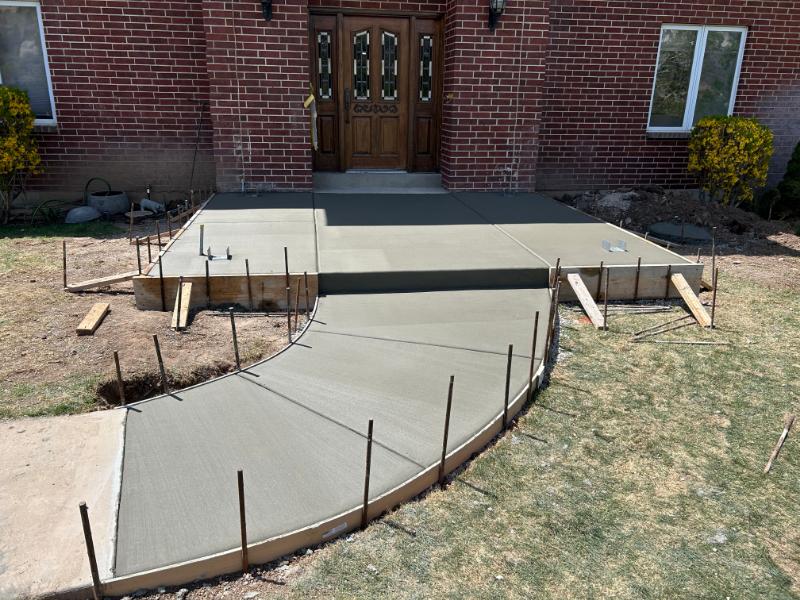
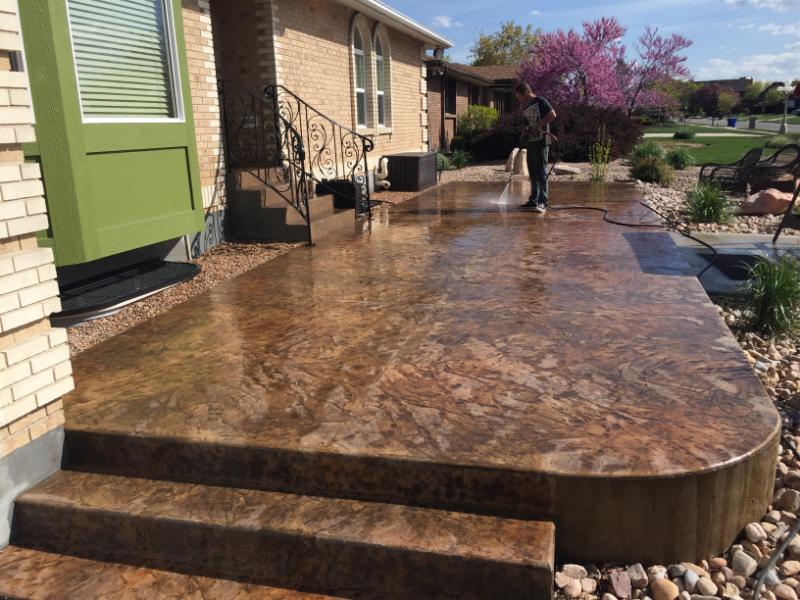
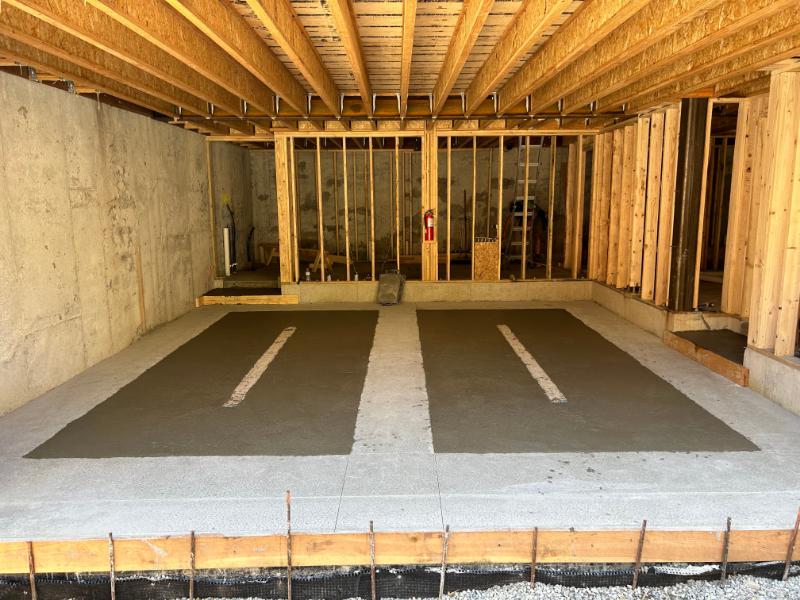
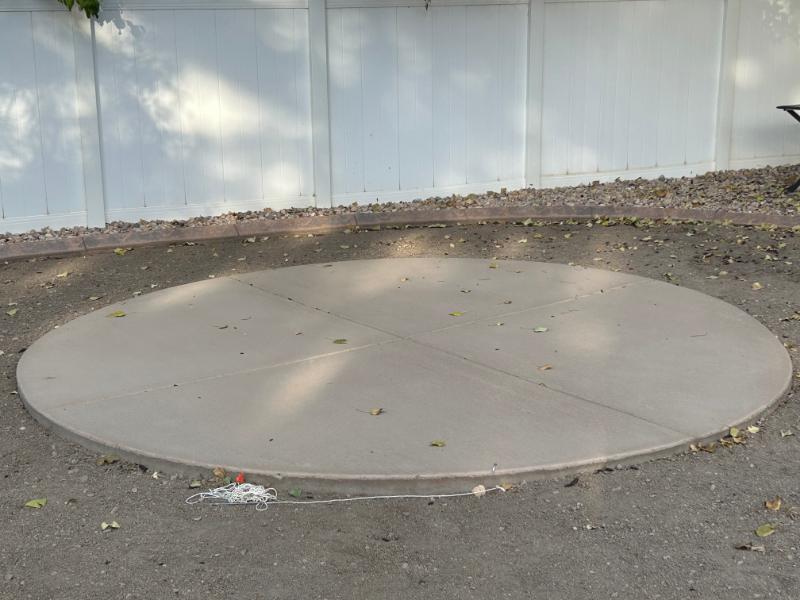
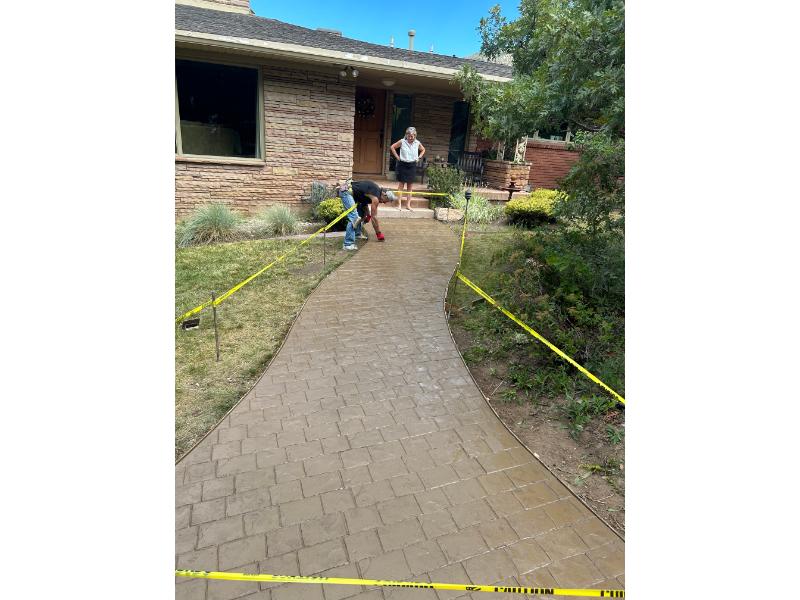
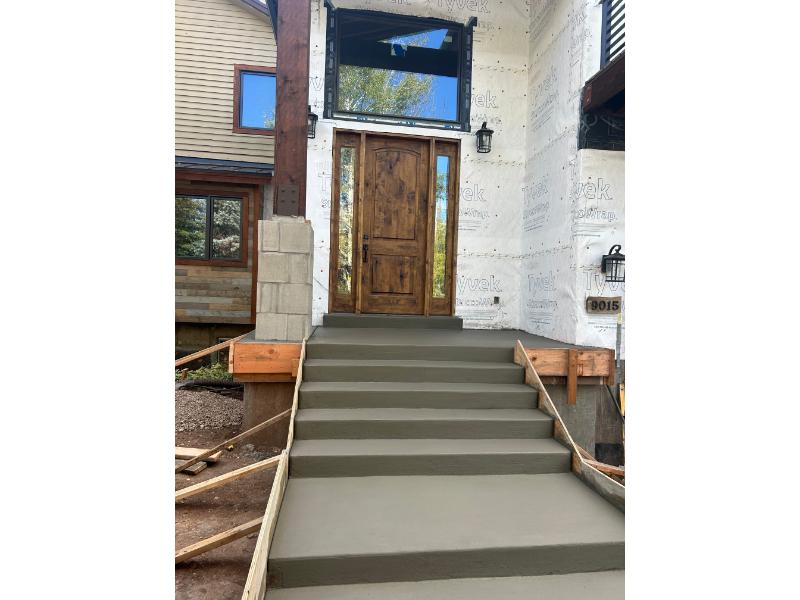
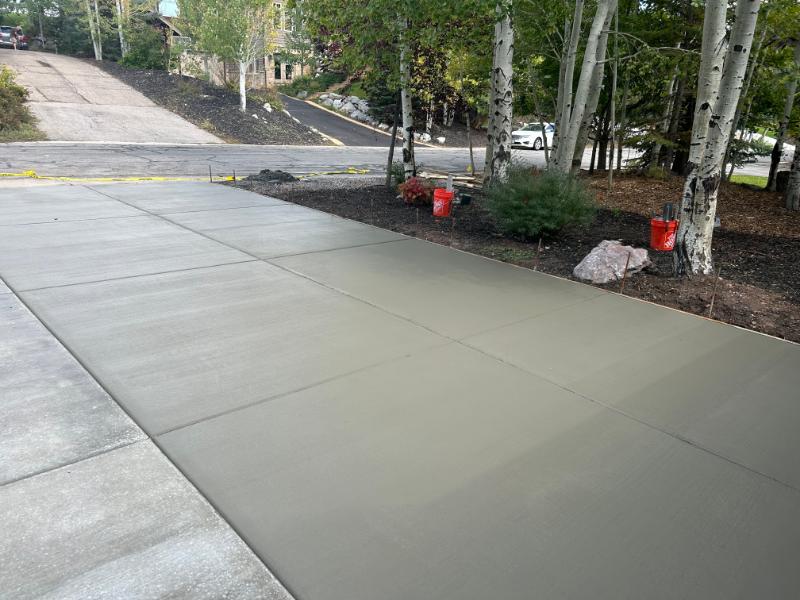
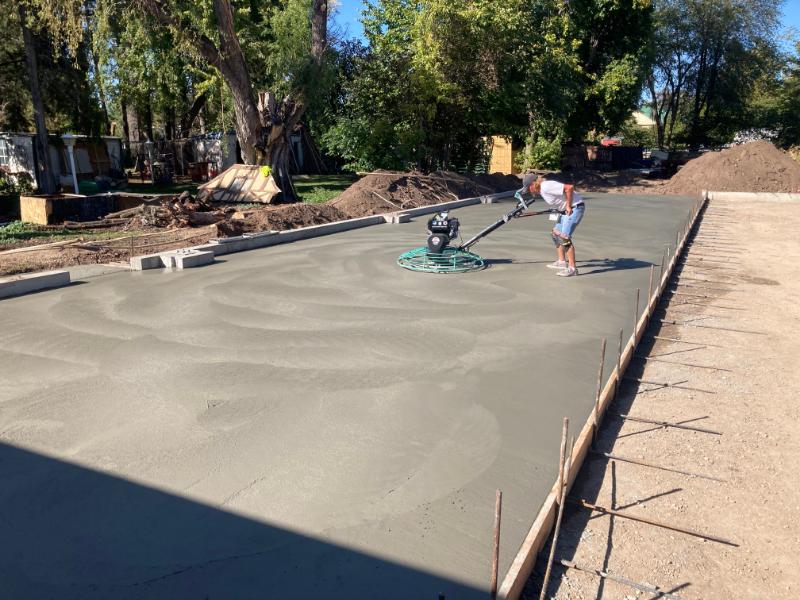
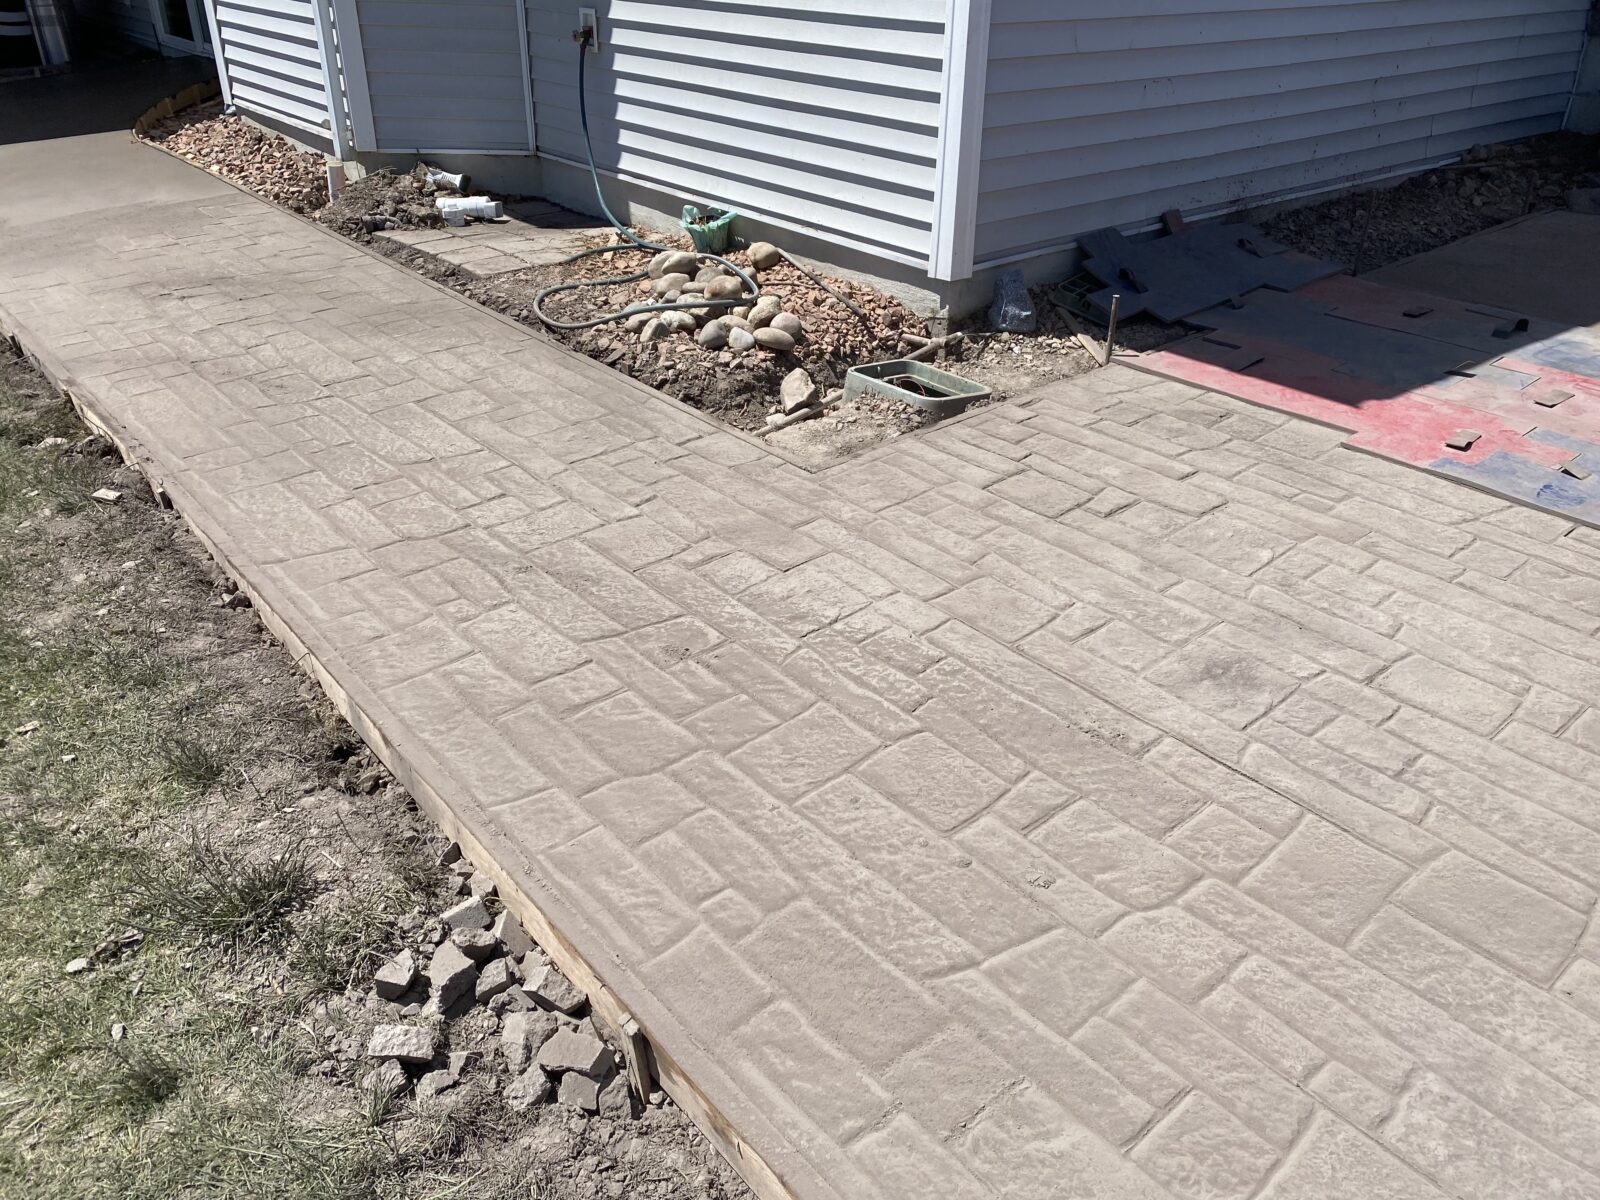
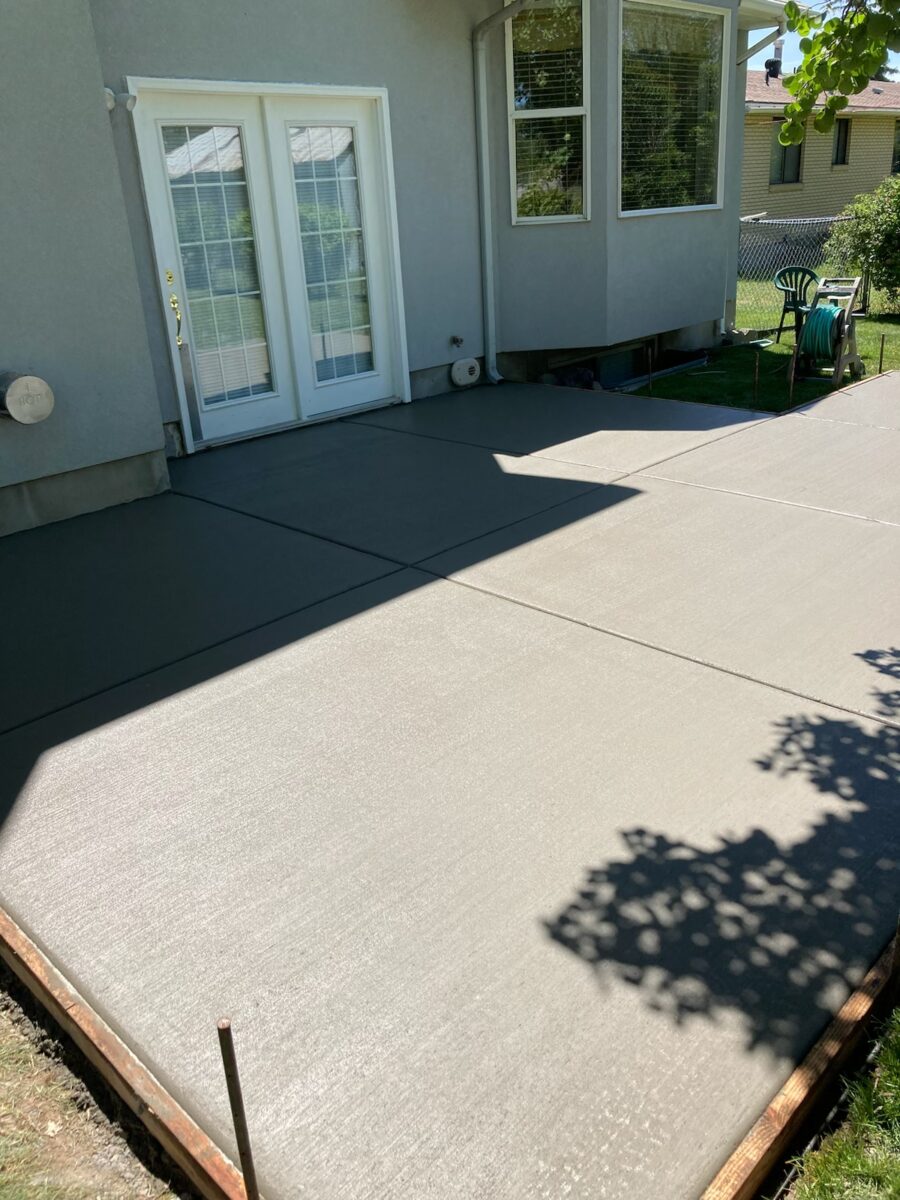
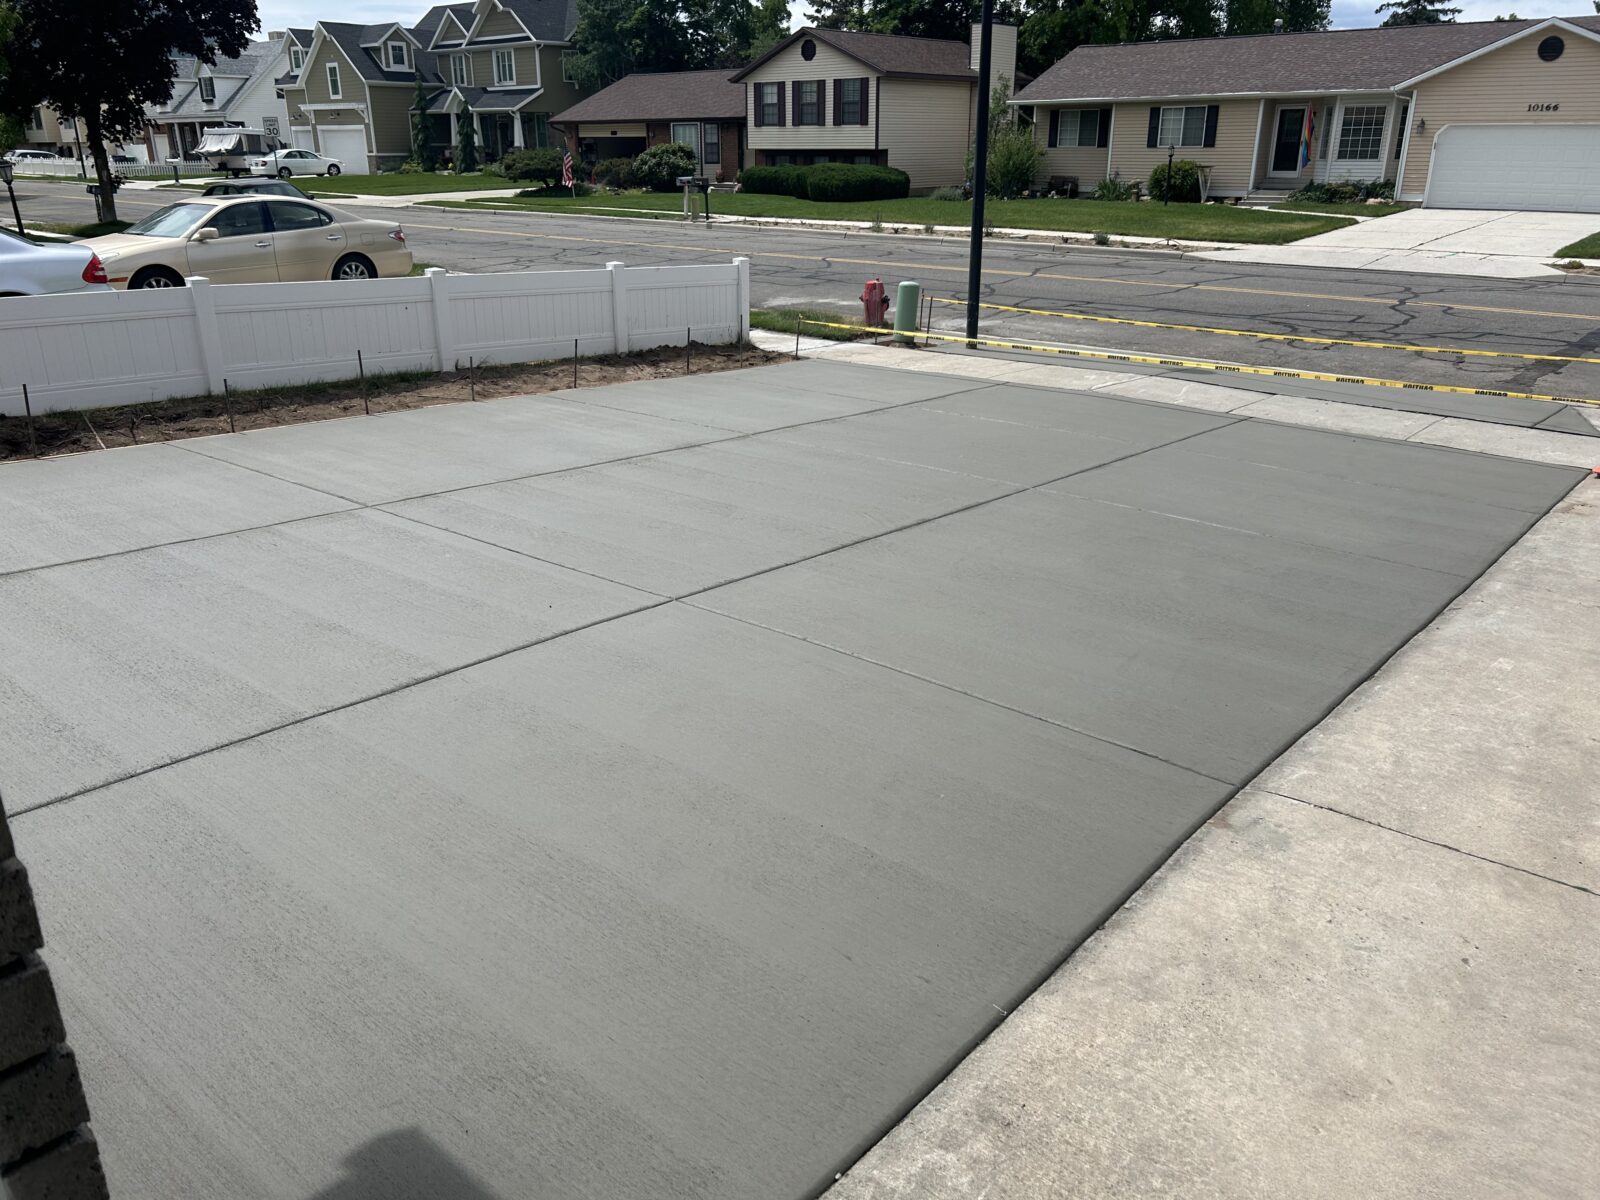
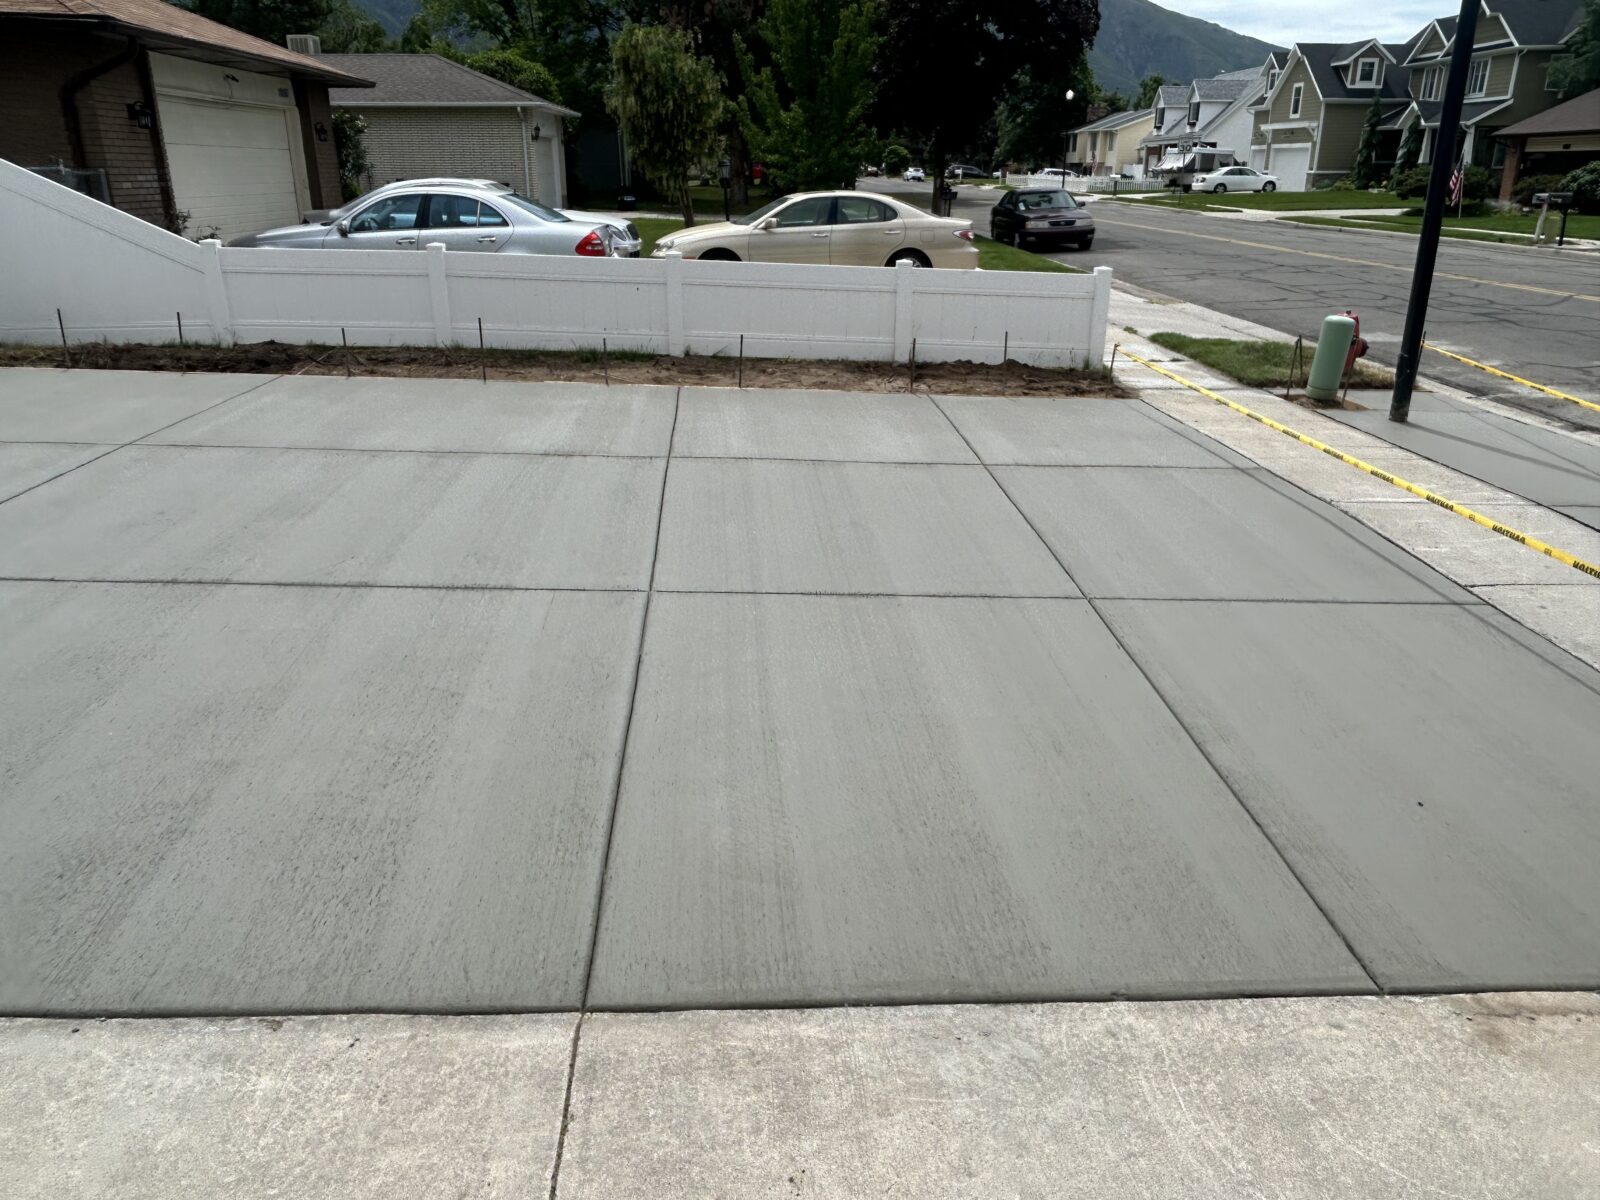
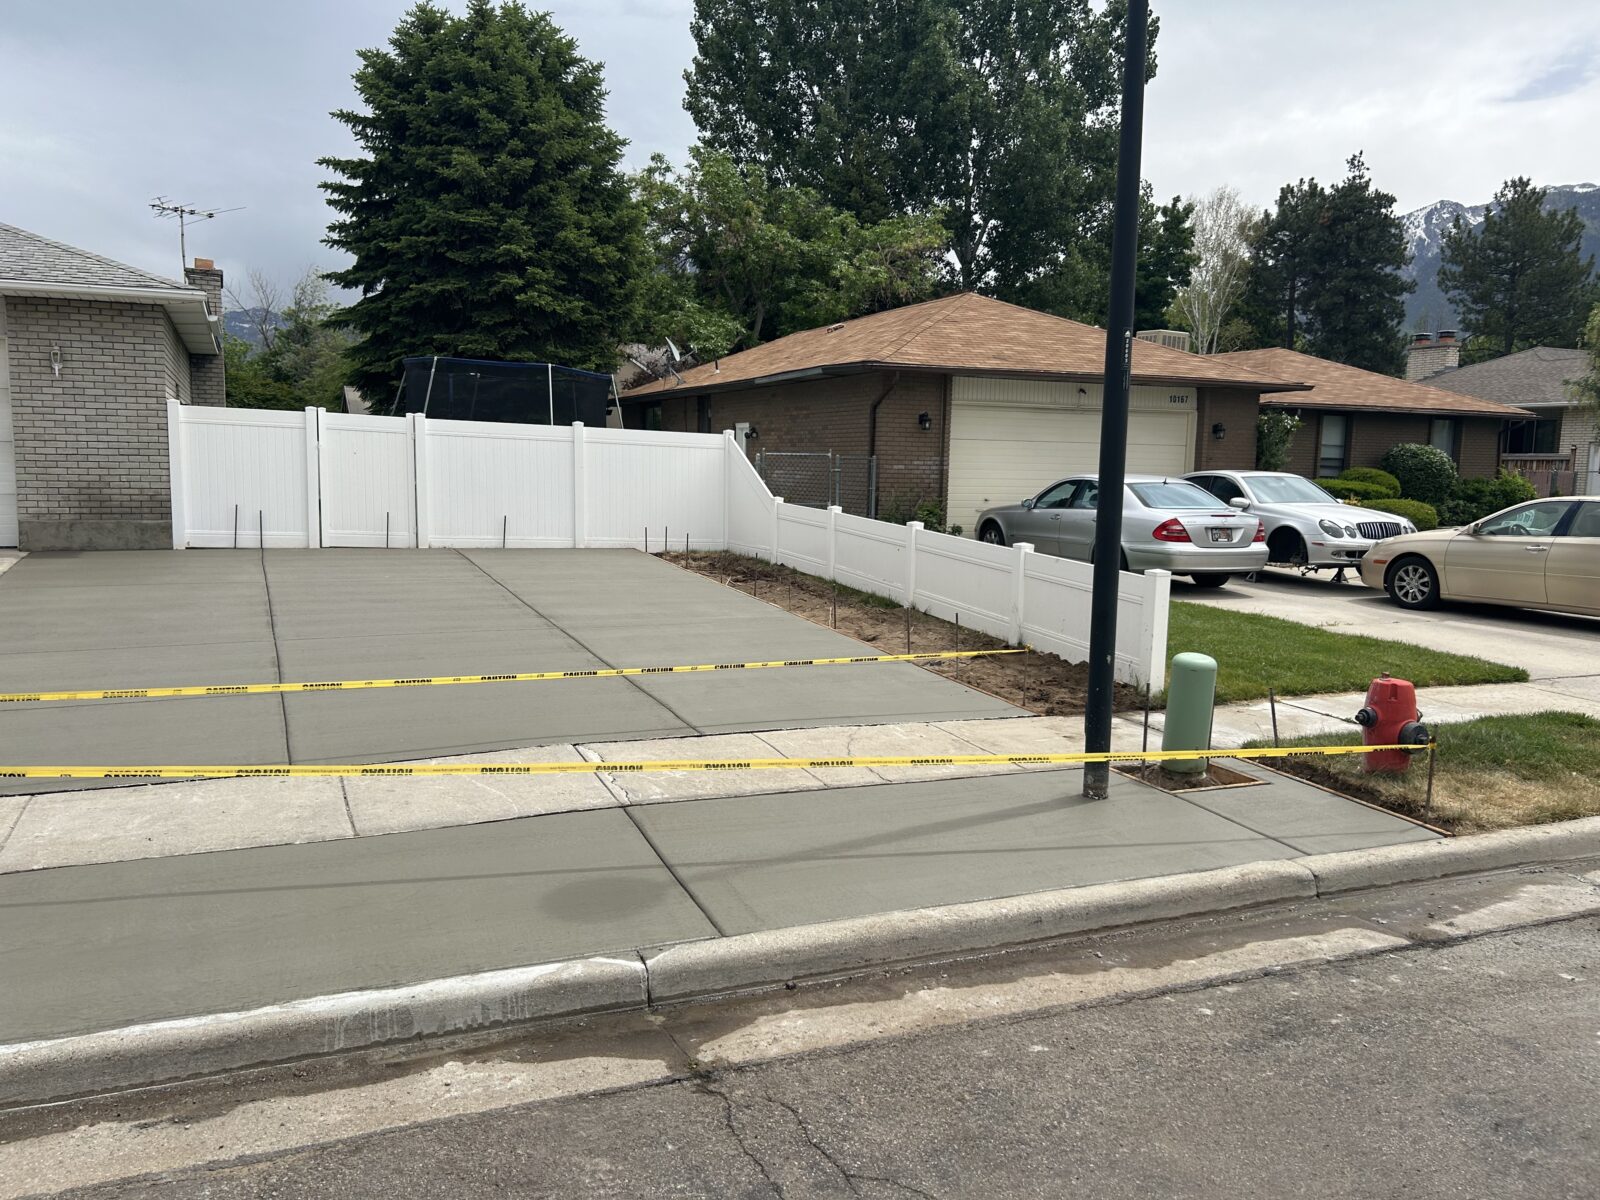
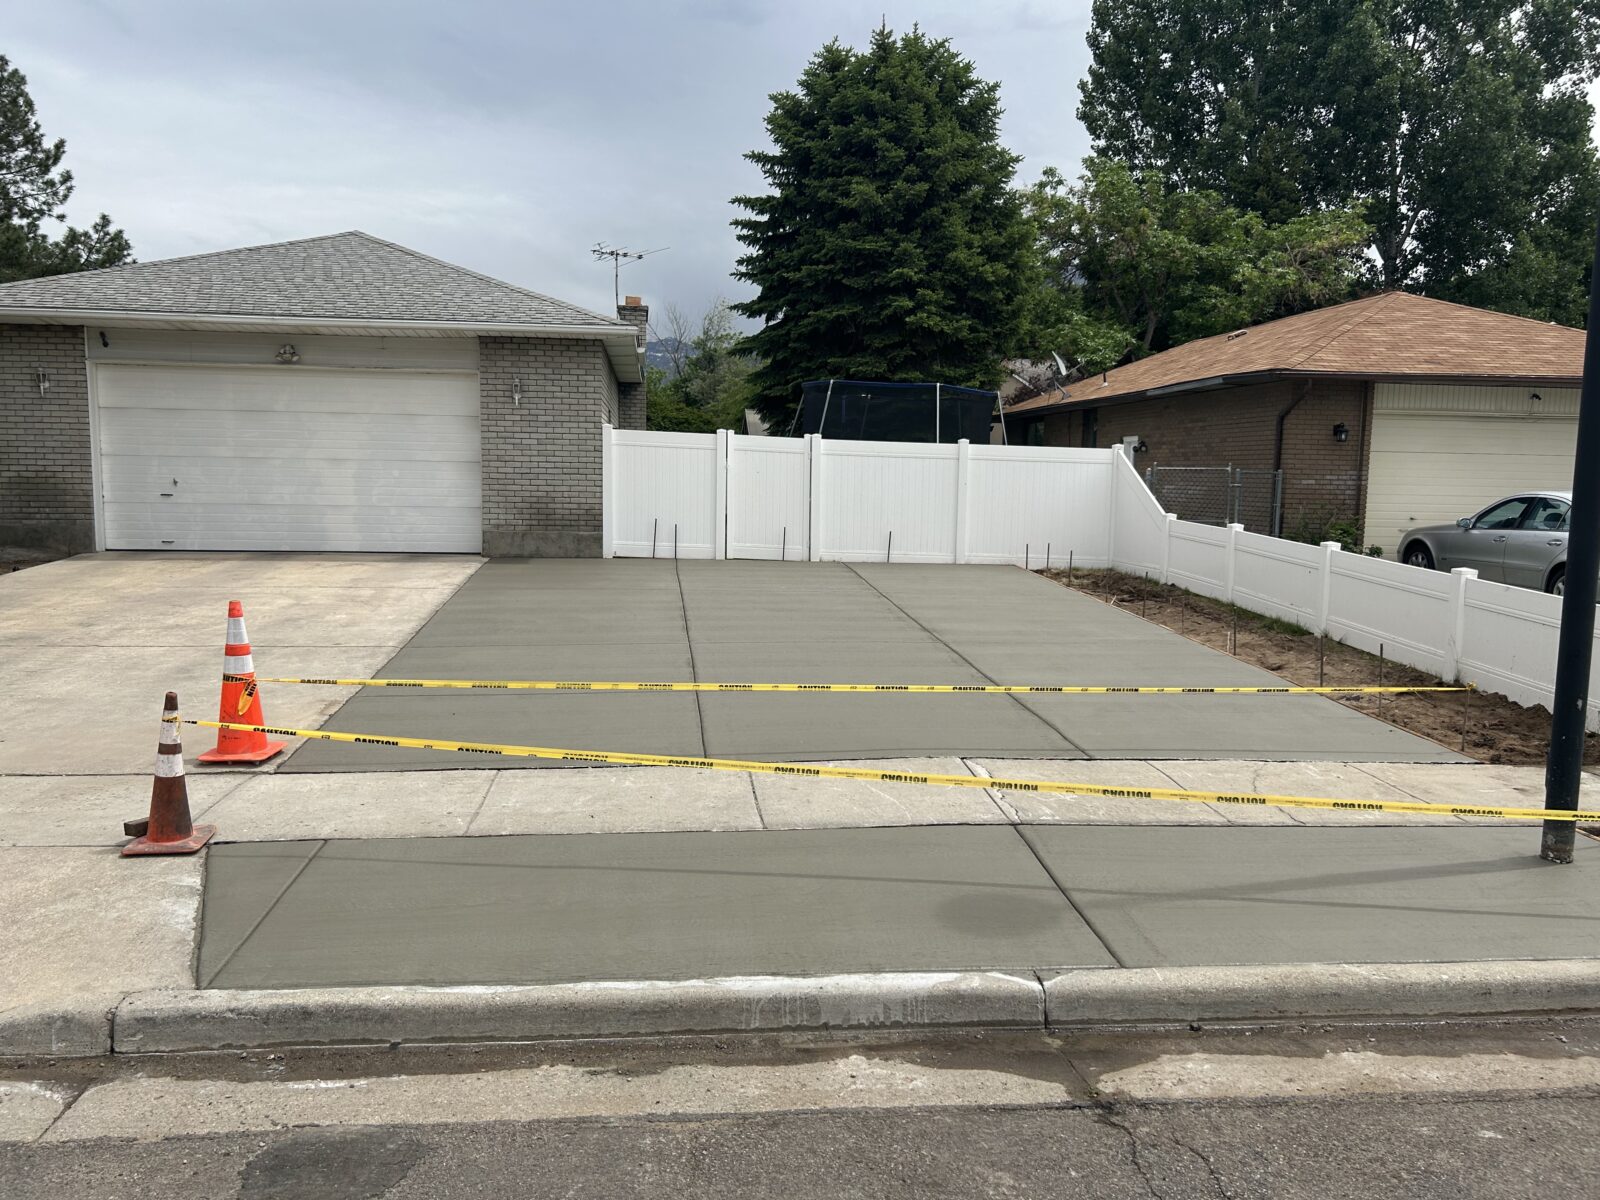
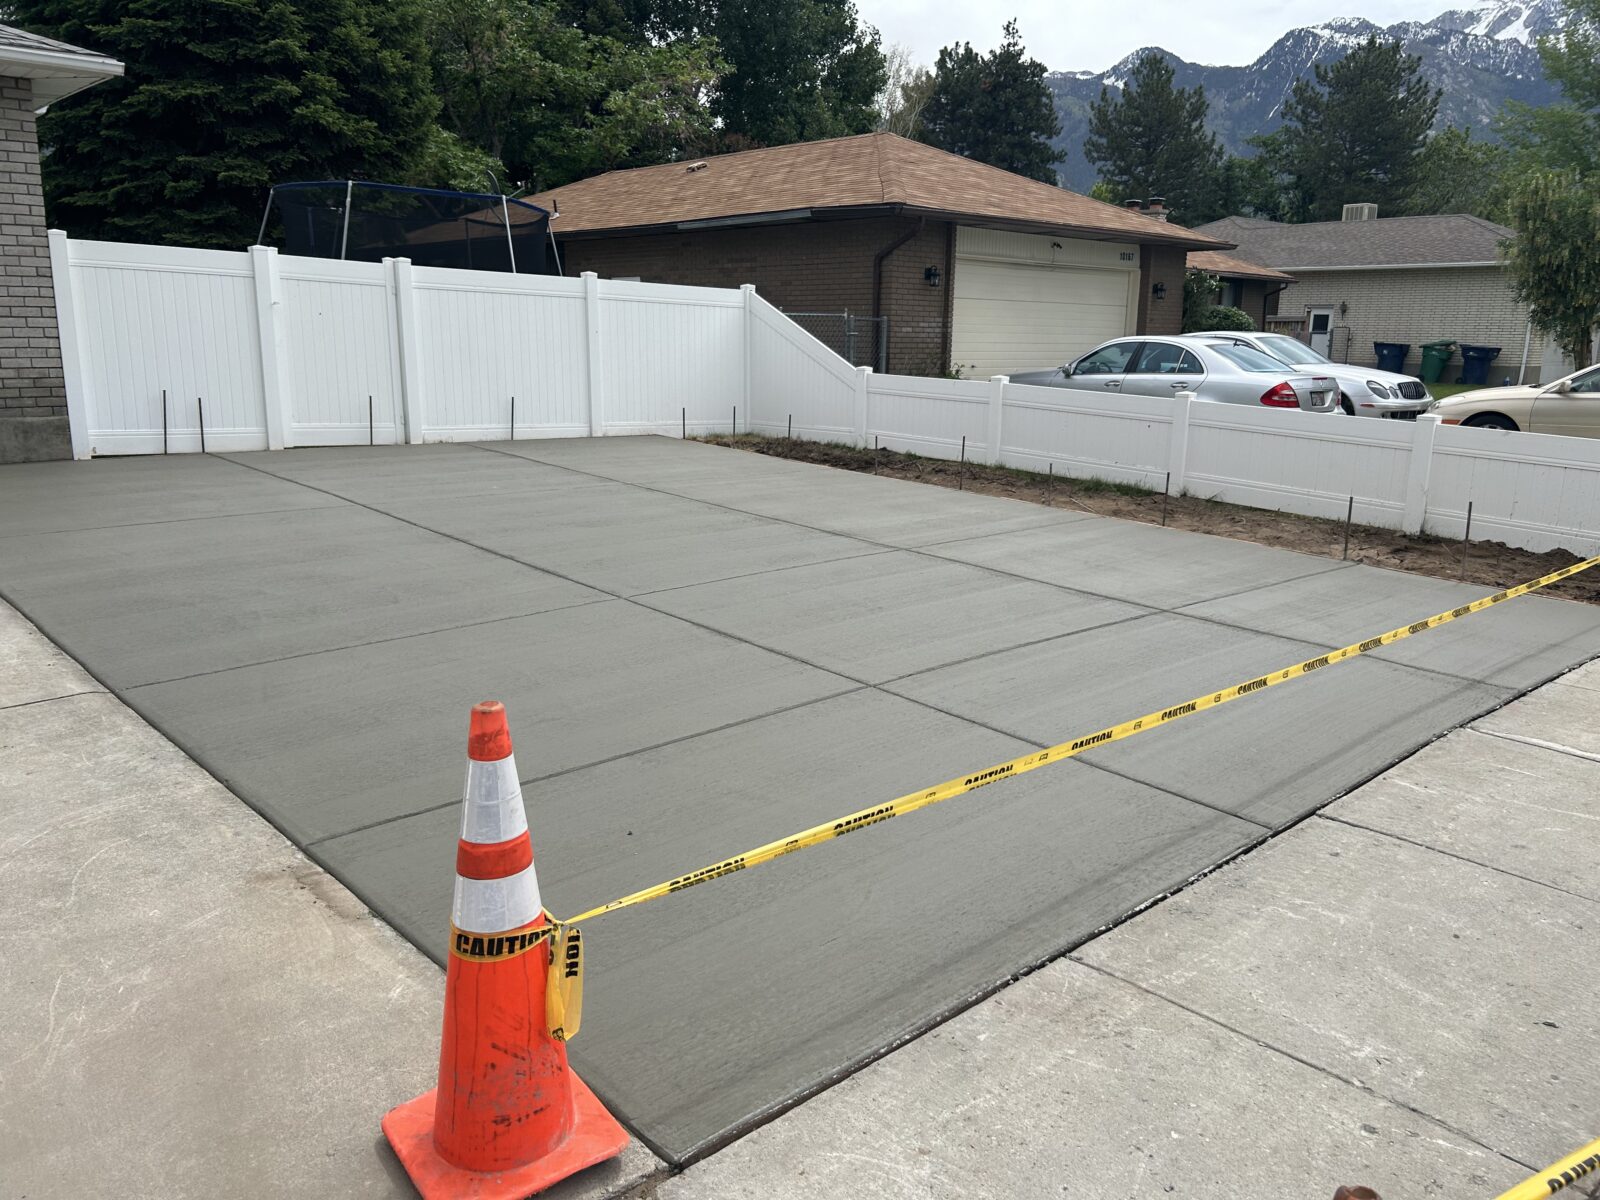
6. Finishing
Finishing the concrete involves several steps to achieve the desired texture and appearance.
- Floating and Troweling: After leveling, float the surface to smooth it and remove any imperfections. Follow with troweling for a finer finish.
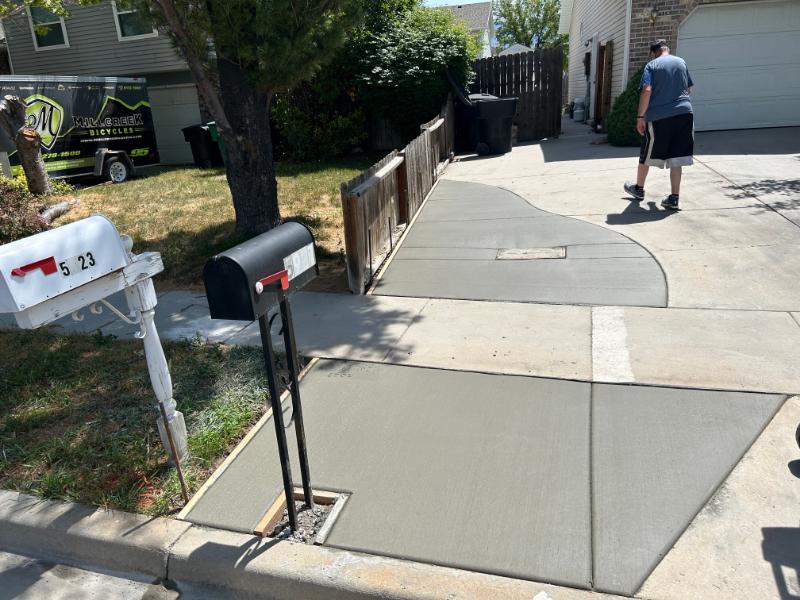
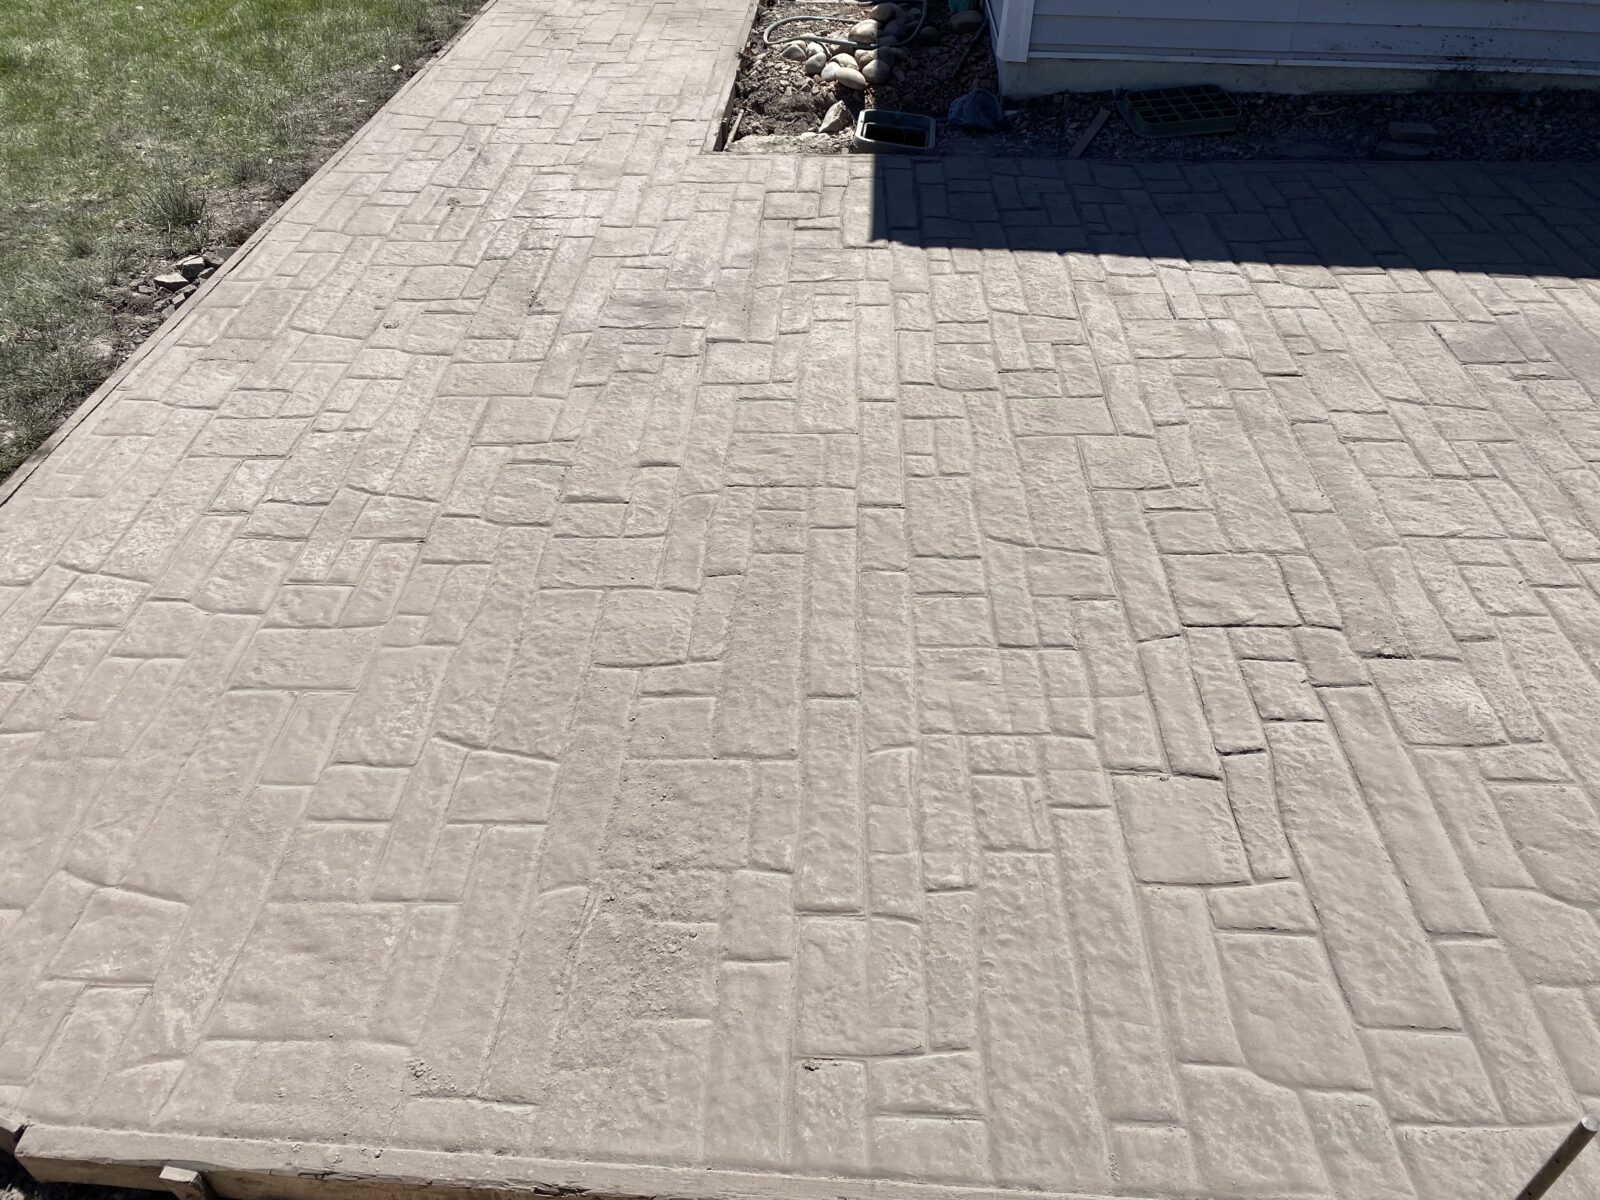
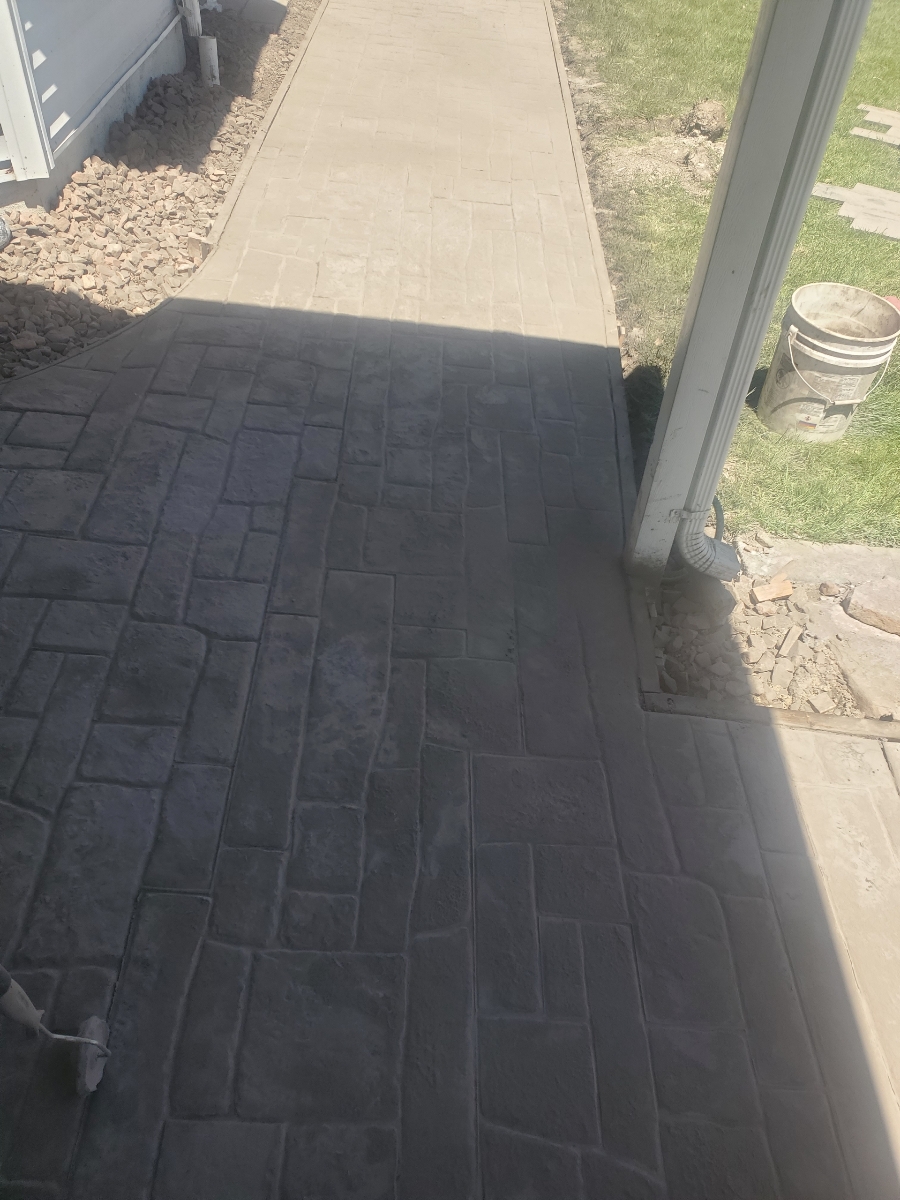
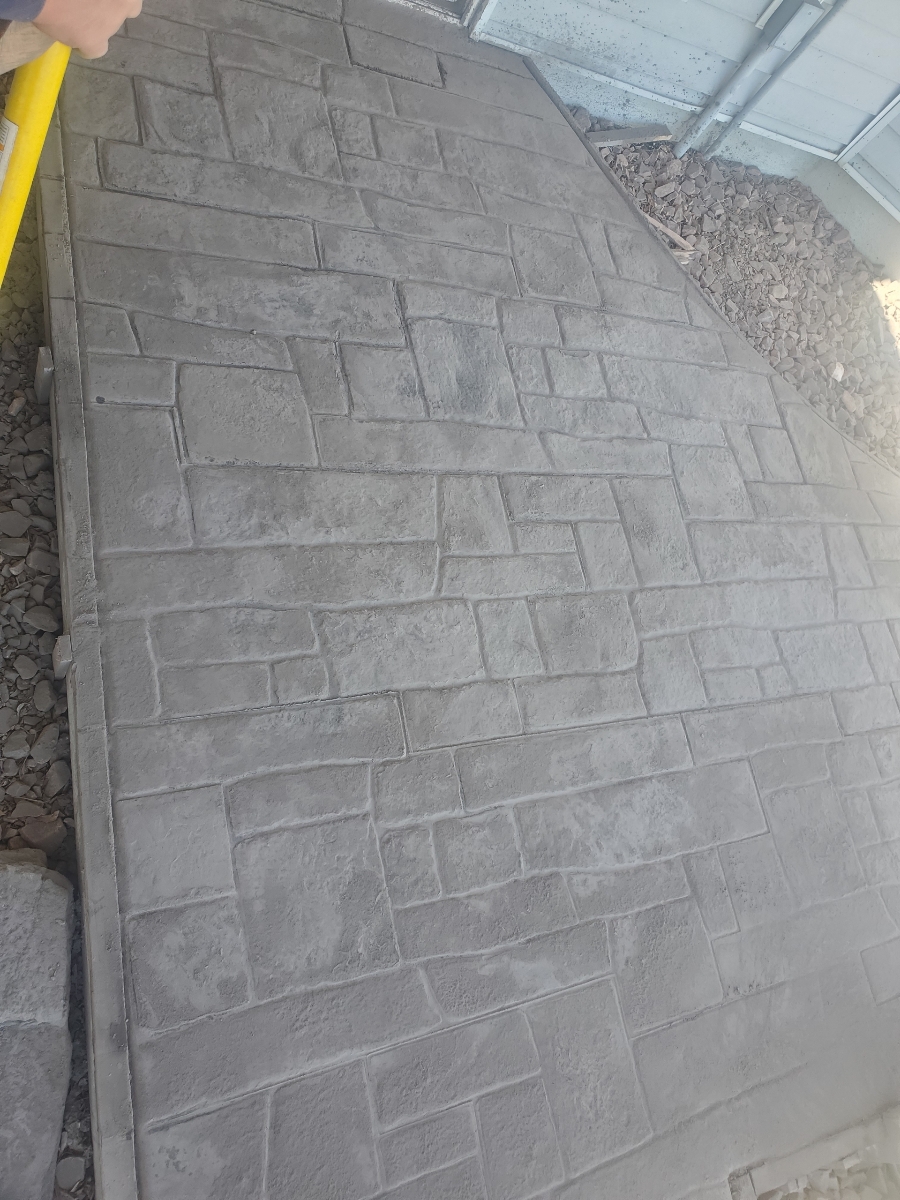
- Texturing: Apply a broom finish, stamping, or other decorative techniques to add texture and improve traction. Texturing not only enhances the driveway’s look but also provides a non-slip surface.
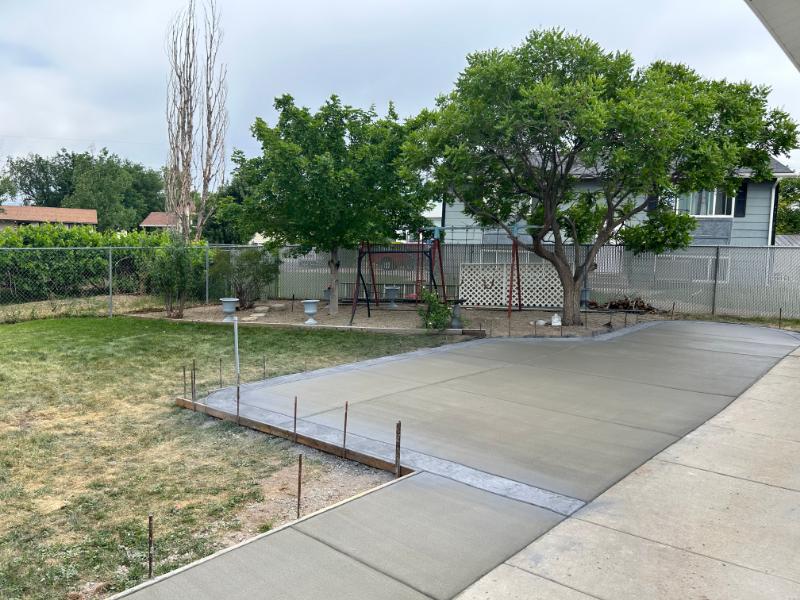
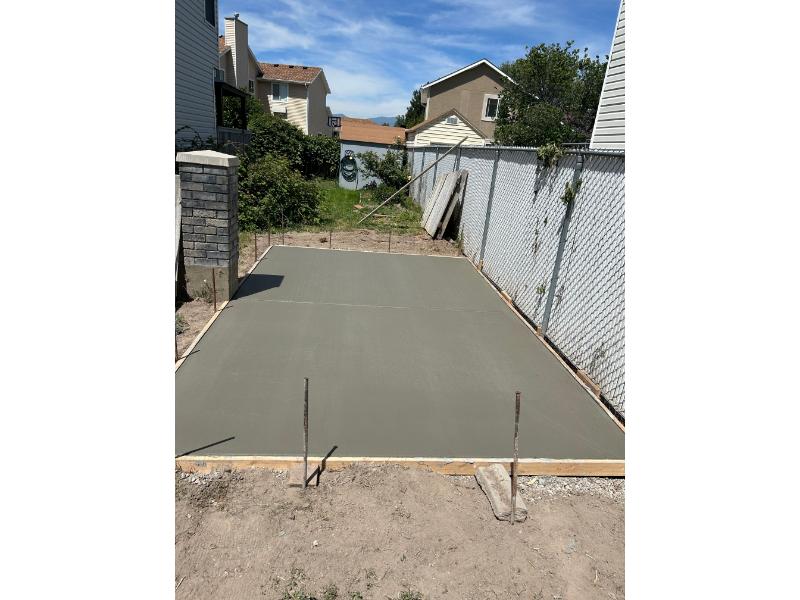
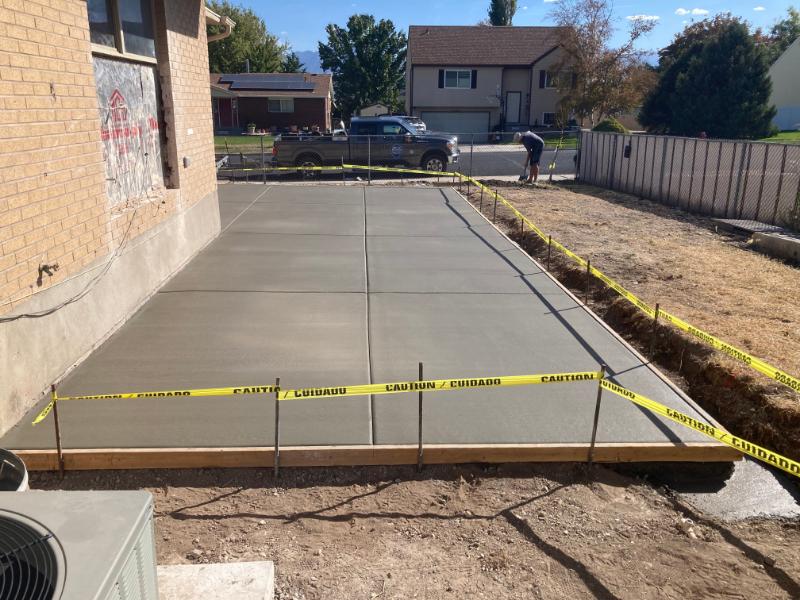
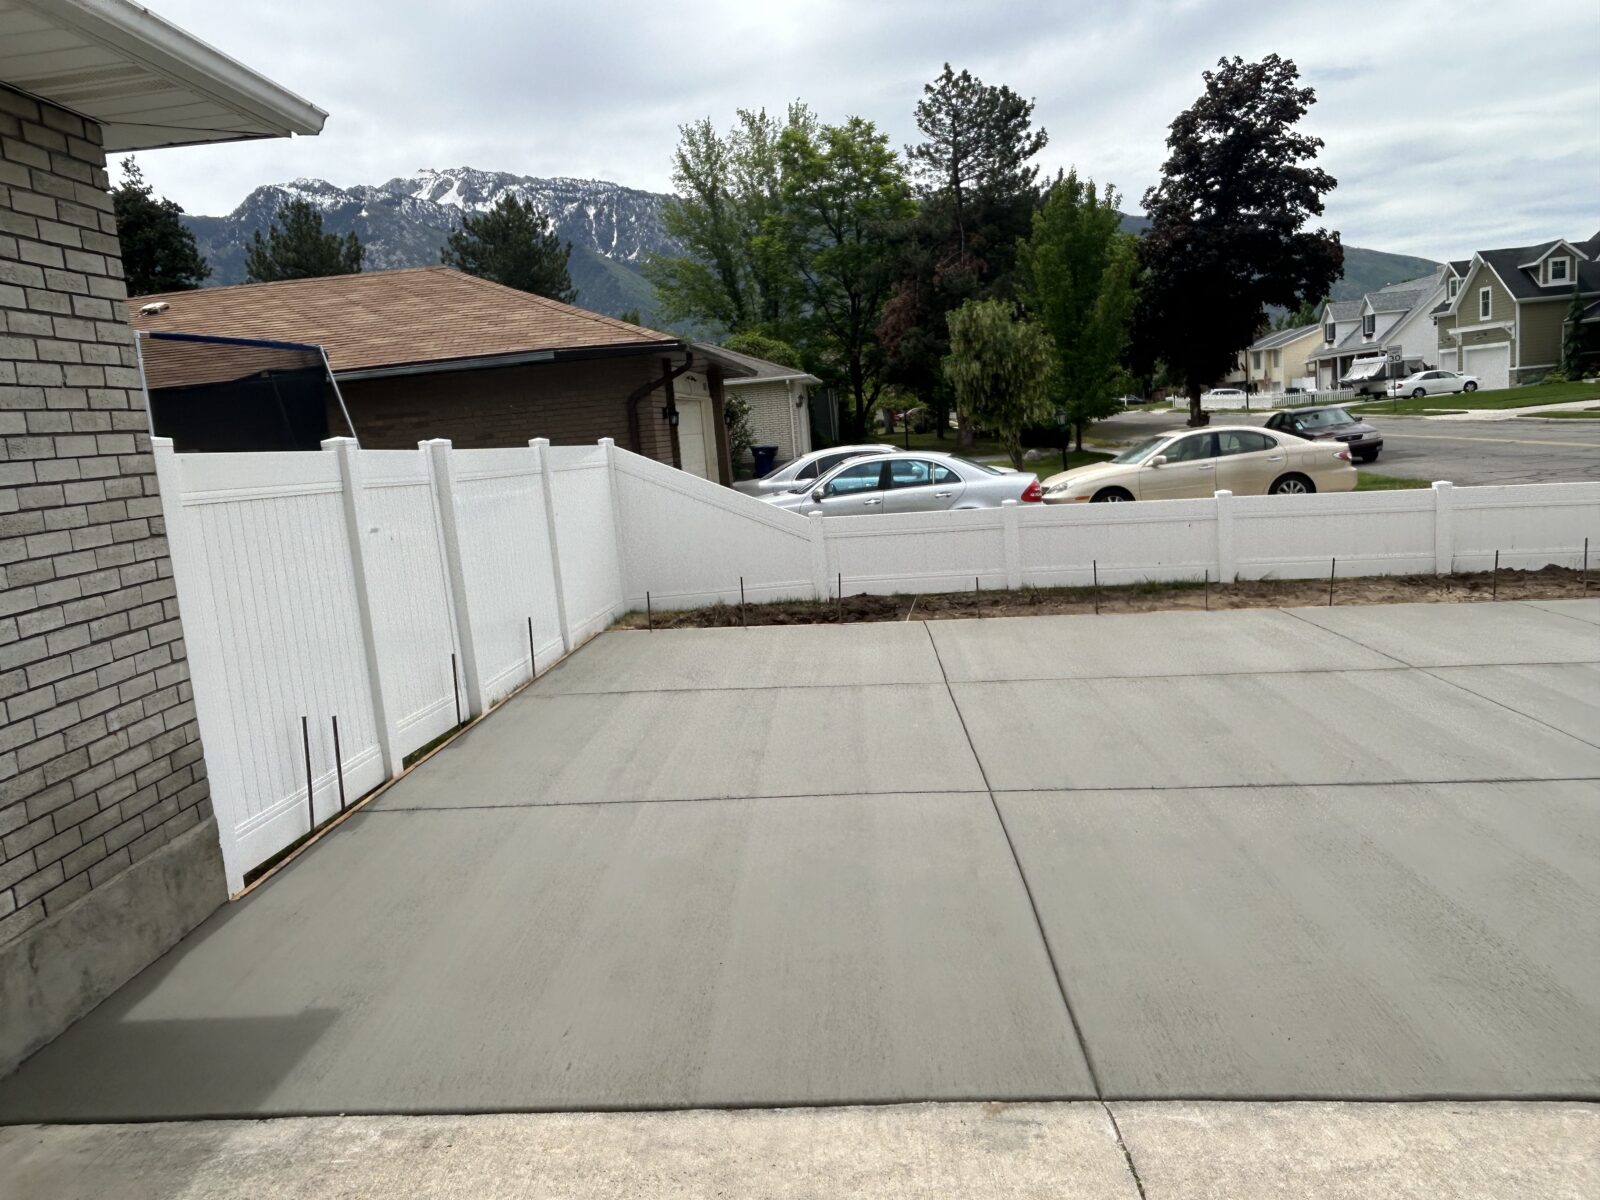
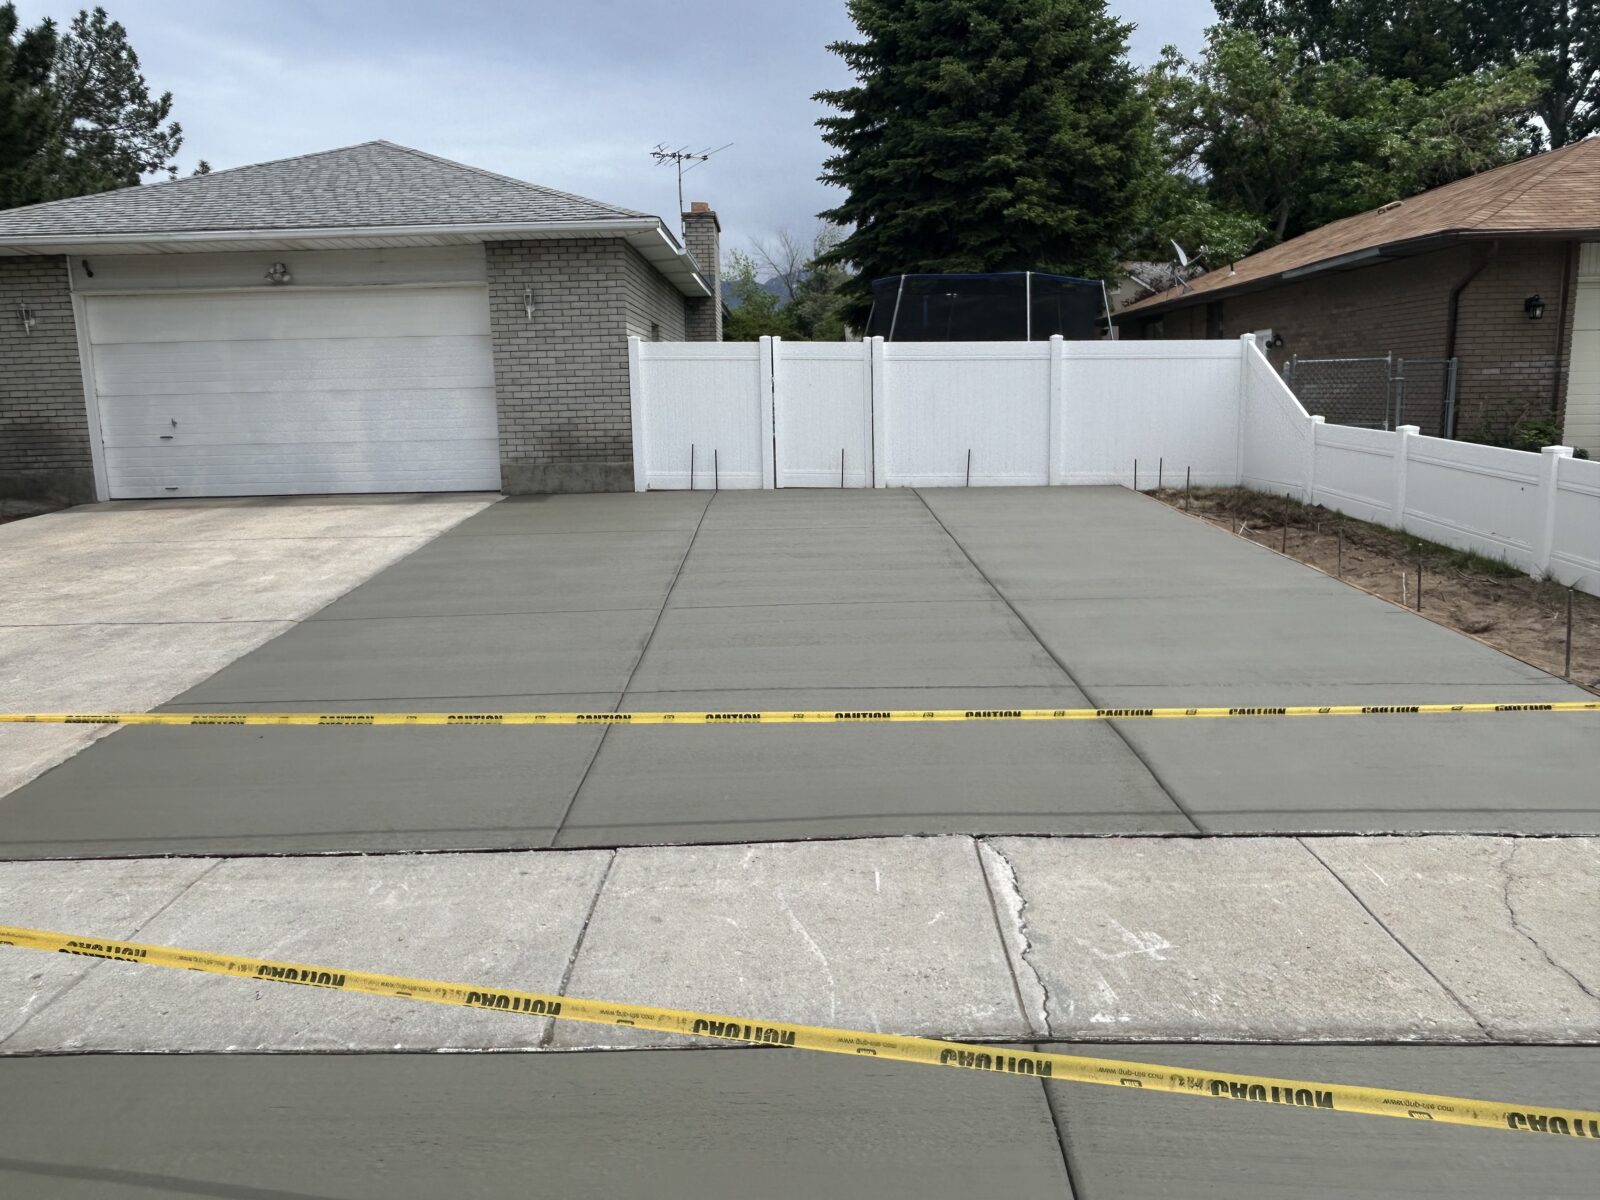
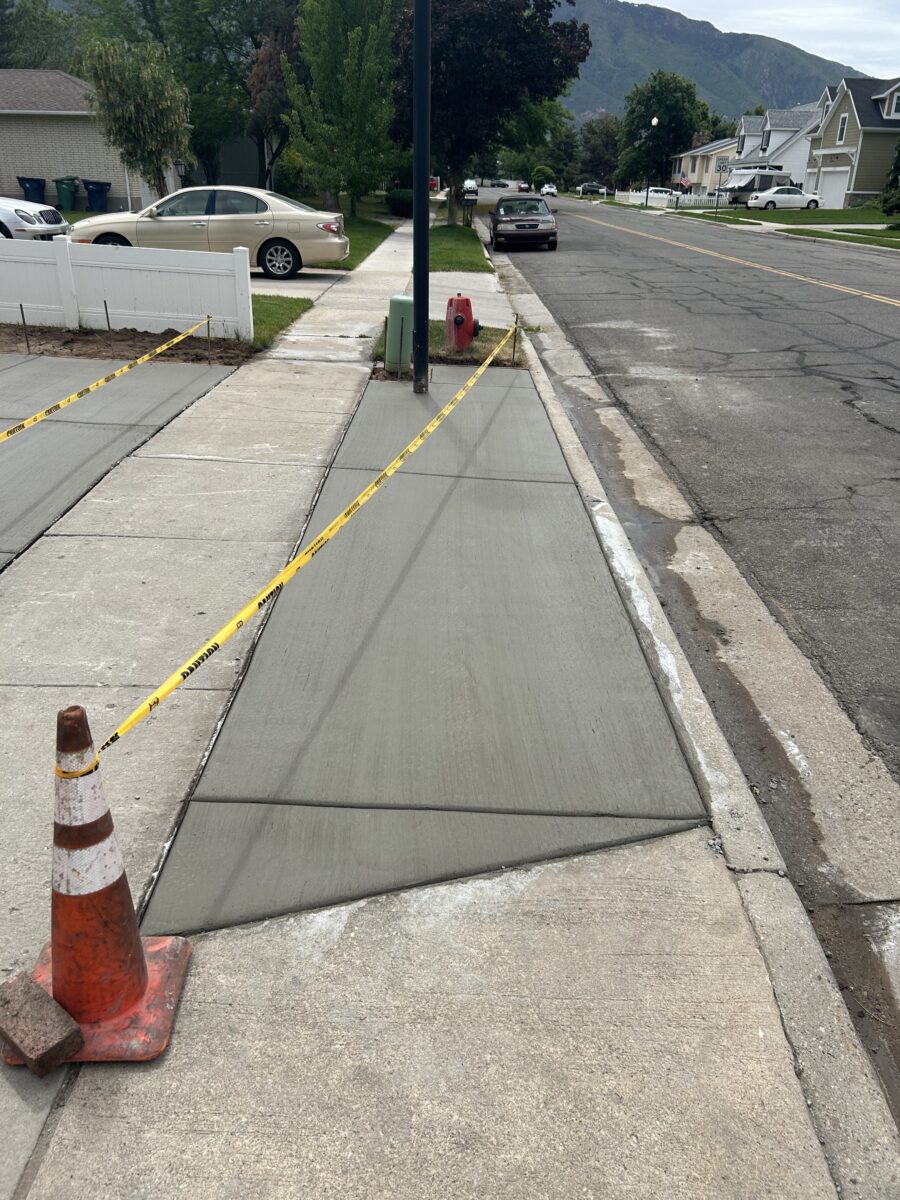
7. Curing
Curing is a vital step for the durability and strength of the concrete.
- Curing Methods: Keep the concrete moist by covering it with plastic sheeting, using a curing compound, or applying water periodically. Proper curing prevents premature drying and cracking.
- Curing Time: Allow the concrete to cure for at least 7 days before using the driveway. Full curing can take up to 28 days, but the driveway will be functional after the initial curing period.
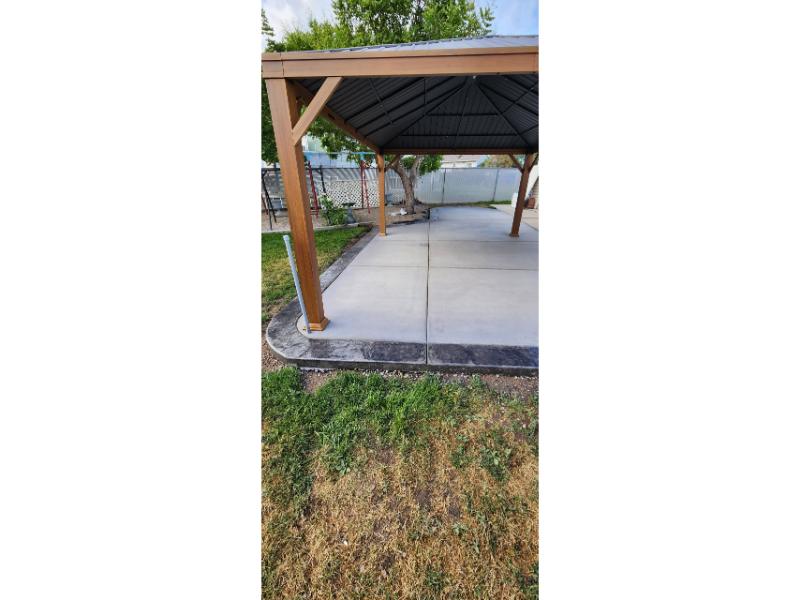
8. Sealing and Maintenance
Sealing the concrete helps protect it from weathering and stains.
- Sealing: Apply a high-quality concrete sealer after the curing period. Sealing enhances the concrete’s longevity and appearance.
- Regular Maintenance: Perform routine maintenance, such as cleaning, sealing every few years, and addressing any minor repairs promptly to keep your driveway in excellent condition.
Call Smith Builders to set up a free estimate for your next project now: 801-647-7123.
Installing a concrete driveway in North Salt Lake involves meticulous planning, preparation, and execution. By understanding each step of the process, from initial planning to sealing and maintenance, you can ensure a durable and aesthetically pleasing driveway that enhances your property’s value and functionality. Working with experienced professionals can further ensure the success of your project, providing you with a beautiful and long-lasting driveway.
Learn more about our Concrete Services or Contact Us for a free estimate on your next project: