
Call Smith Builders to set up a free estimate for your next project now: 801-647-7123.
Winter in Saratoga Springs, Utah, brings beautiful snowfall, but it also means dealing with snow-covered driveways. Installing an electrically heated driveway can save you time and effort, ensuring a clear and safe surface year-round. Here’s a detailed guide on the process of installing an electrically heated driveway.
- Initial Assessment and Planning
- Obtaining Permits
- Design and System Selection
- Demolition and Removal
- Preparing the Base
- Installing the Heating System
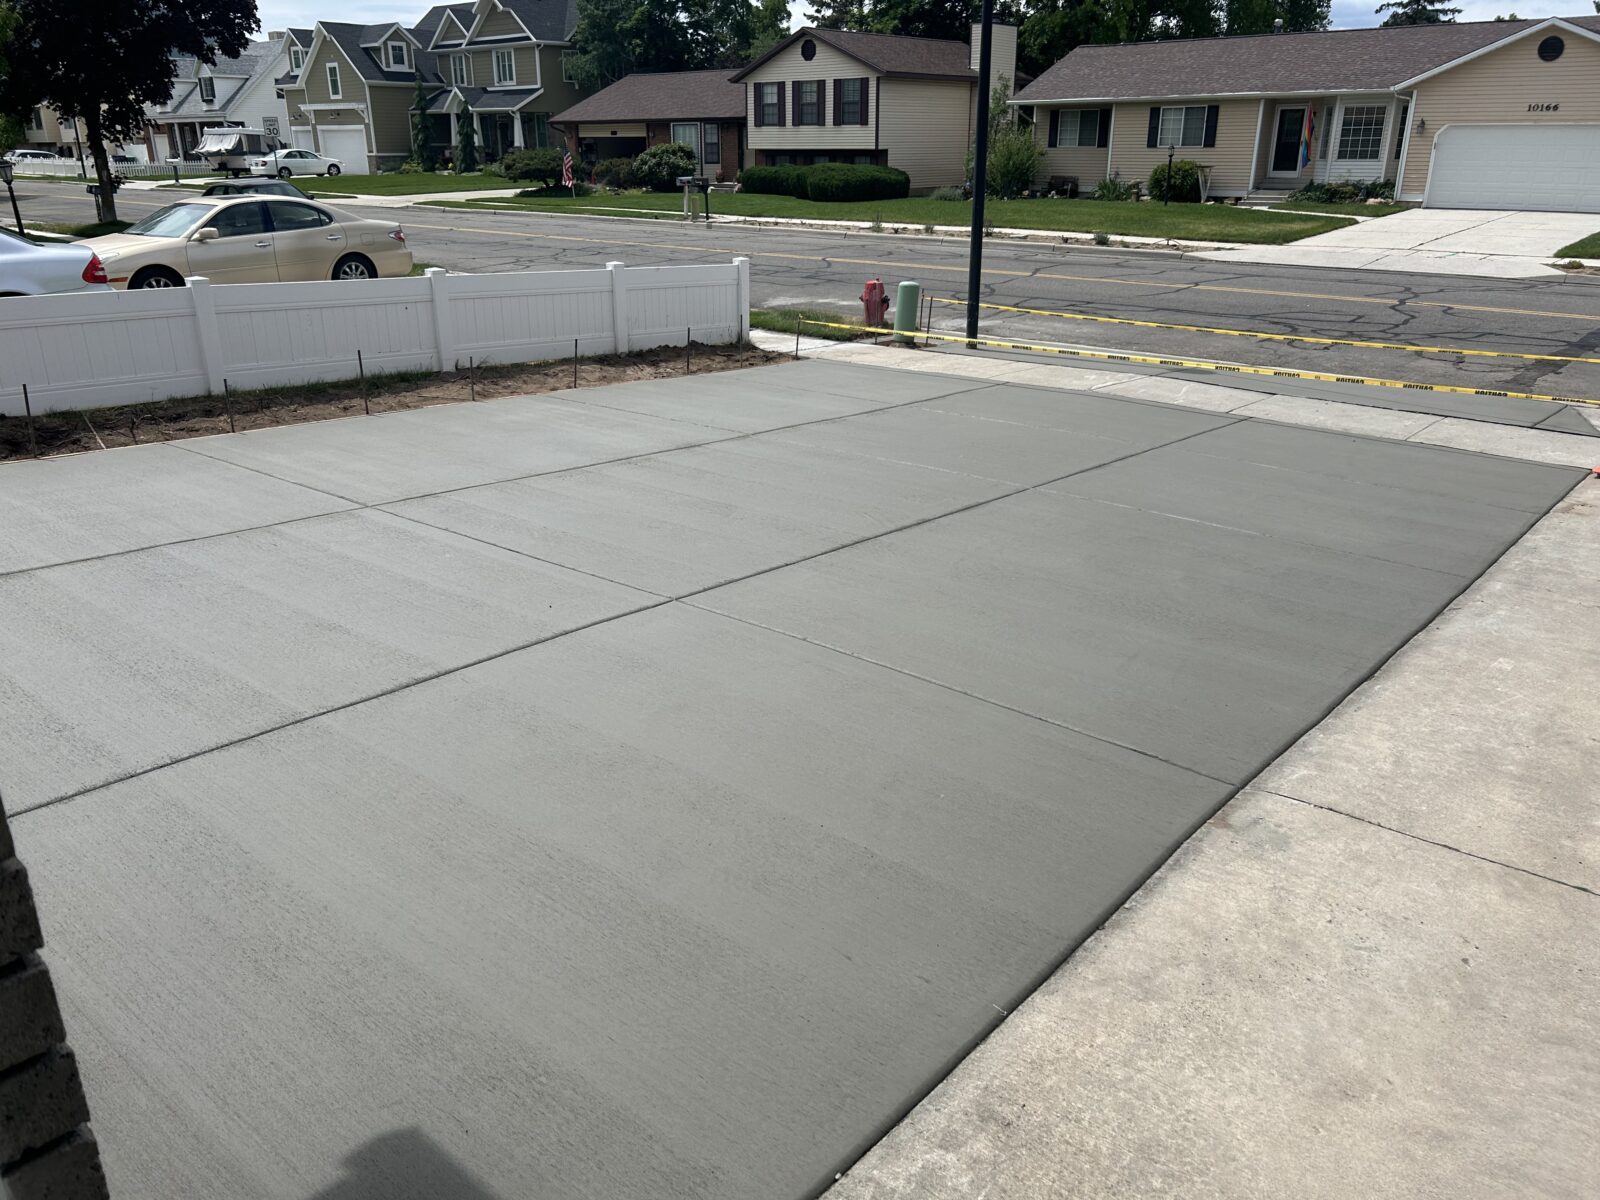
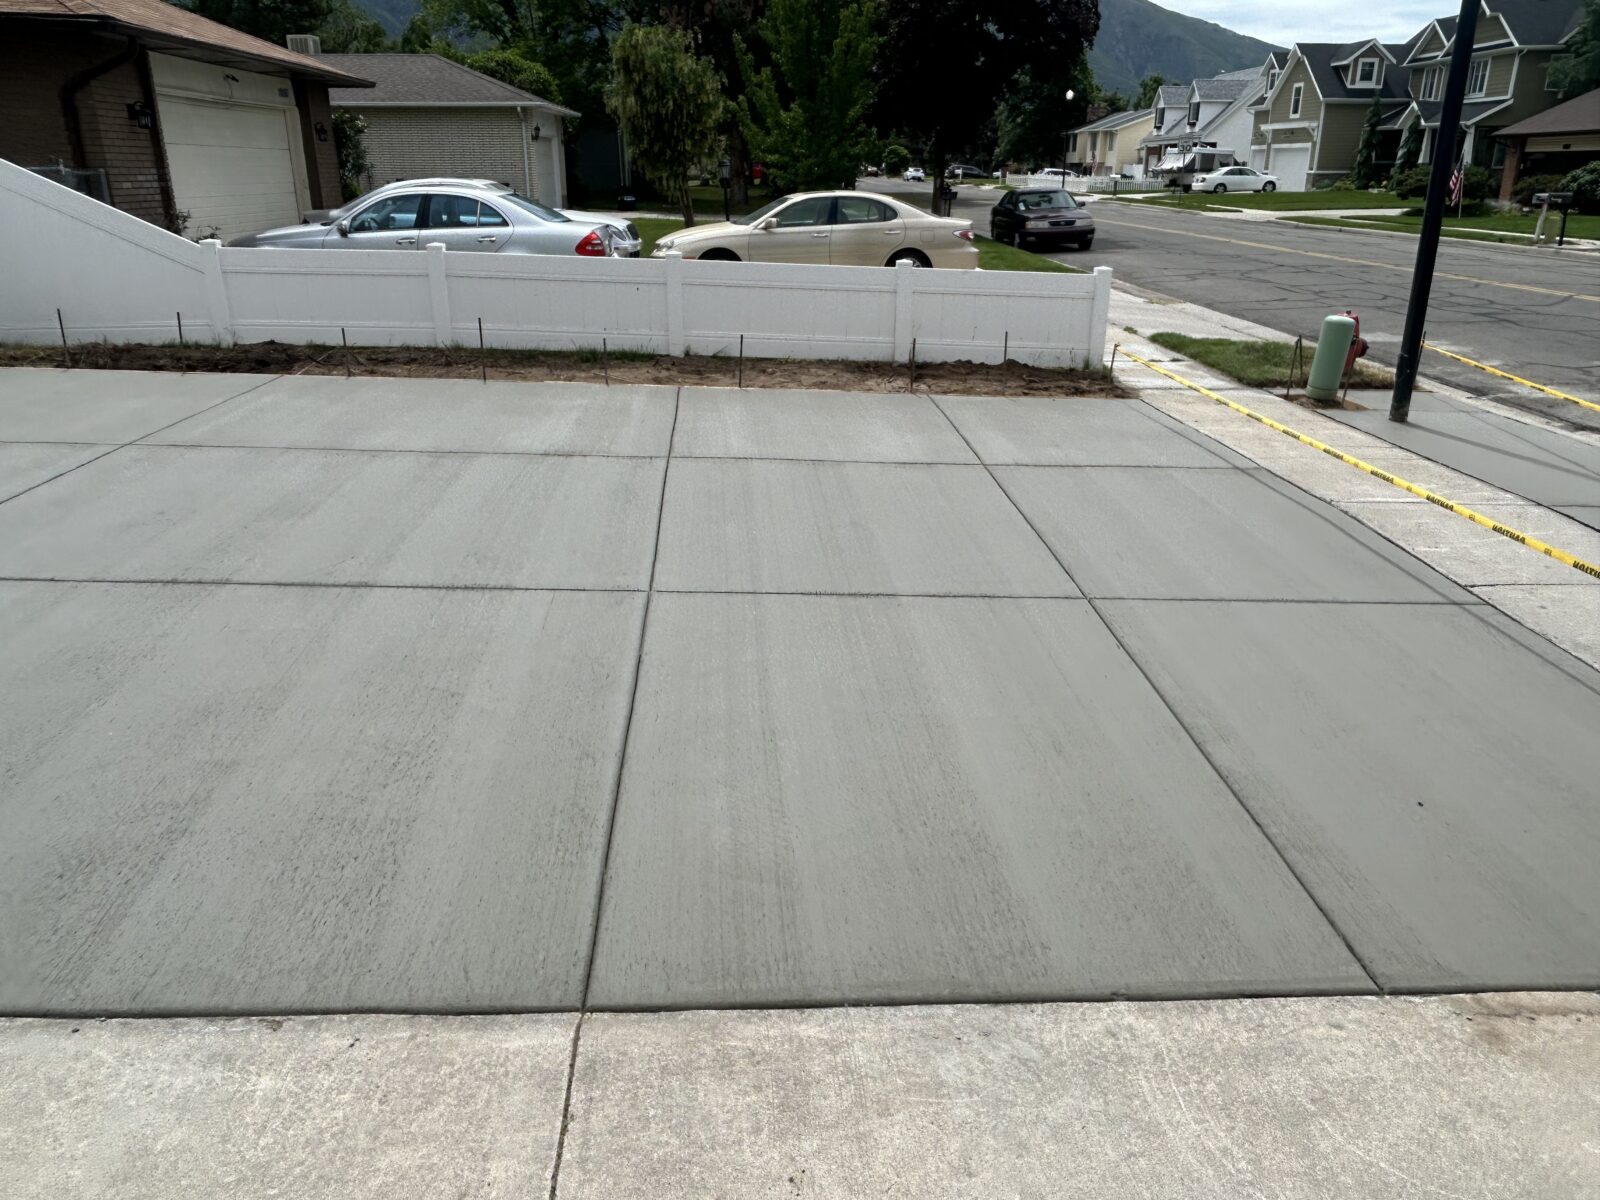
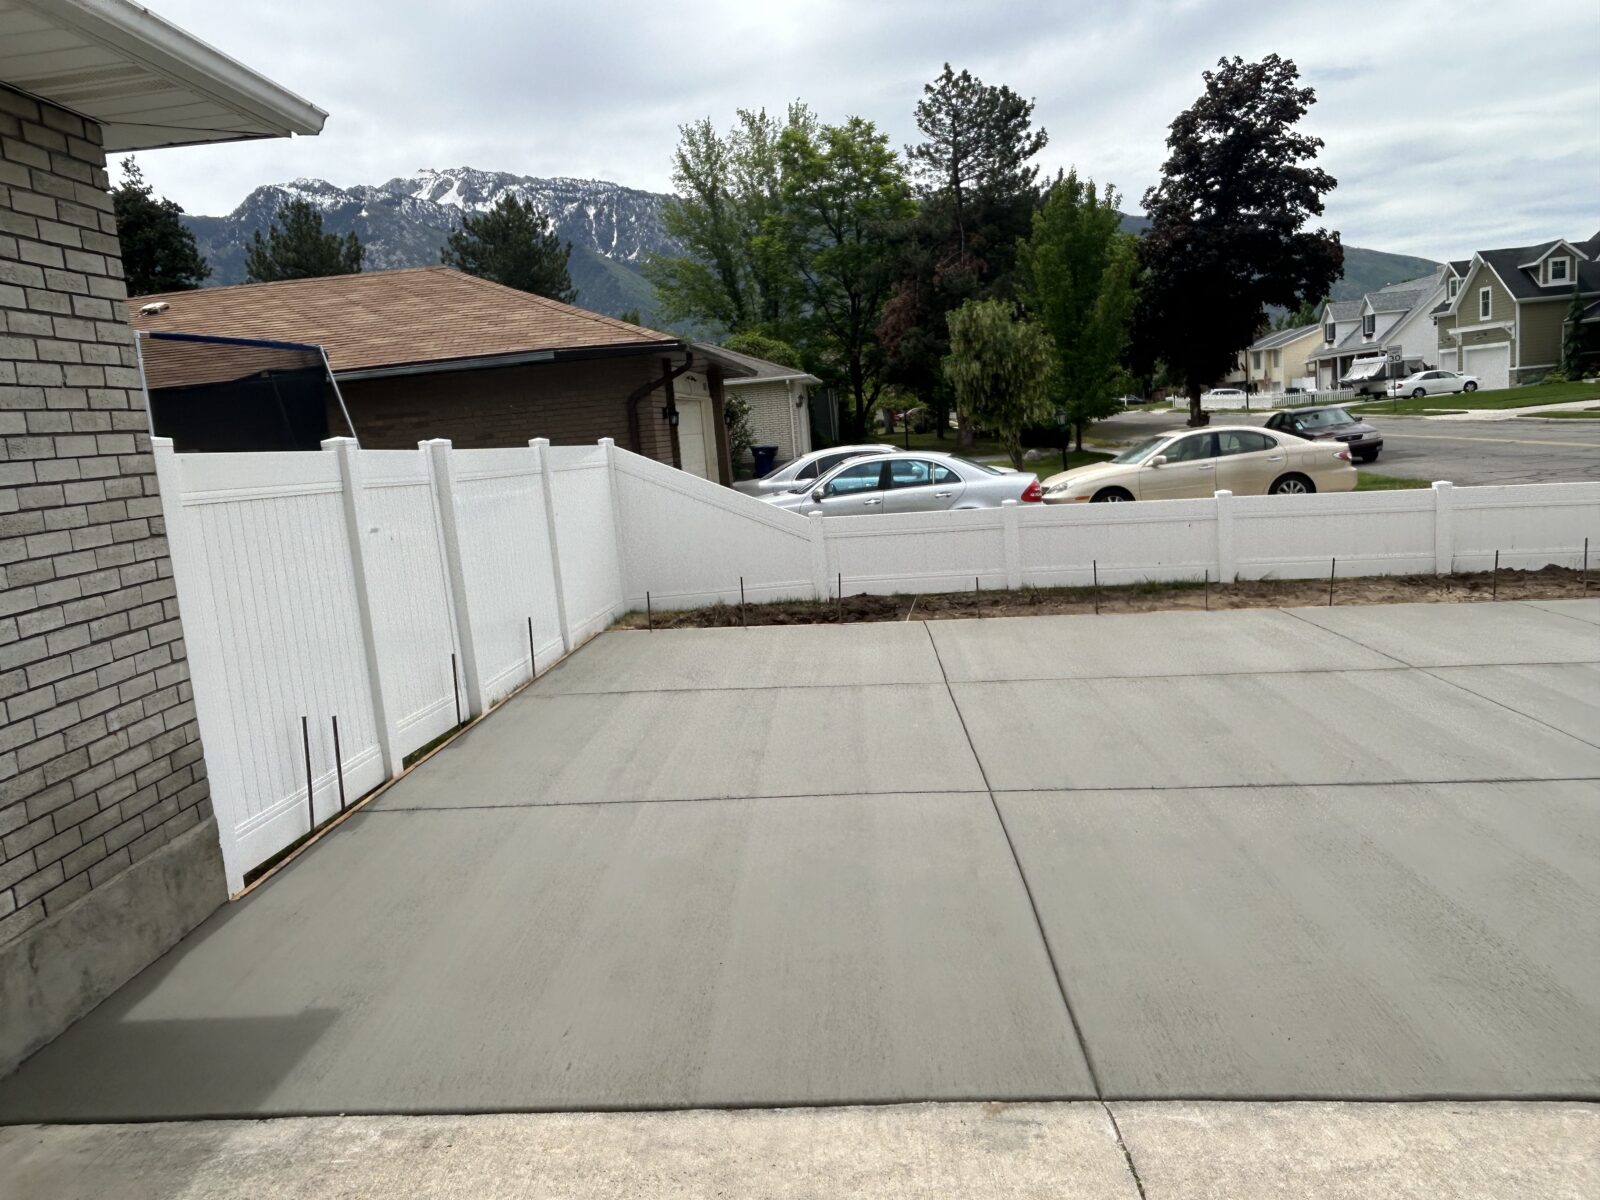
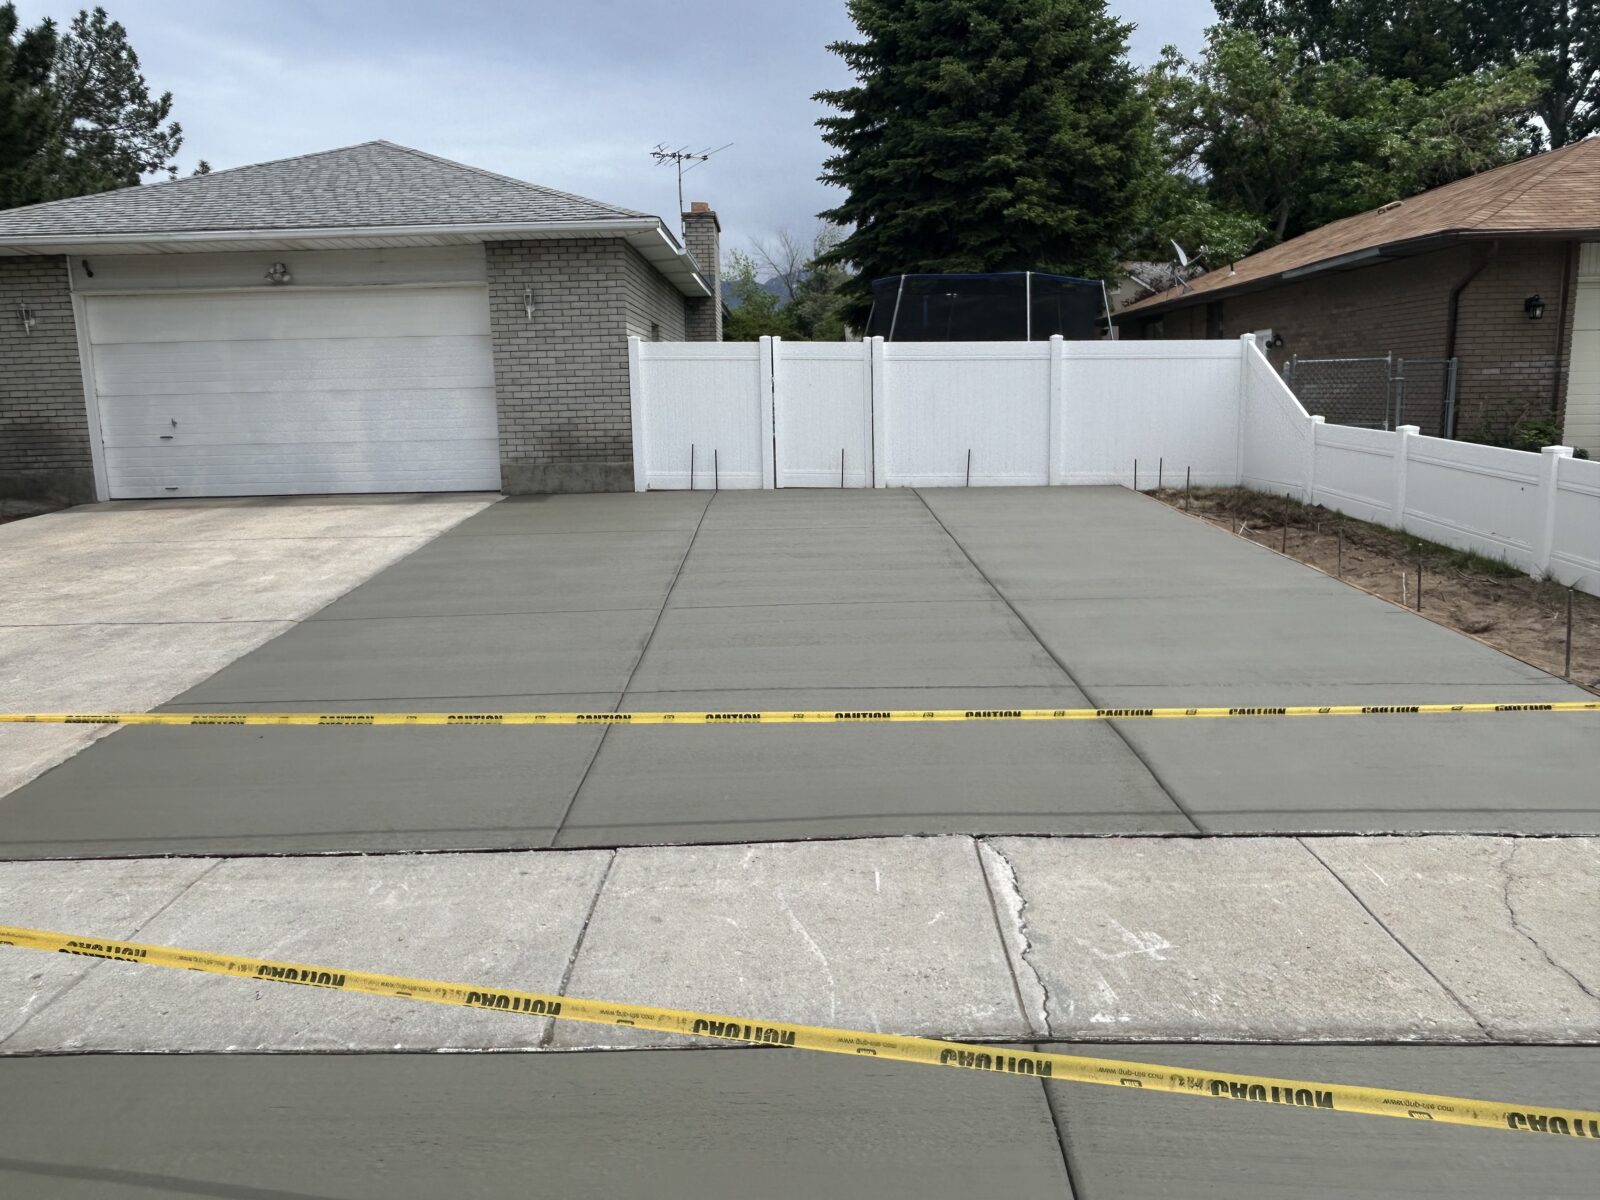
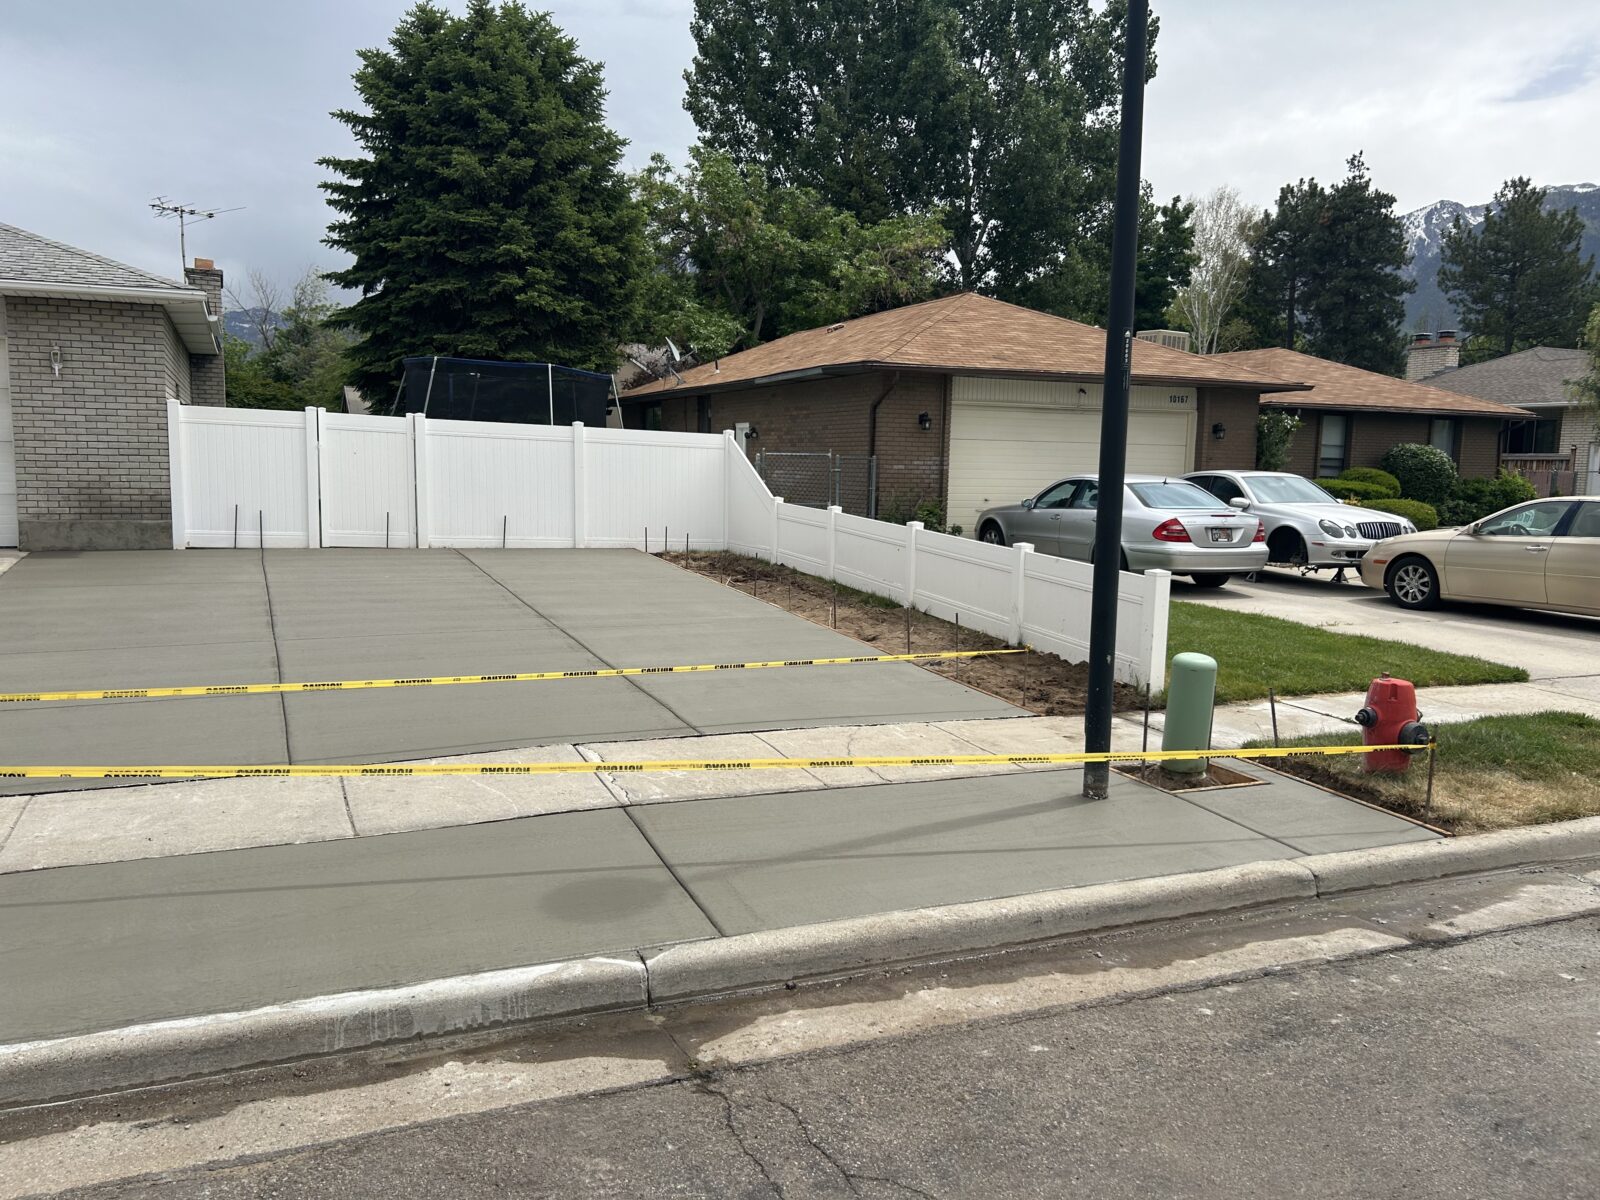
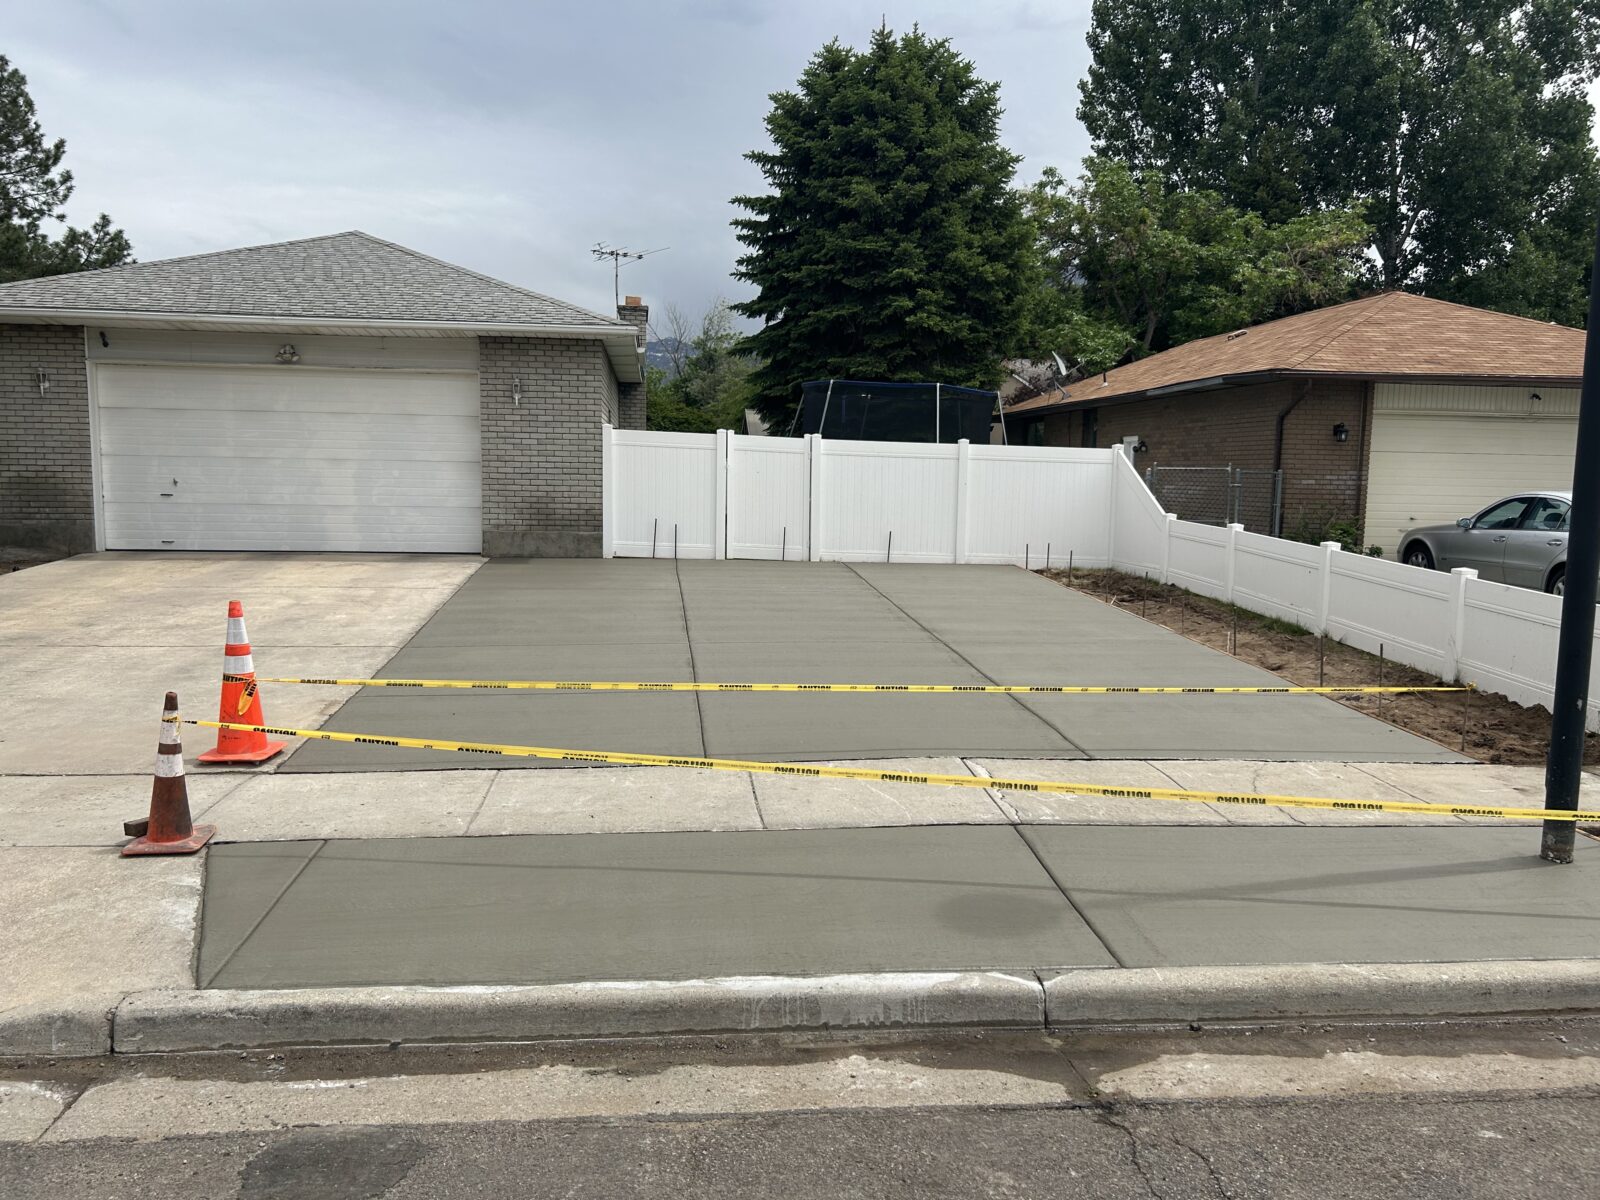
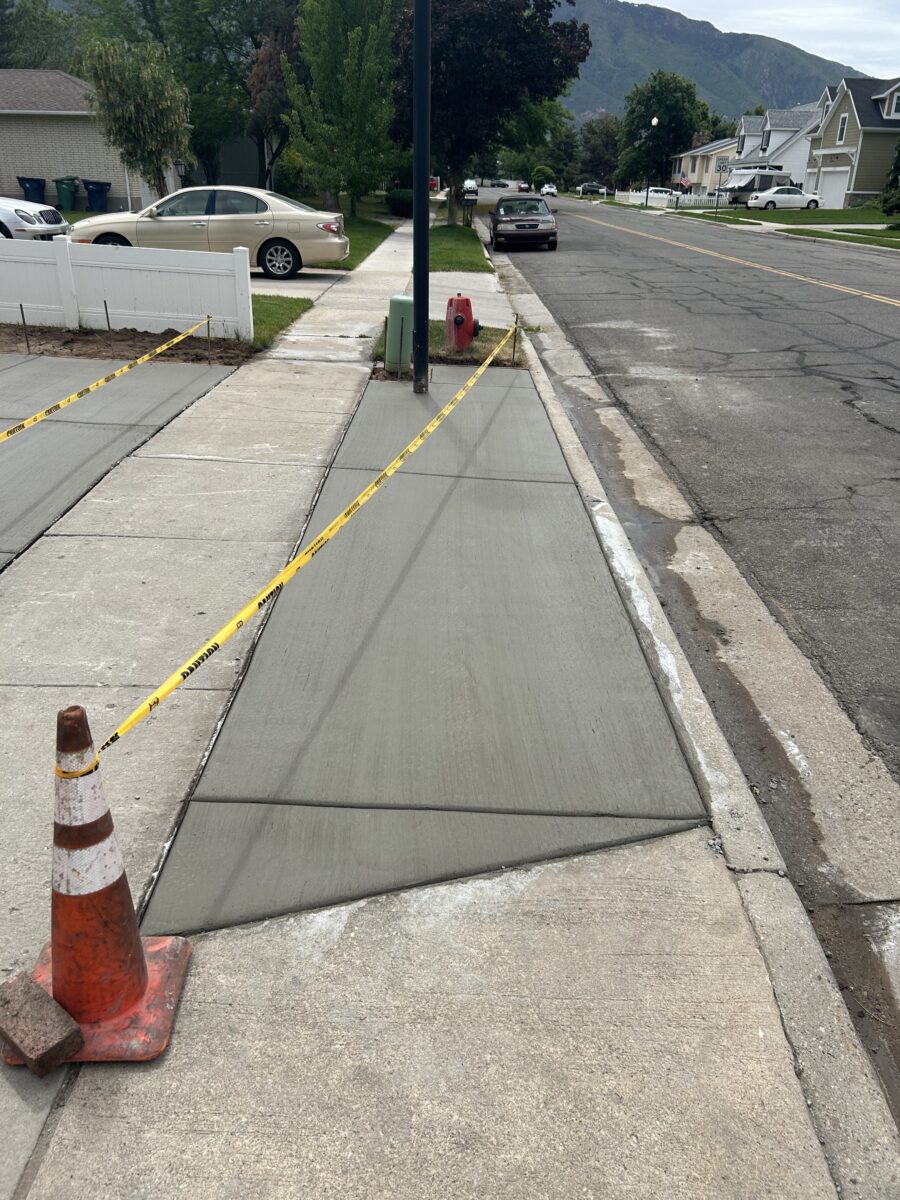
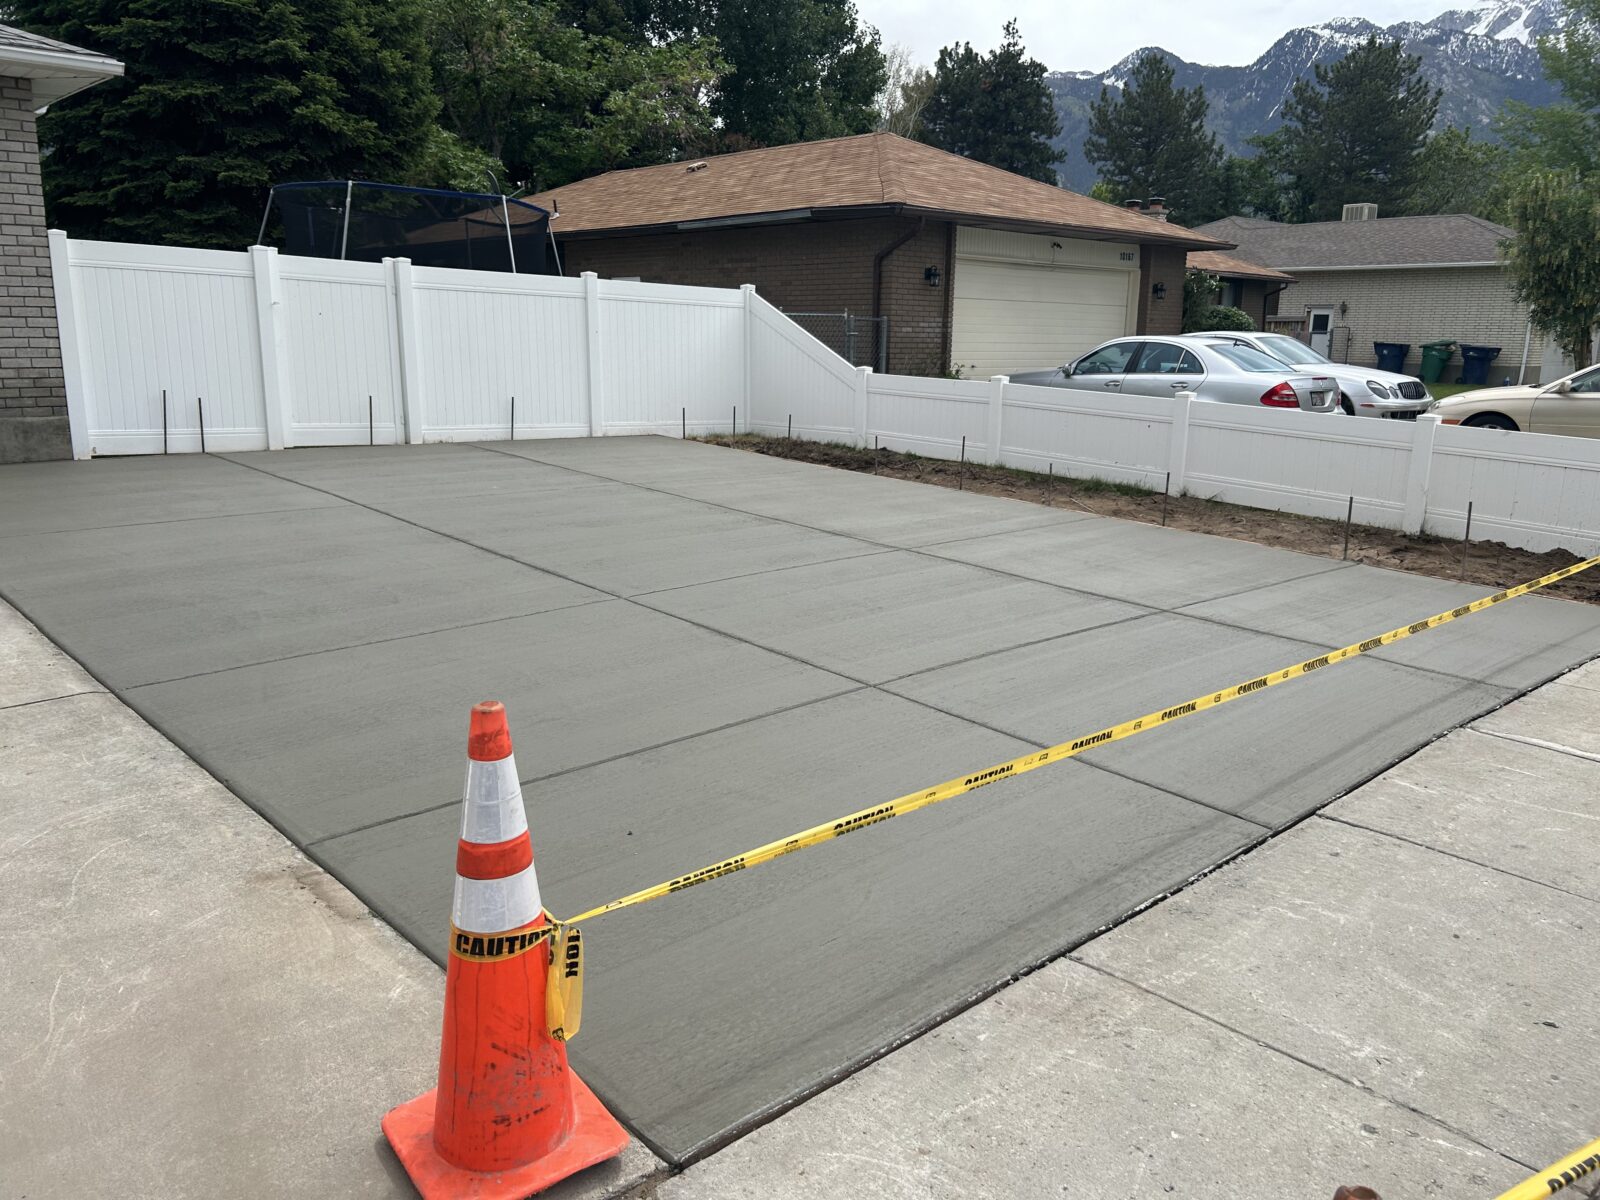
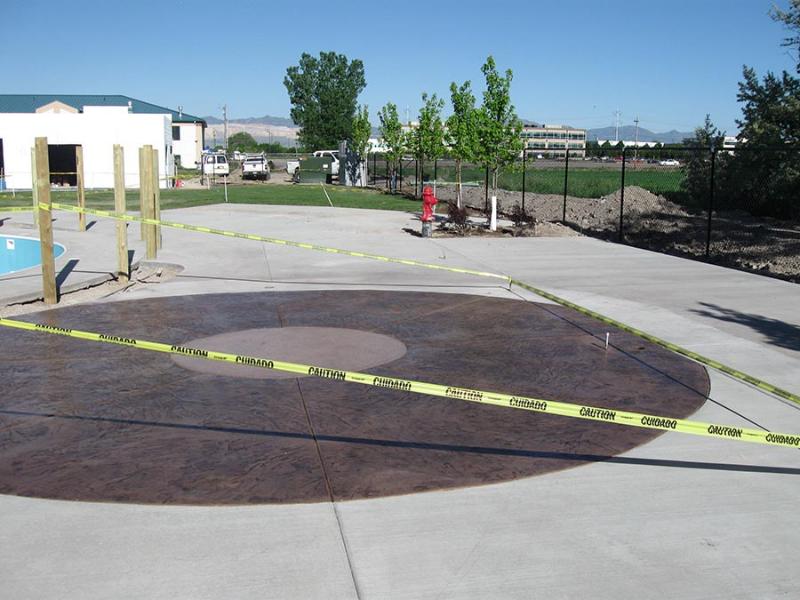
- Pouring the Concrete
- Installing the Control System
- Curing the Concrete
- Testing the System
- Final Inspection and Clean-Up
Initial Assessment and Planning
Evaluating Your Driveway Needs
Step: Conduct a thorough assessment of your current driveway and determine the feasibility of an electrically heated system.
Action: A professional Saratoga Springs contractor will inspect the existing driveway, measure the area, and discuss your heating needs and preferences. This assessment helps in selecting the right heating system and planning the installation.
Obtaining Permits
Ensuring Legal Compliance
Step: Obtain the necessary permits from local authorities in Saratoga Springs.
Action: Check with the local building department to understand the permitting requirements for driveway heating systems. Your contractor can assist with the permit application process to ensure compliance with local regulations.
Design and System Selection
Choosing the Right Heating System
Step: Select the appropriate heating system for your driveway.
Action: There are two main types of electric heating systems: heating cables and heating mats. Your contractor in Saratoga Springs will help you choose the best option based on your driveway’s size, shape, and your specific needs. The design will include the layout of the heating elements and the location of the control unit.
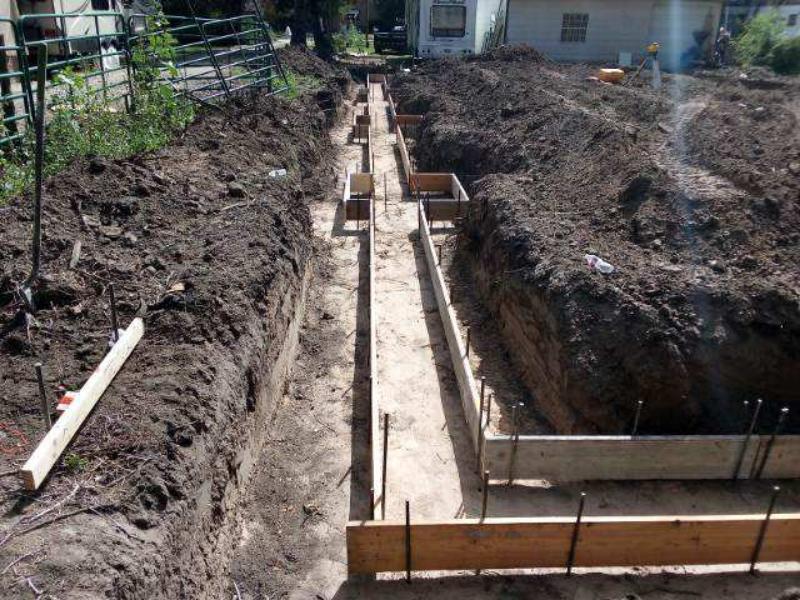
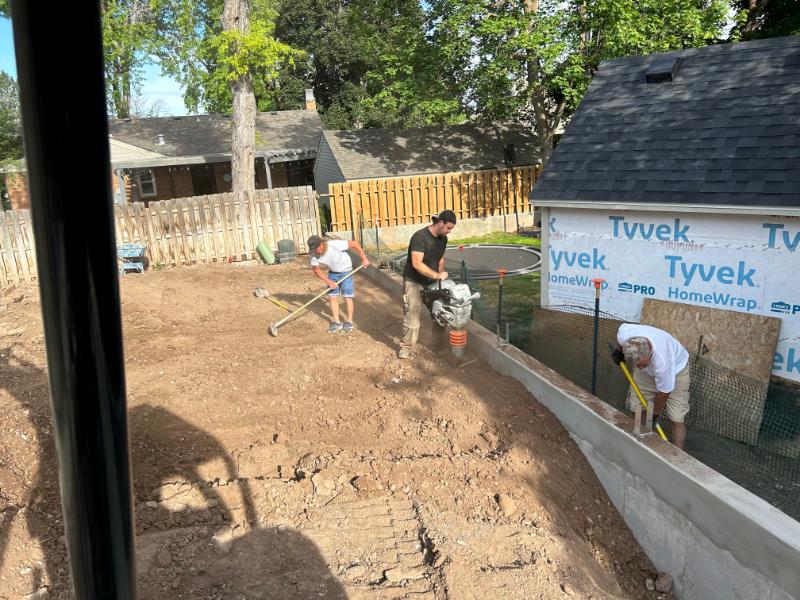
Demolition and Removal
Clearing the Existing Driveway
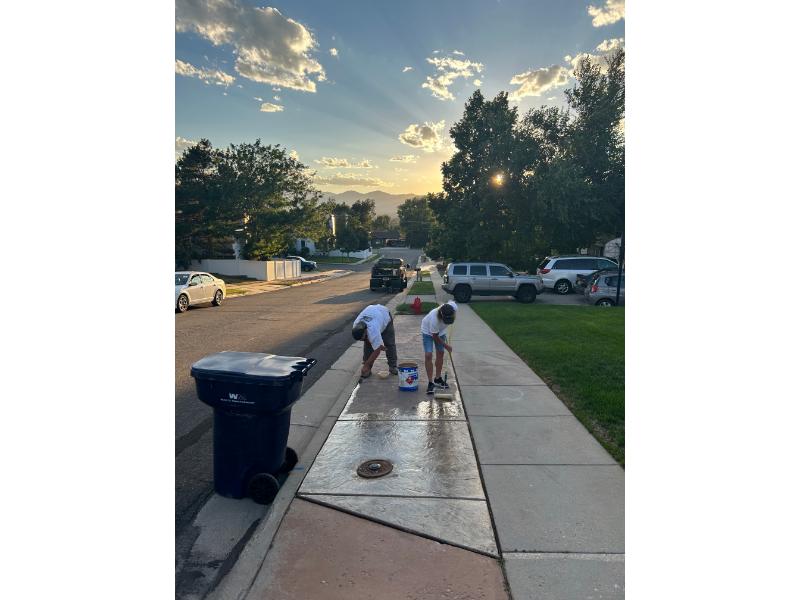
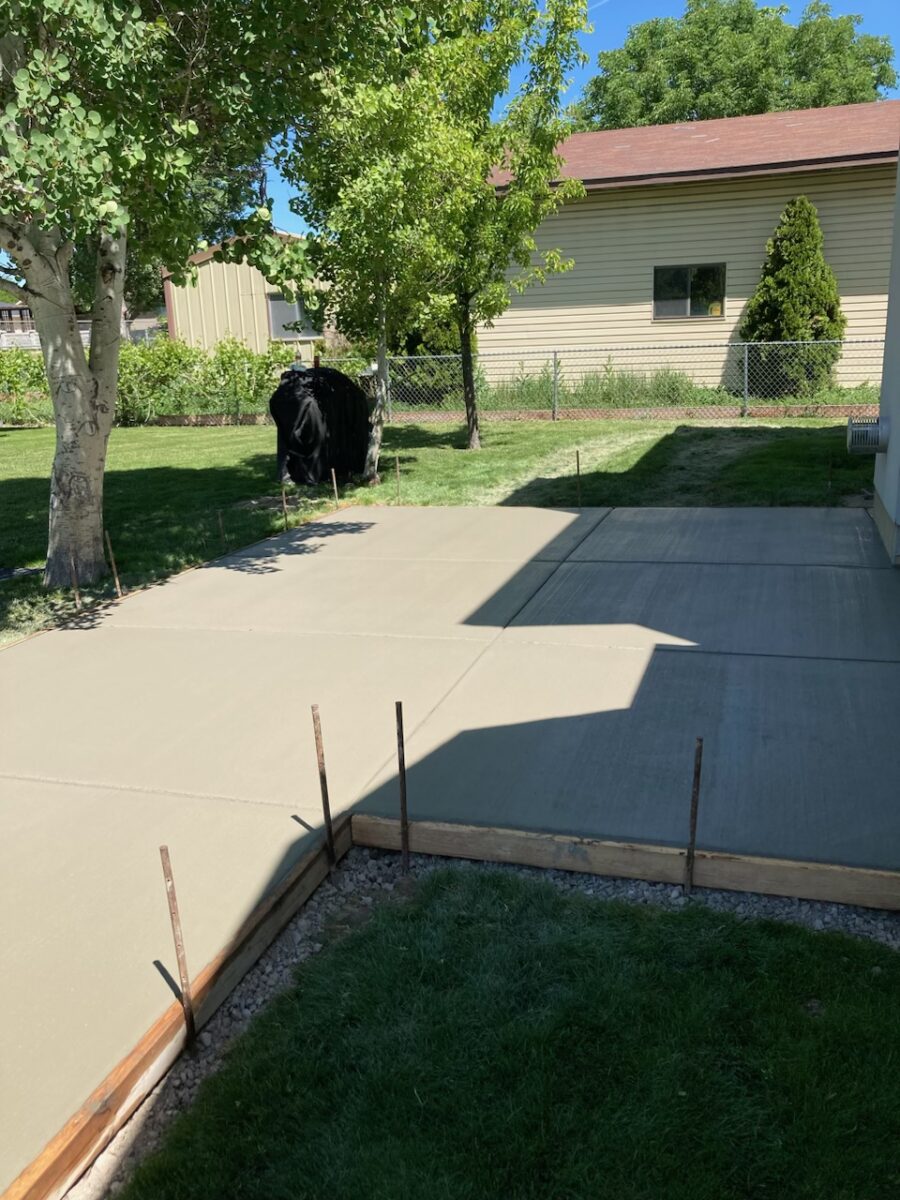
Step: Remove the existing driveway surface to prepare for the installation of the heating system.
Action: Heavy machinery breaks up and removes the old concrete or asphalt. The debris is hauled away, leaving a clear area in your Saratoga Springs driveway spot for the new installation.
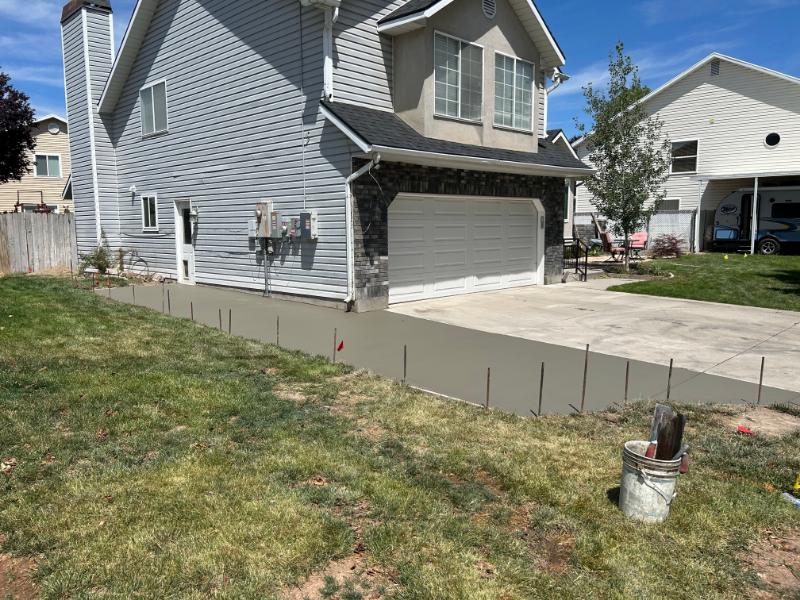
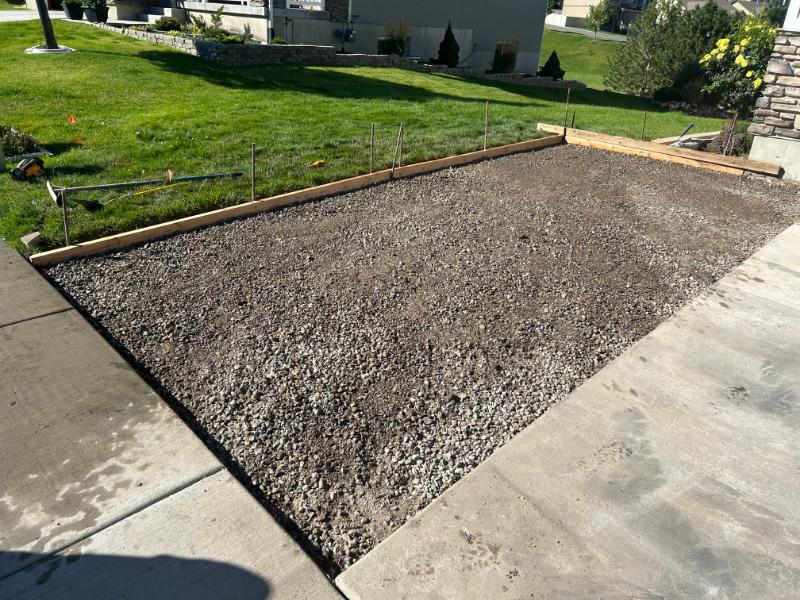
Preparing the Base
Ensuring a Solid Foundation
Step: Prepare the subgrade and base for the new driveway.
Action: The subgrade is graded and compacted to provide a stable foundation. A layer of insulation may be added to improve the efficiency of the heating system by preventing heat loss to the ground.

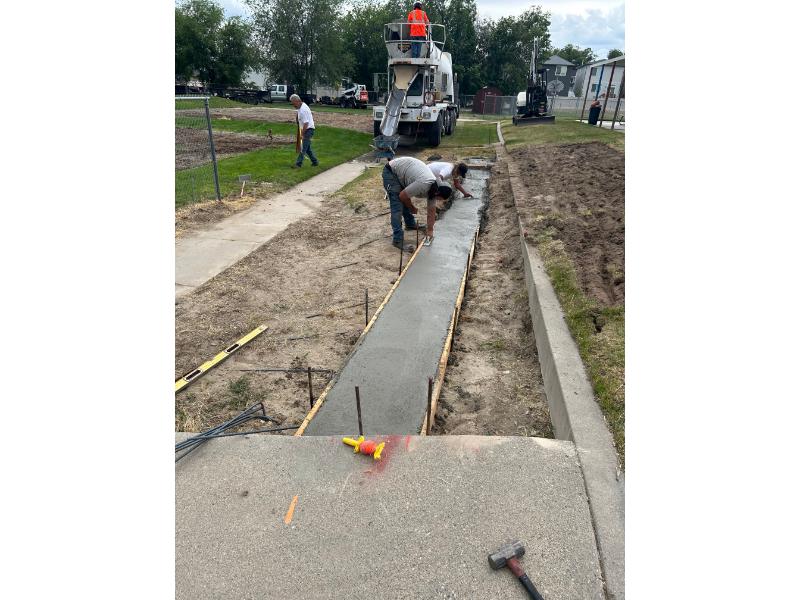
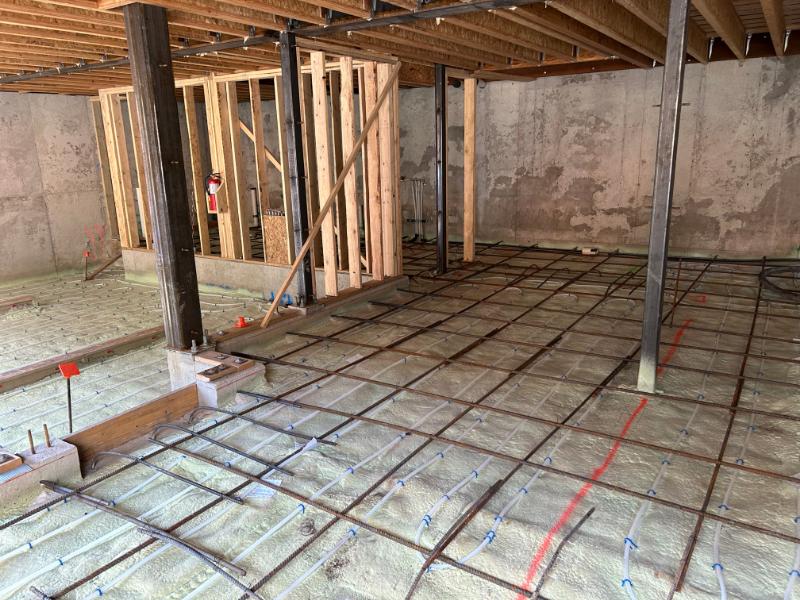
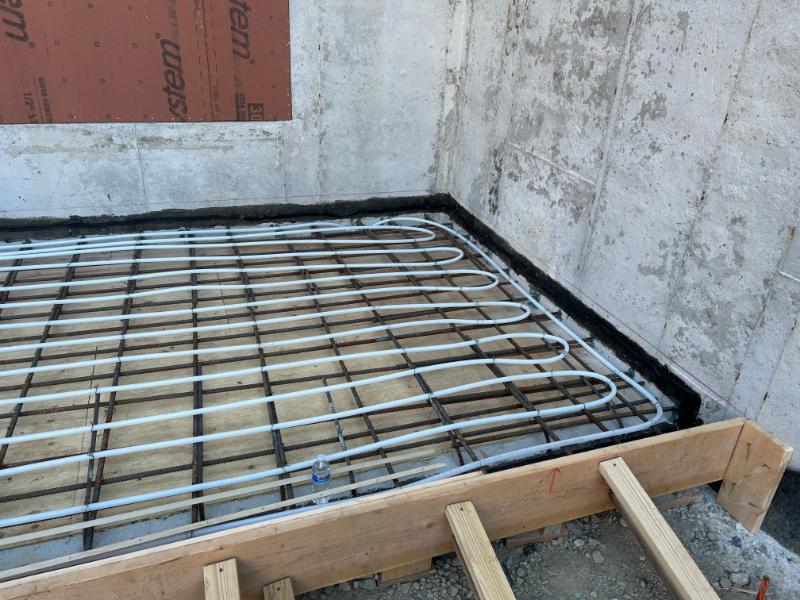
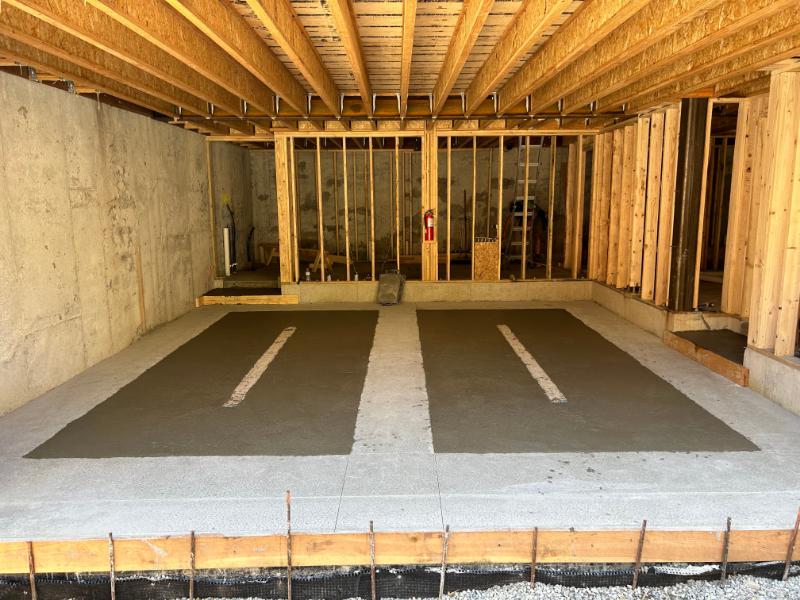
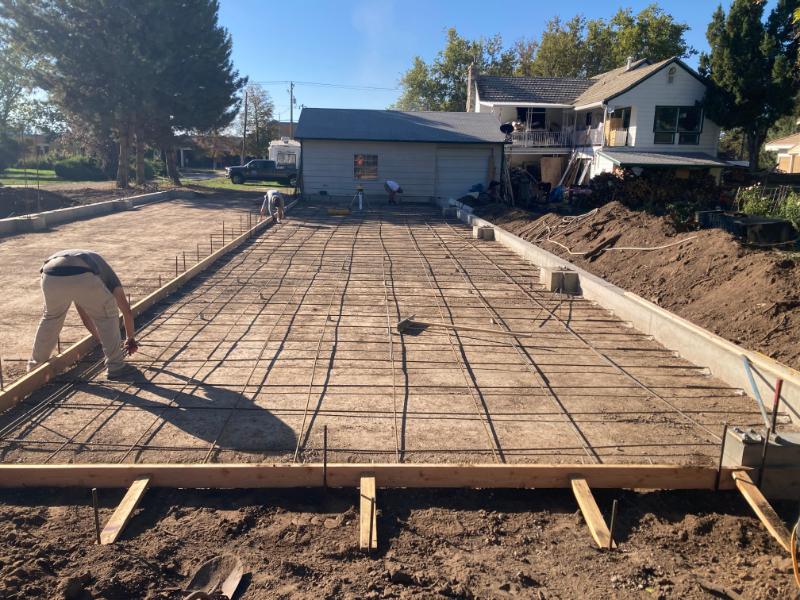
Installing the Heating System
Laying Heating Cables or Mats
Step: Install the electric heating cables or mats according to the design plan.
Action: The heating elements are laid out in a predetermined pattern to ensure even heat distribution. They are securely fastened to prevent movement during the concrete pour. Electrical connections are made, and the system is tested to ensure it is working correctly before covering it with concrete.
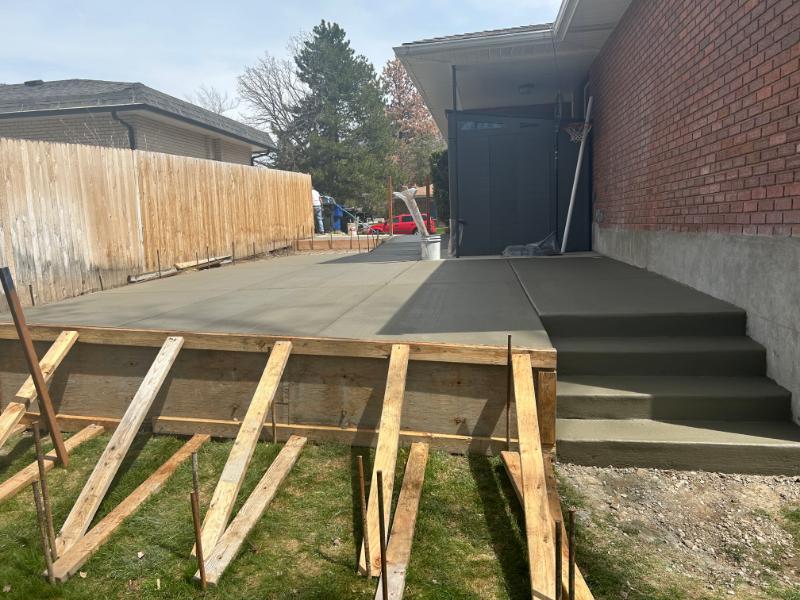
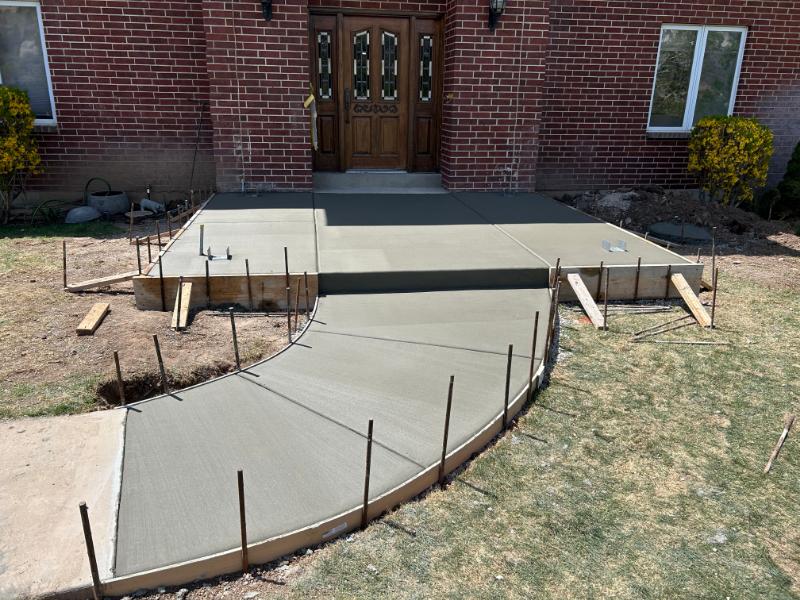
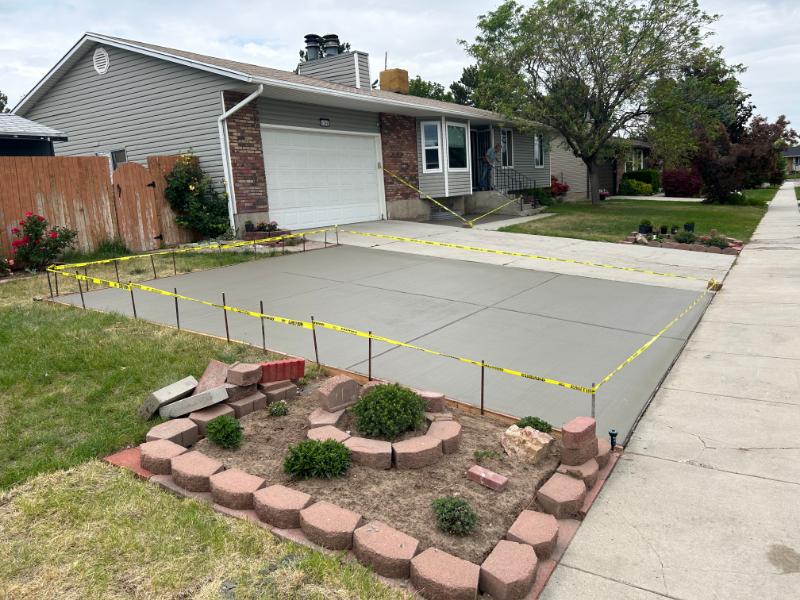
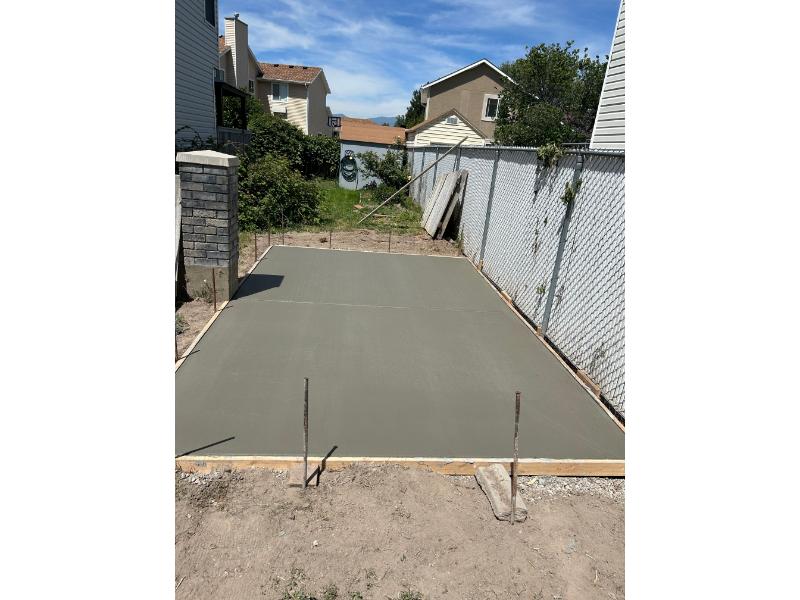
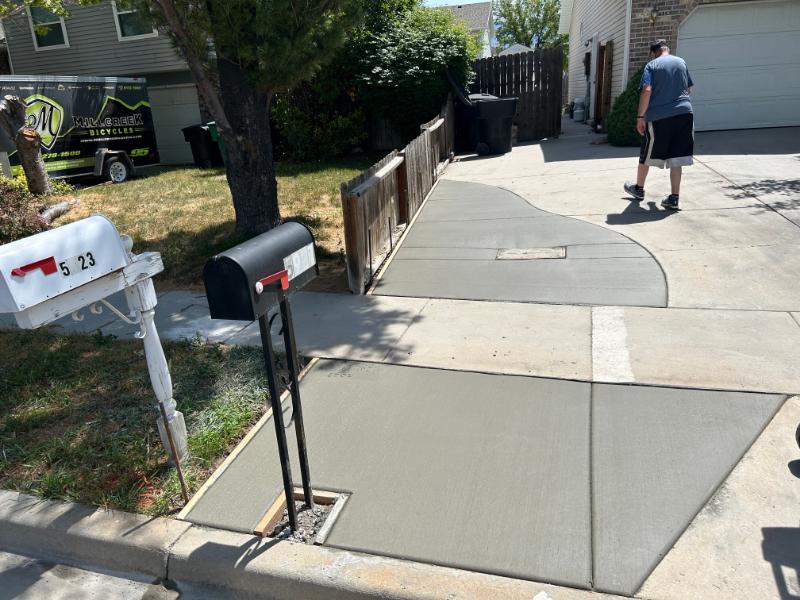
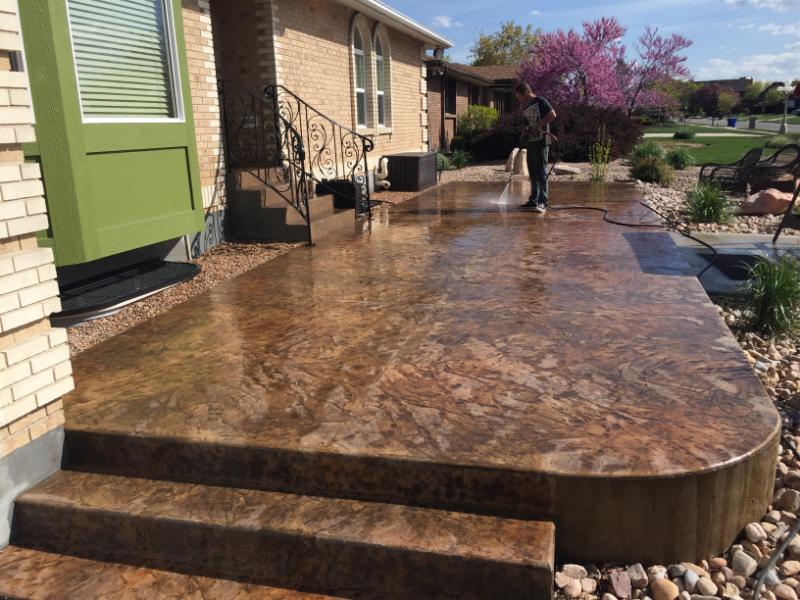
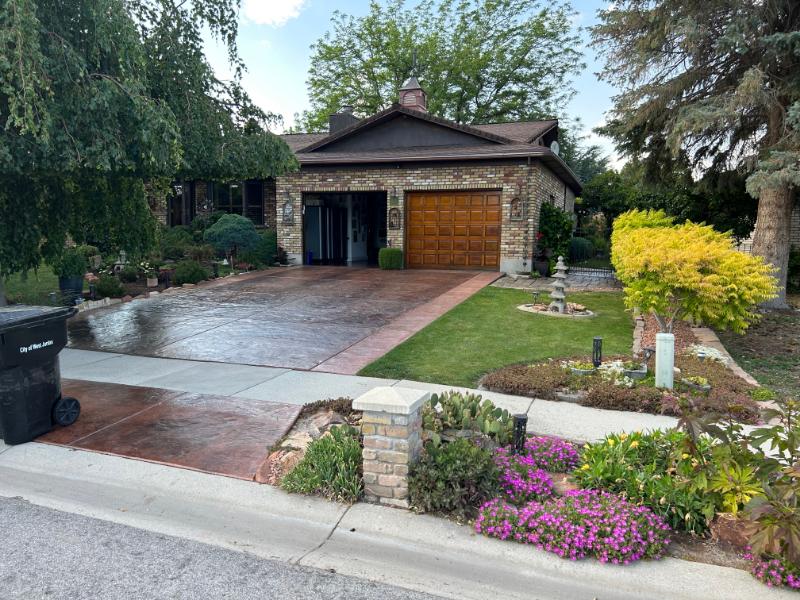
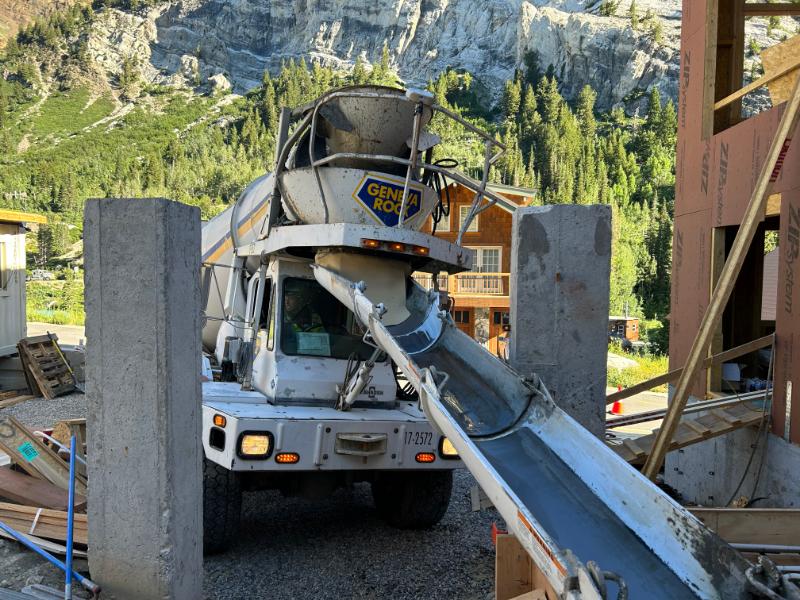
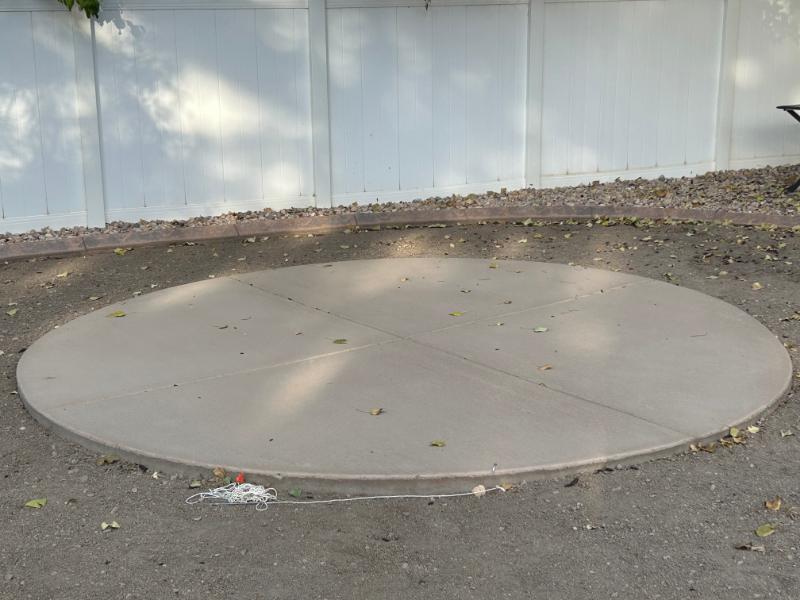
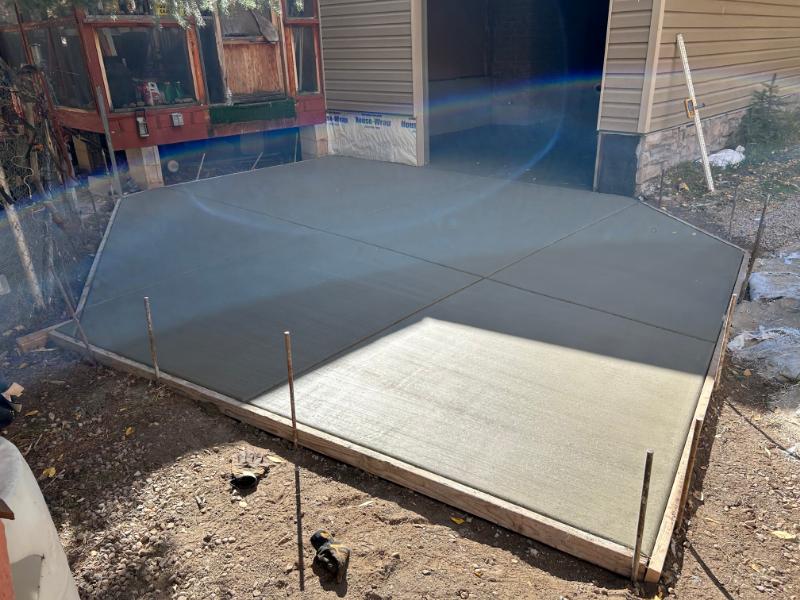
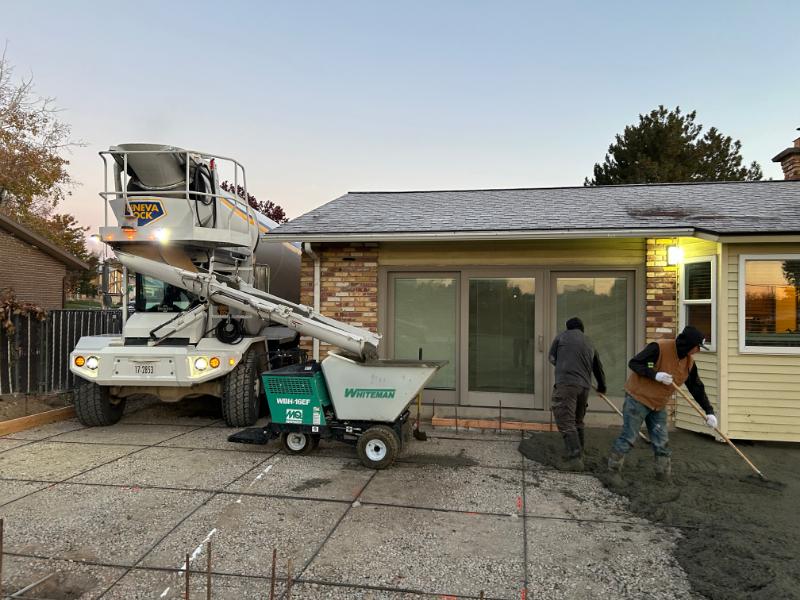
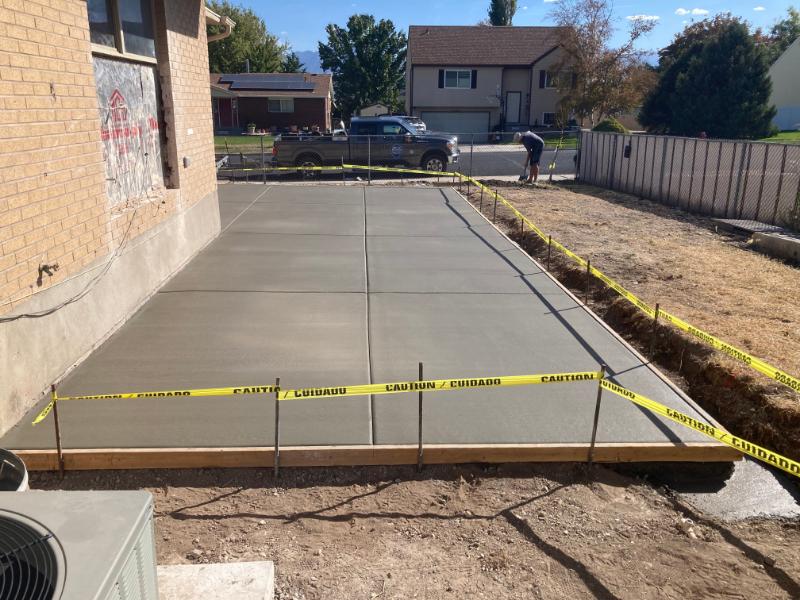
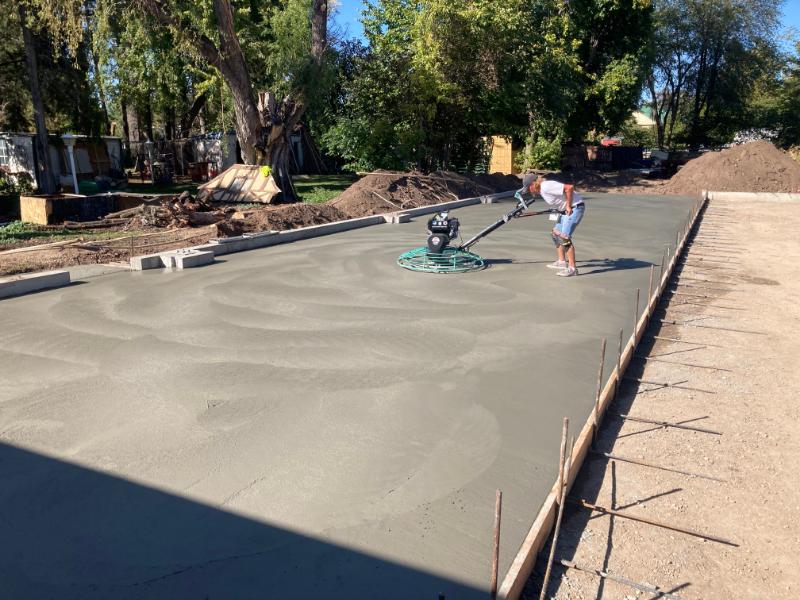
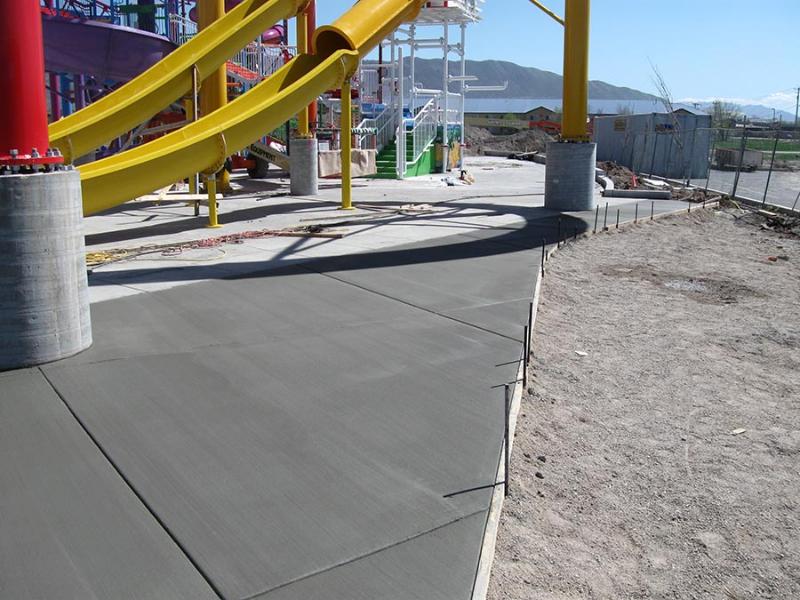
Pouring the Concrete
Creating the New Driveway Surface
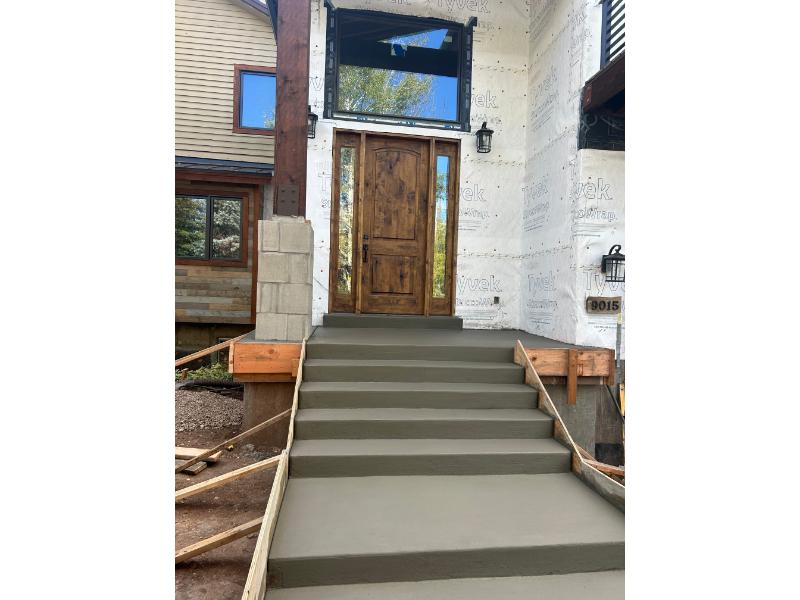
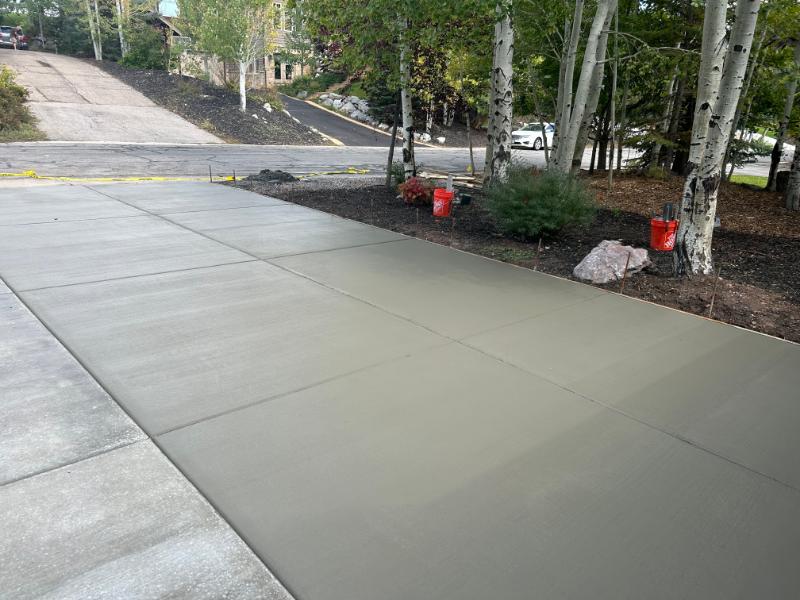
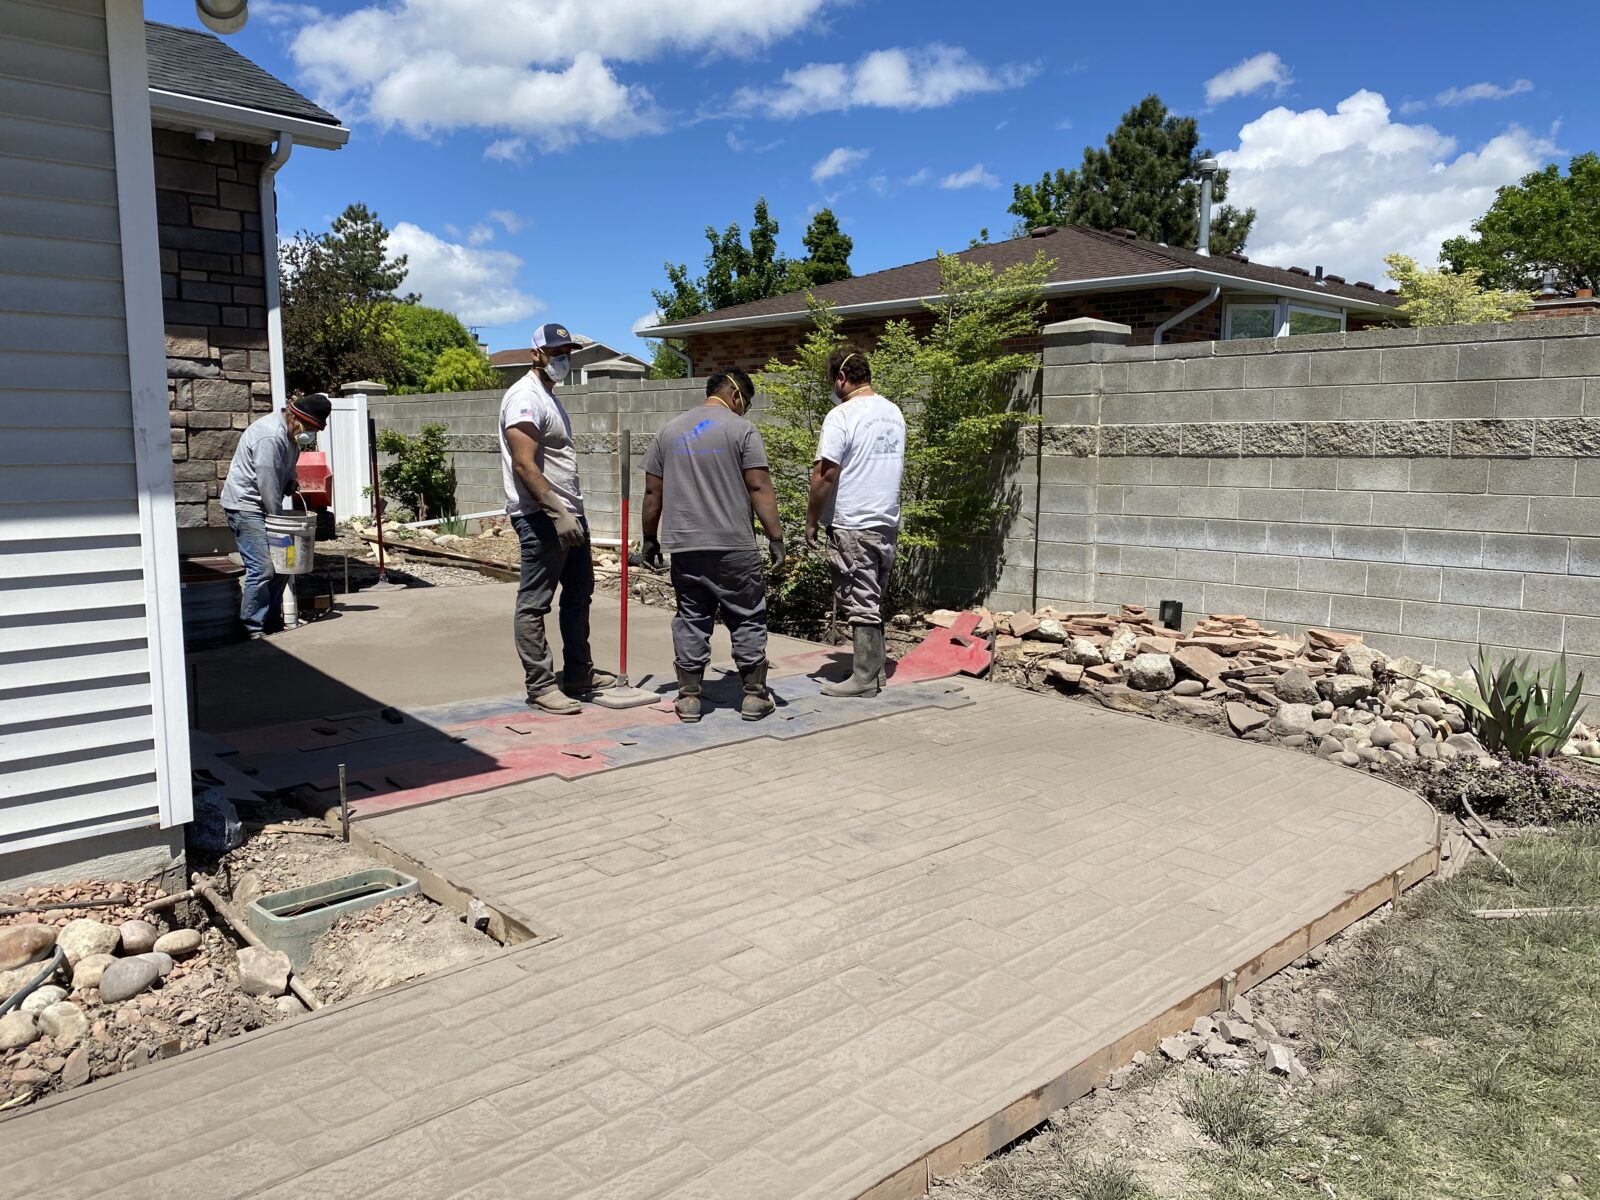
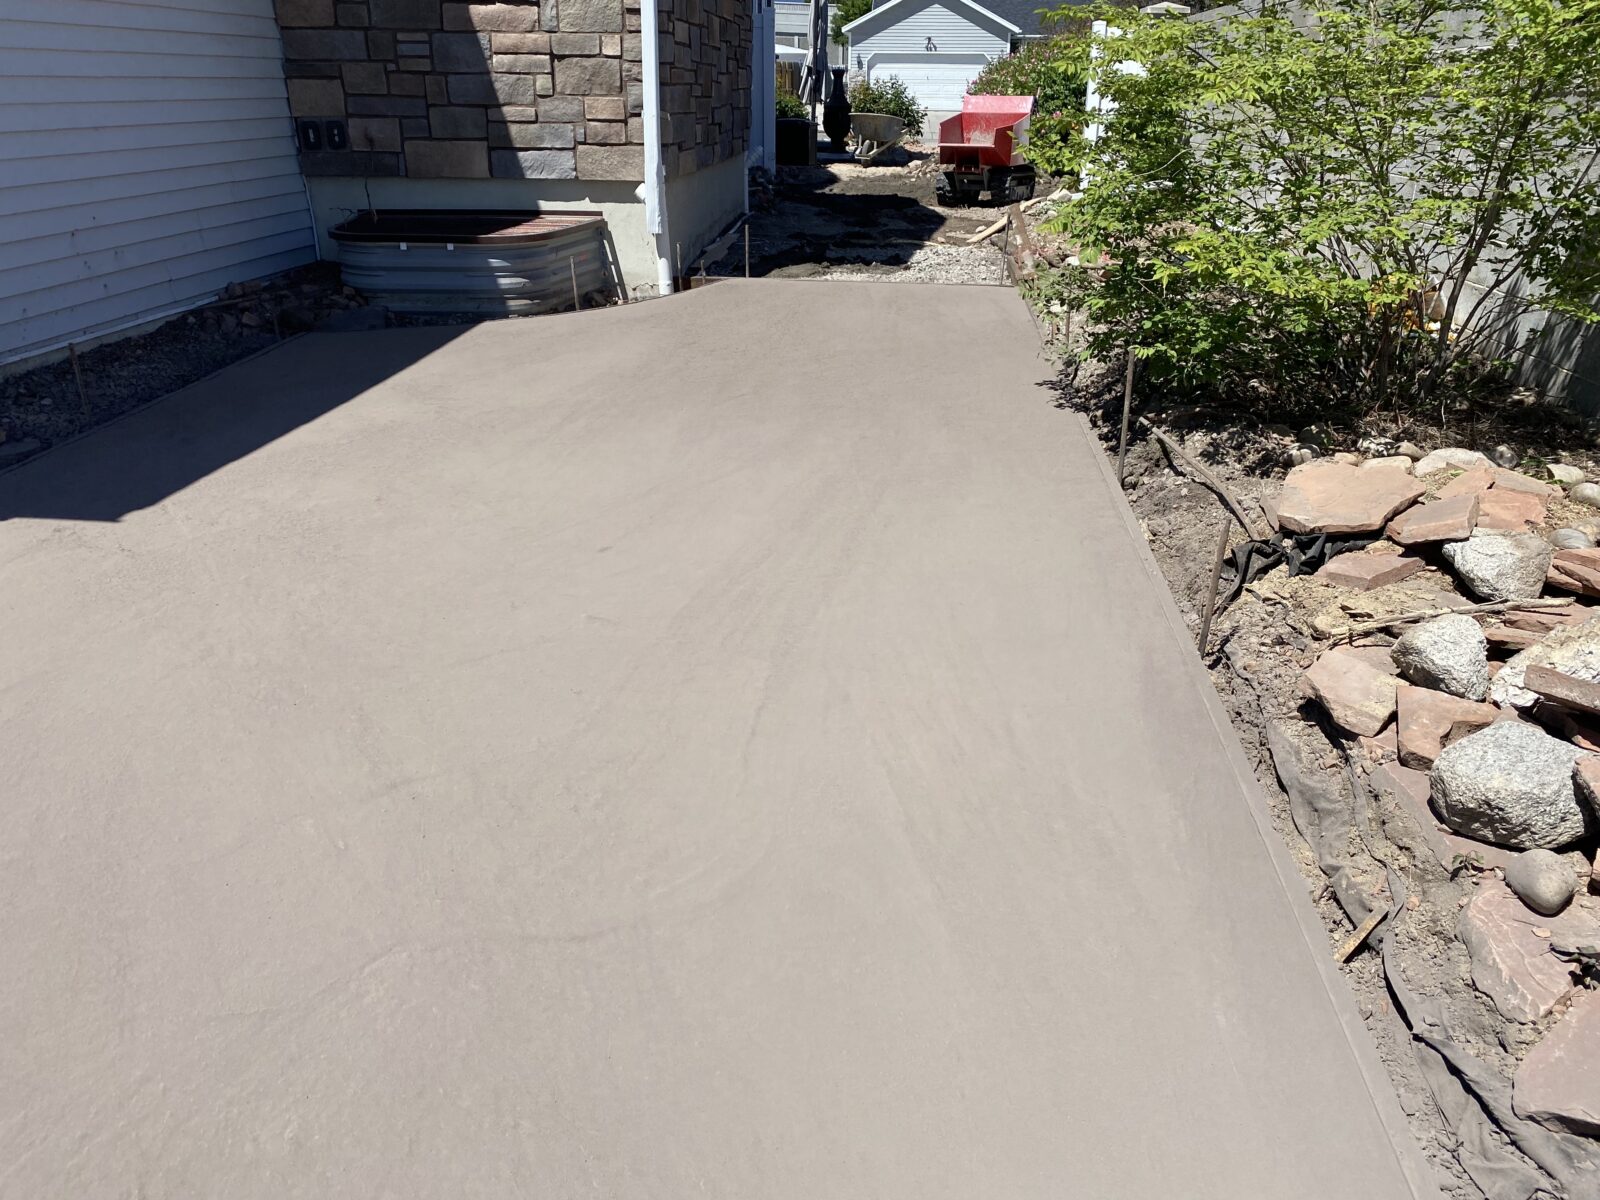
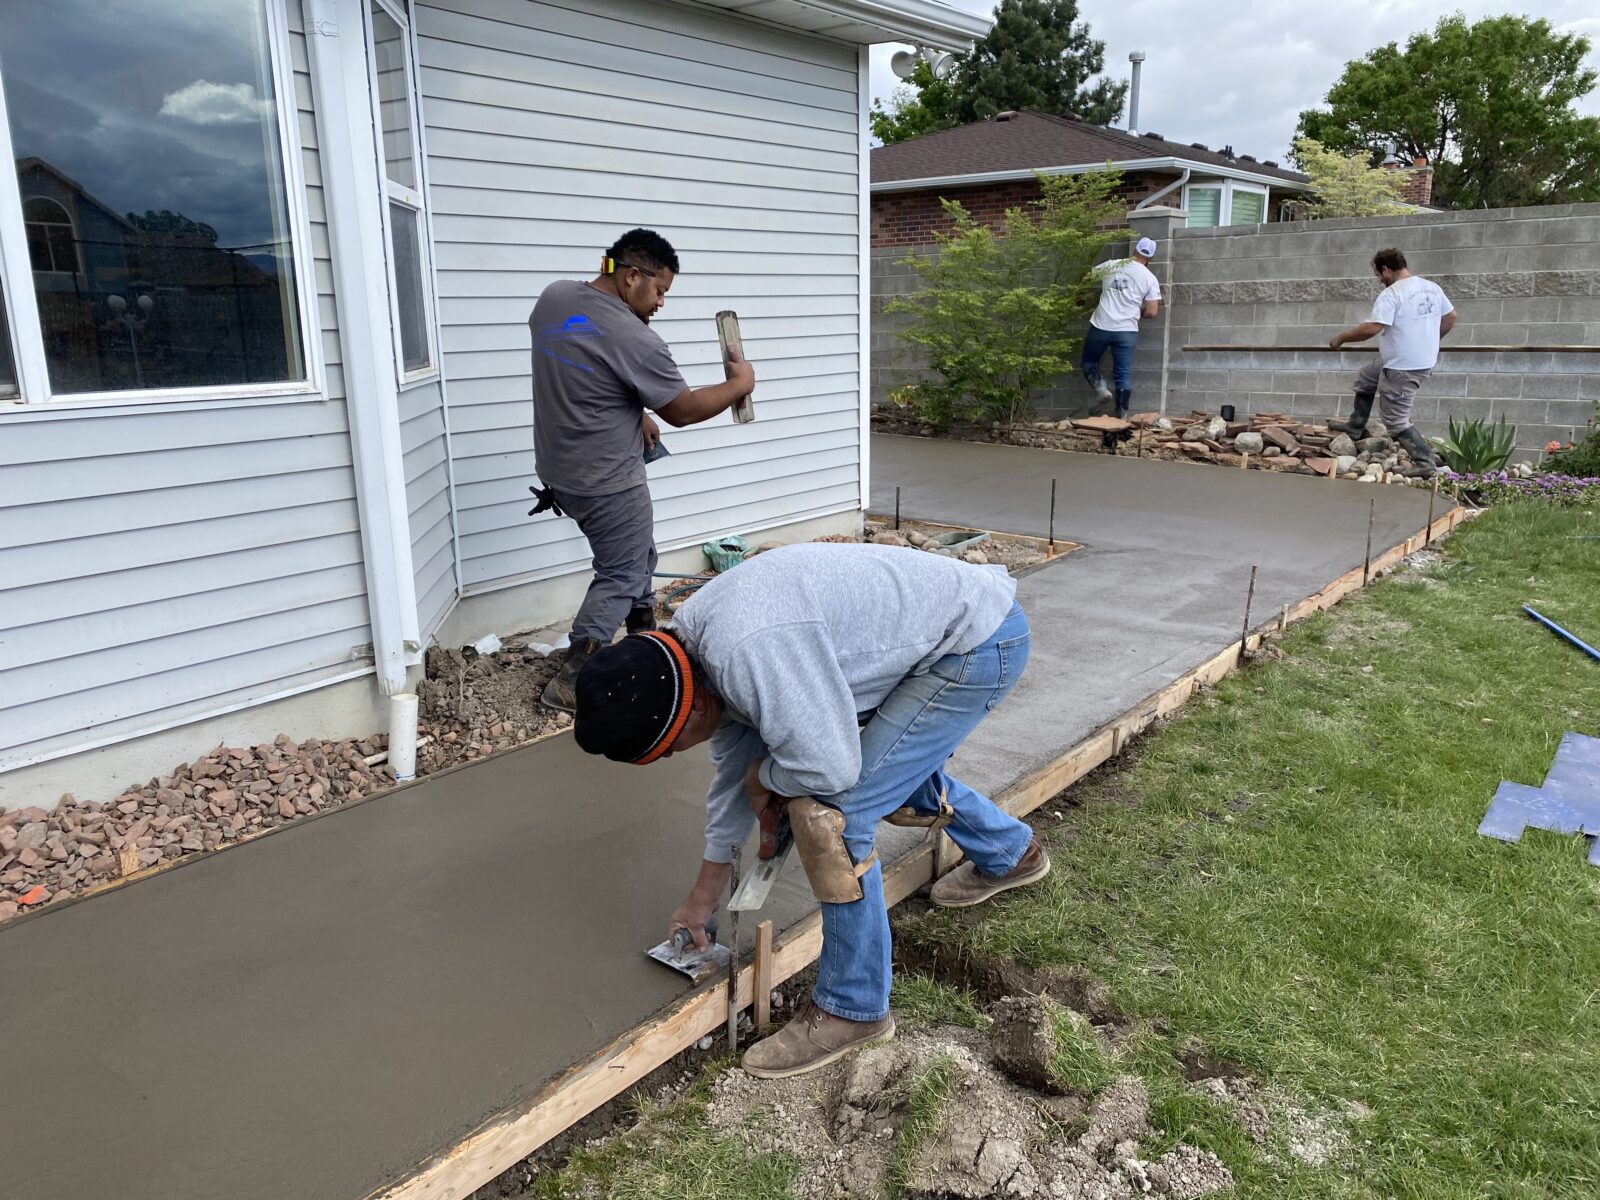
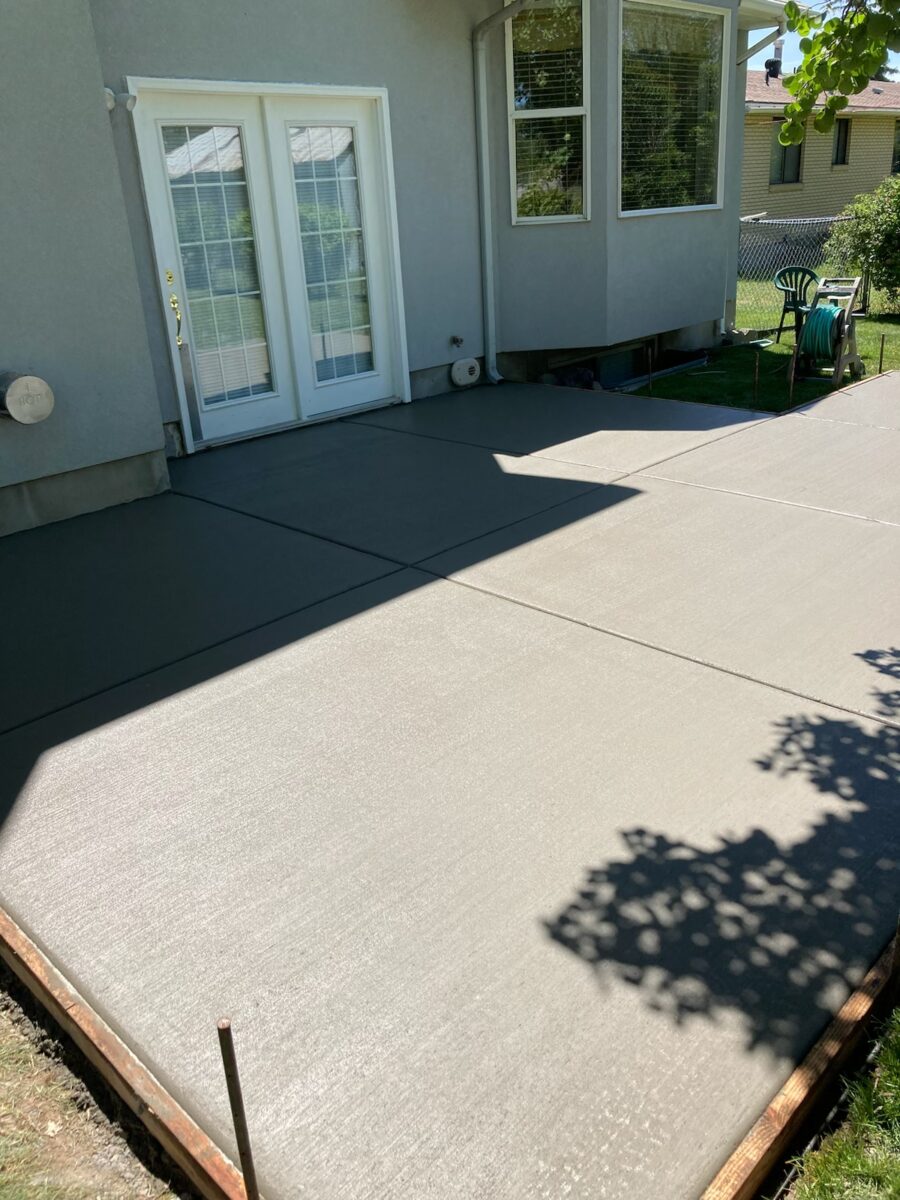
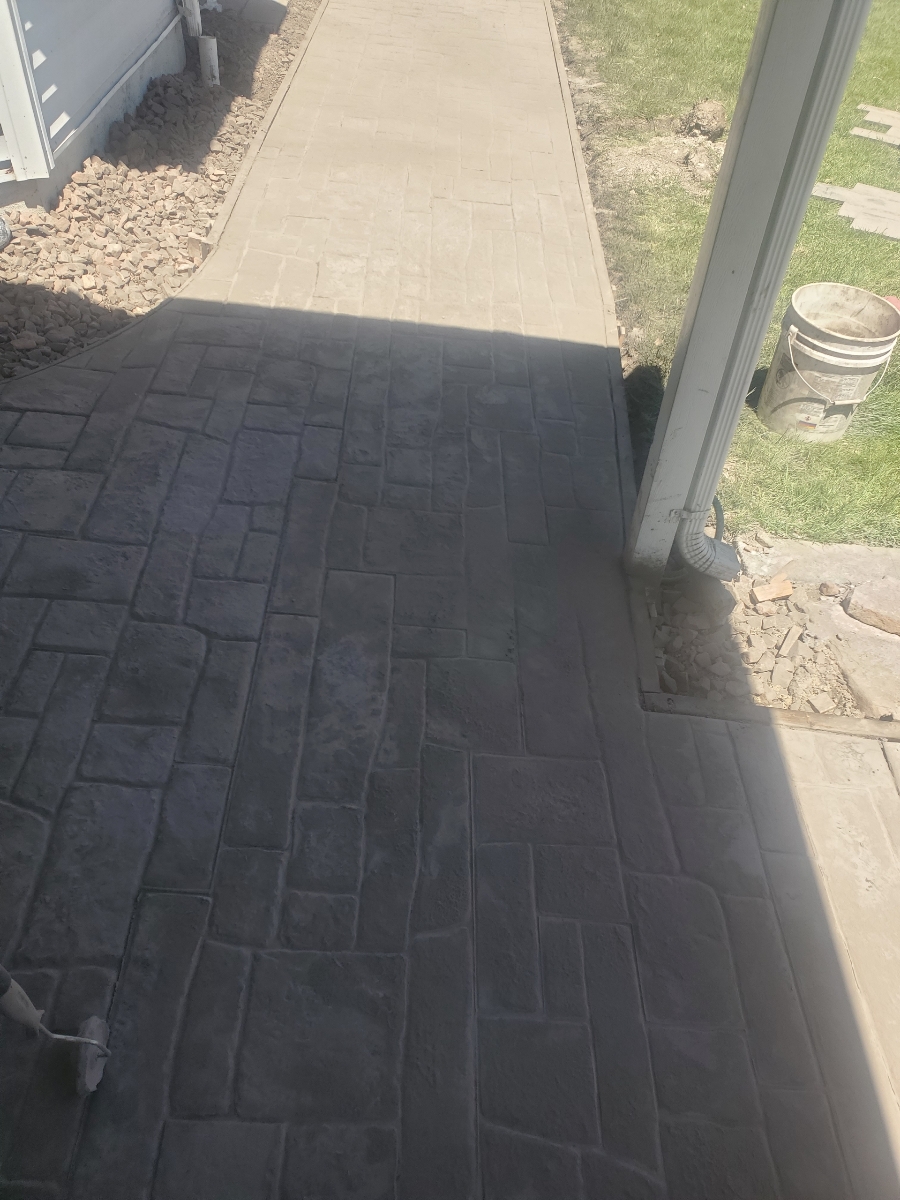
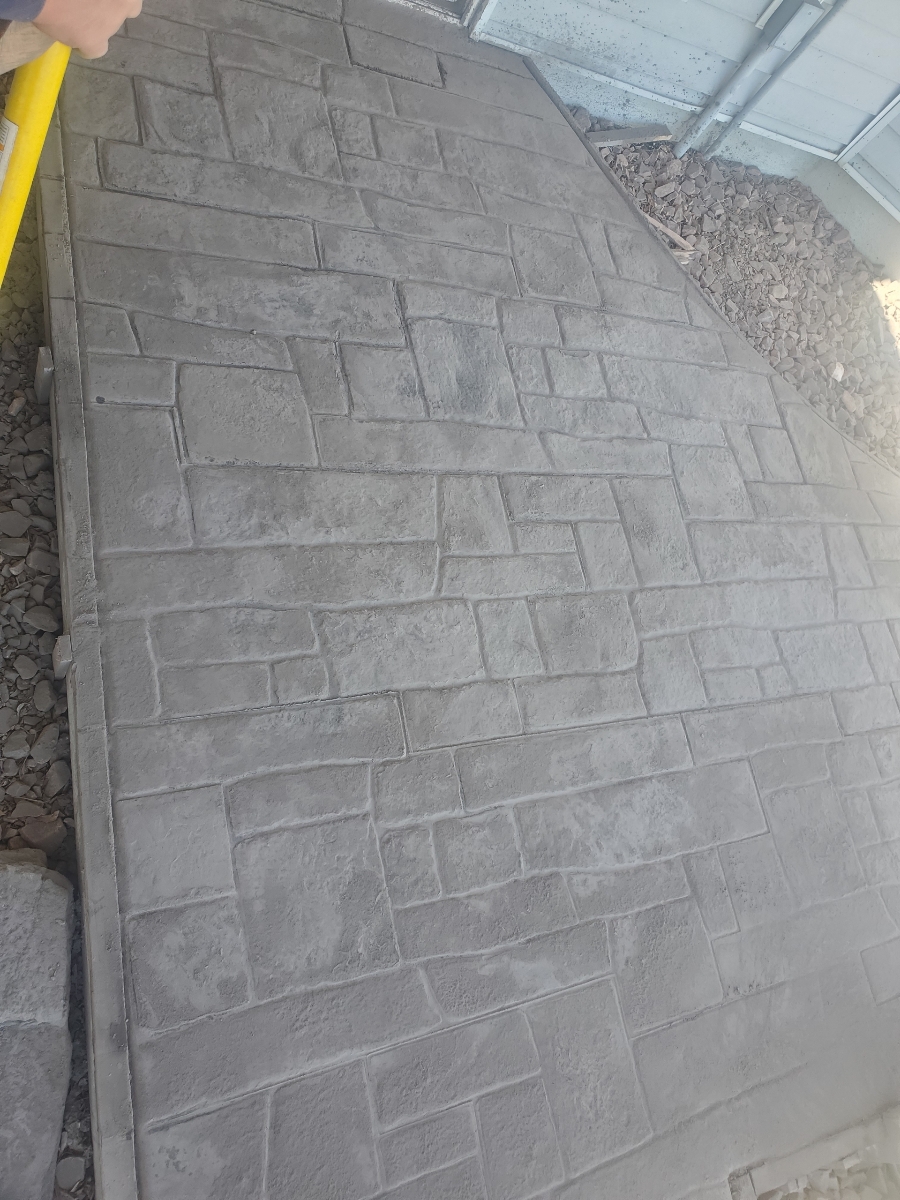
Step: Pour and finish the concrete over the heating system.
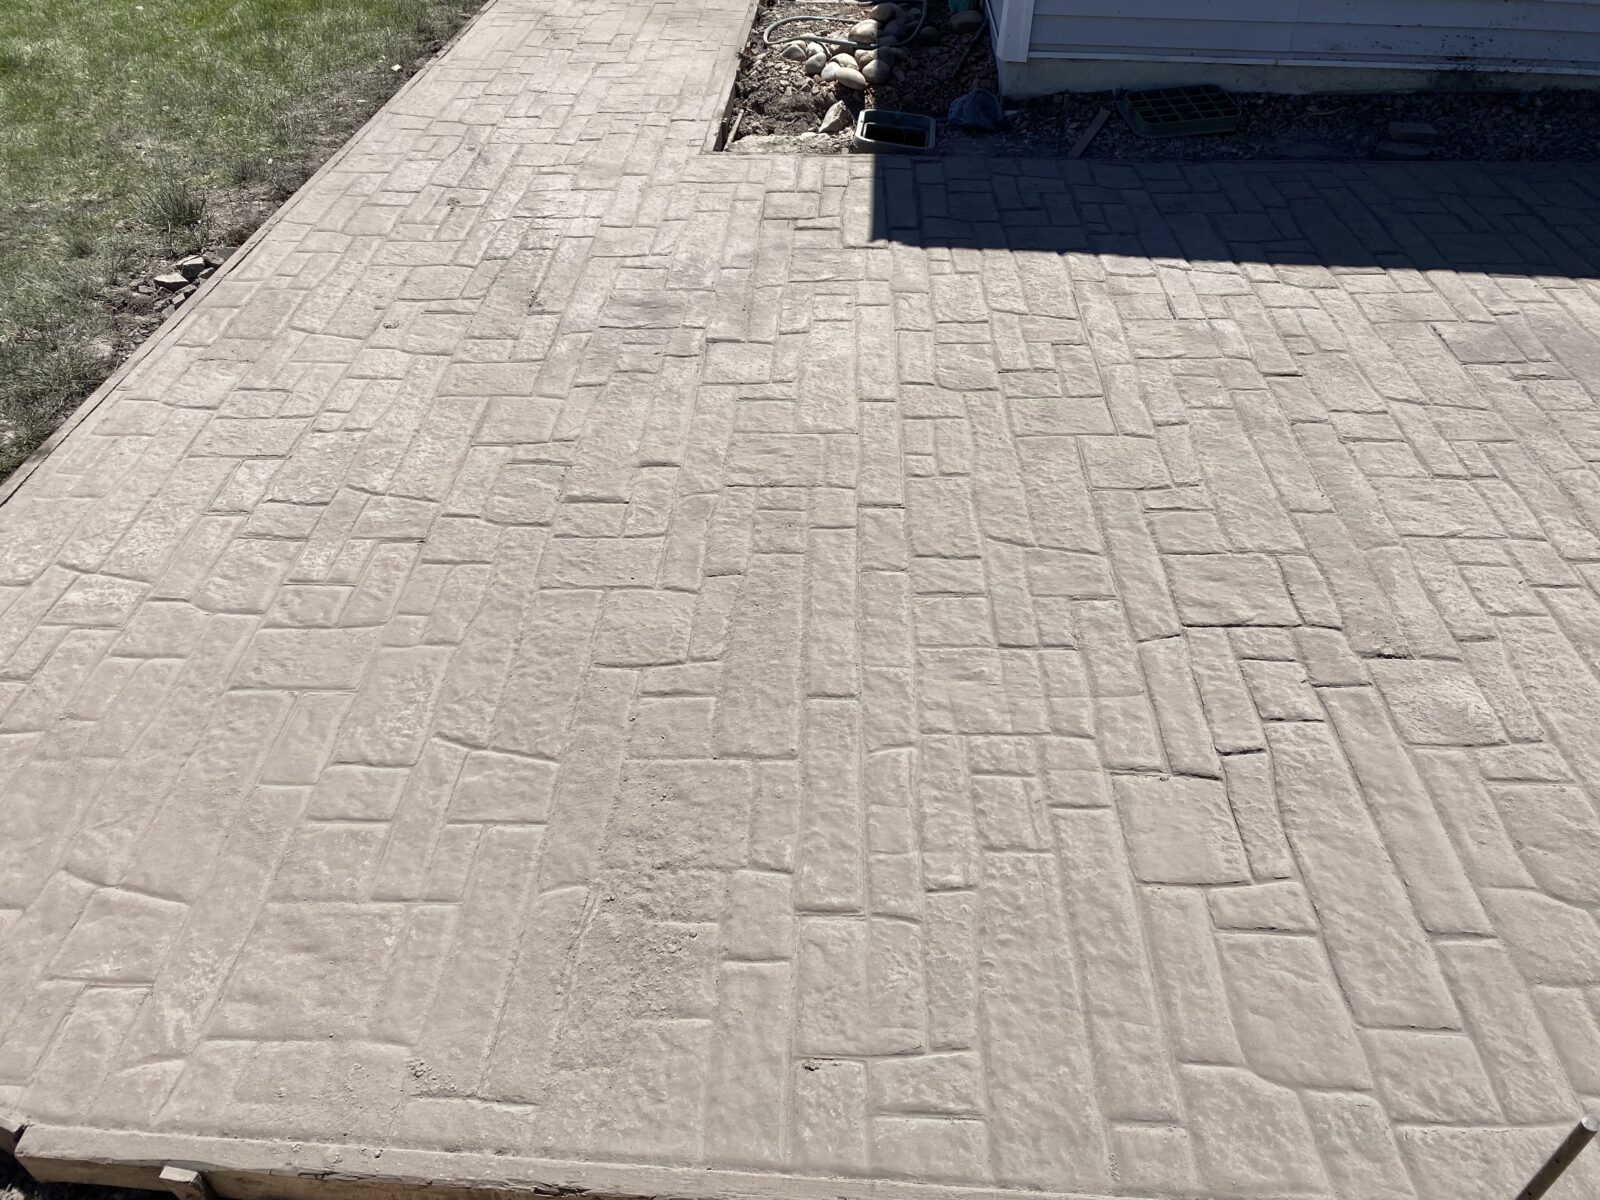
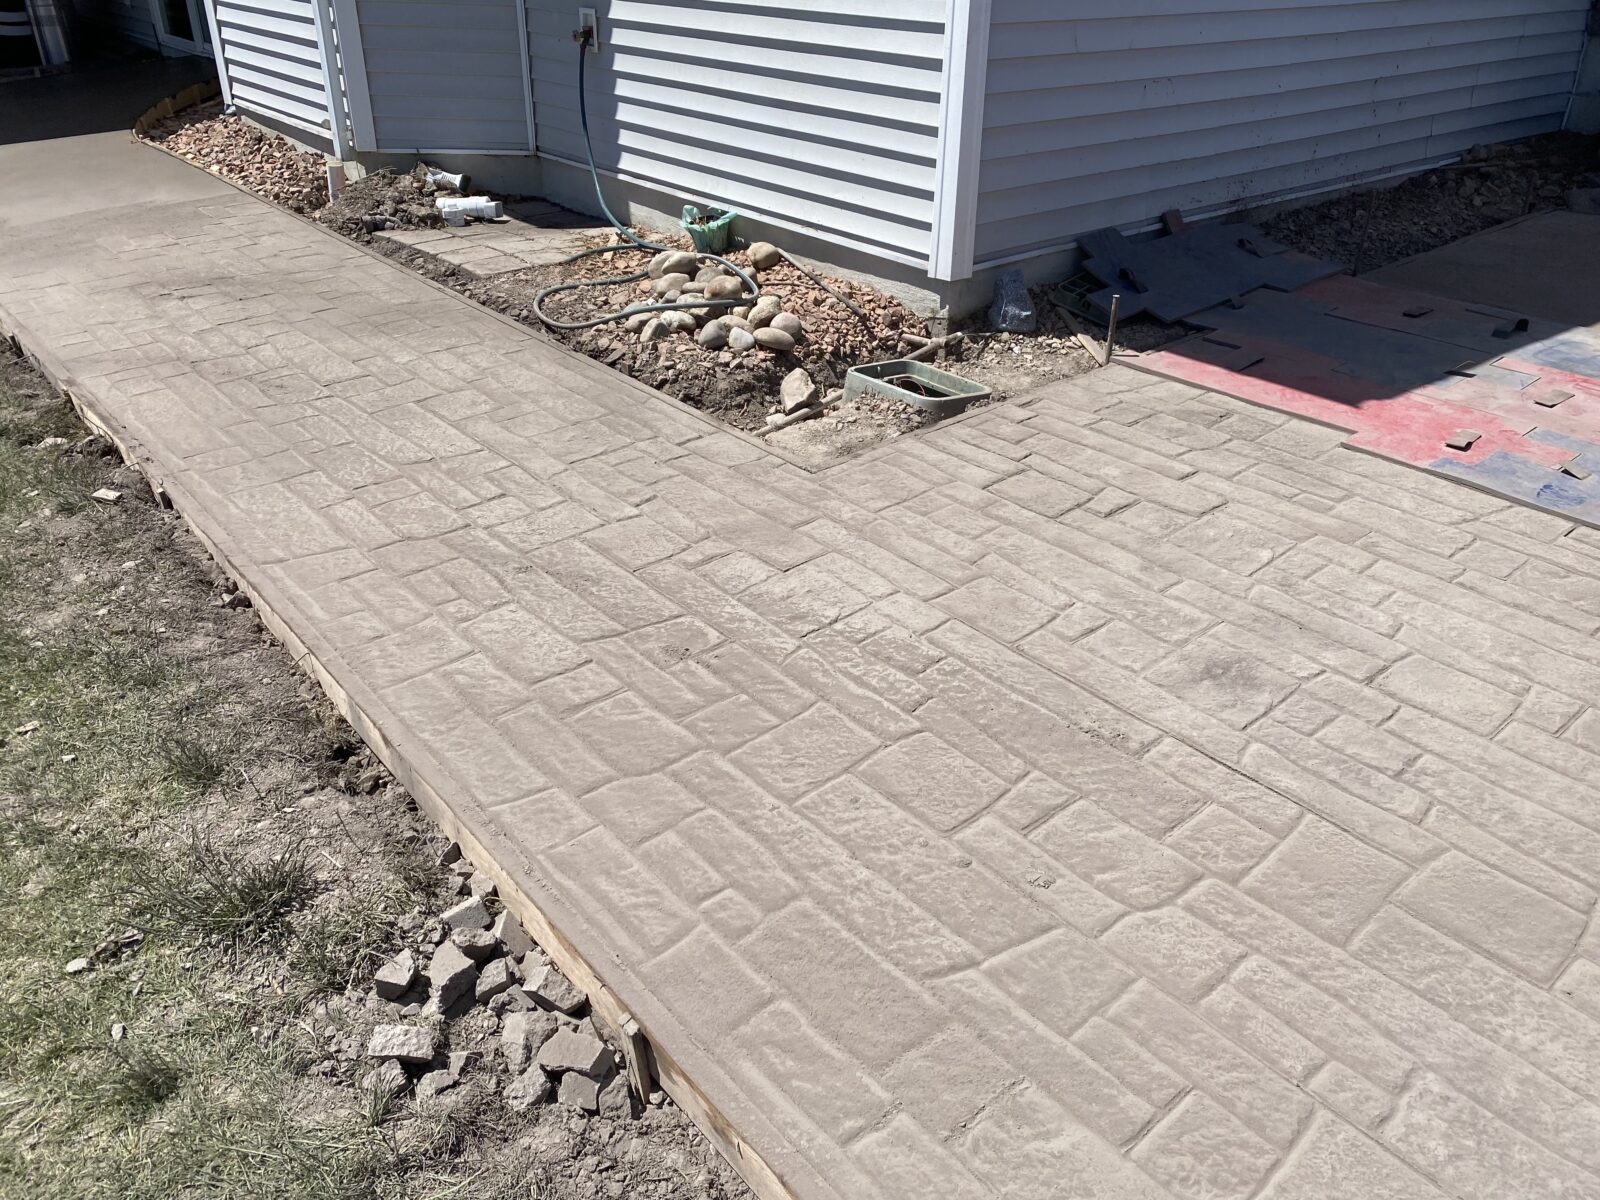
Action: Concrete is mixed and poured over the heating elements, then spread evenly and leveled using a screed board. Special care is taken to avoid damaging the heating elements. The surface is smoothed and finished according to your preference, whether it’s a simple brushed finish or a more decorative option. Good concrete contractors in Saratoga Springs will have multiple, high quality options for the finishing.
Installing the Control System
Setting Up the Controls
Step: Install the control unit for the heating system.
Action: The control unit, which regulates the heating system, is installed in a convenient location. It includes a thermostat and sensors that detect temperature and moisture to automatically activate the heating system when needed.
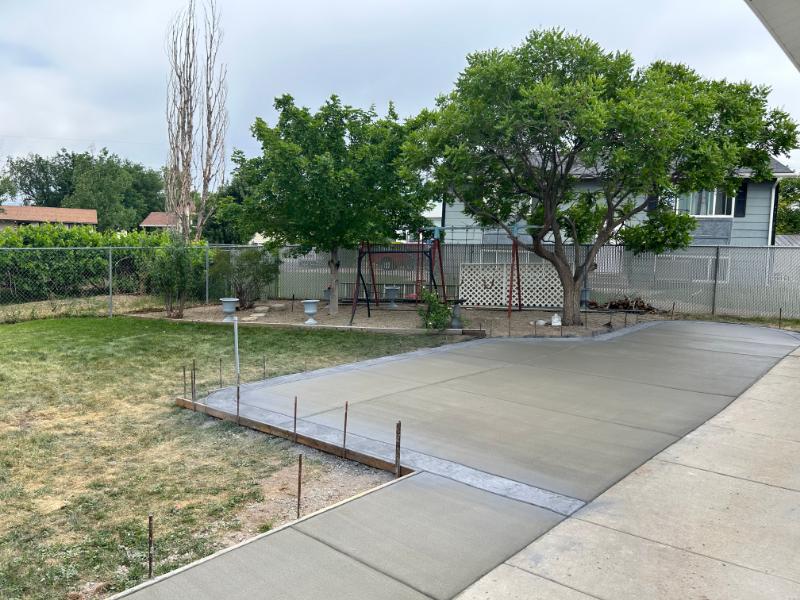
Curing the Concrete
Allowing Proper Hardening
Step: Allow the concrete to cure properly.
Action: The concrete must be kept moist and protected from extreme weather conditions for at least 7 days to ensure proper curing. This process is crucial for the concrete to achieve its full strength and durability.
Testing the System
Ensuring Functionality
Step: Test the heating system to ensure it is functioning correctly.
Action: After the concrete has cured, the heating system is turned on and tested to verify that it heats evenly and operates as expected. Any necessary adjustments are made to optimize performance.
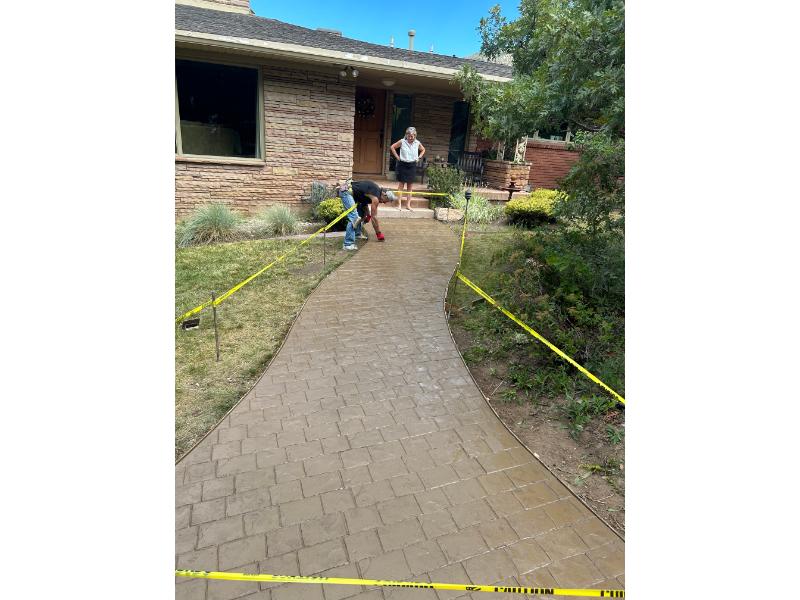
Final Inspection and Clean-Up
Ensuring Quality and Safety
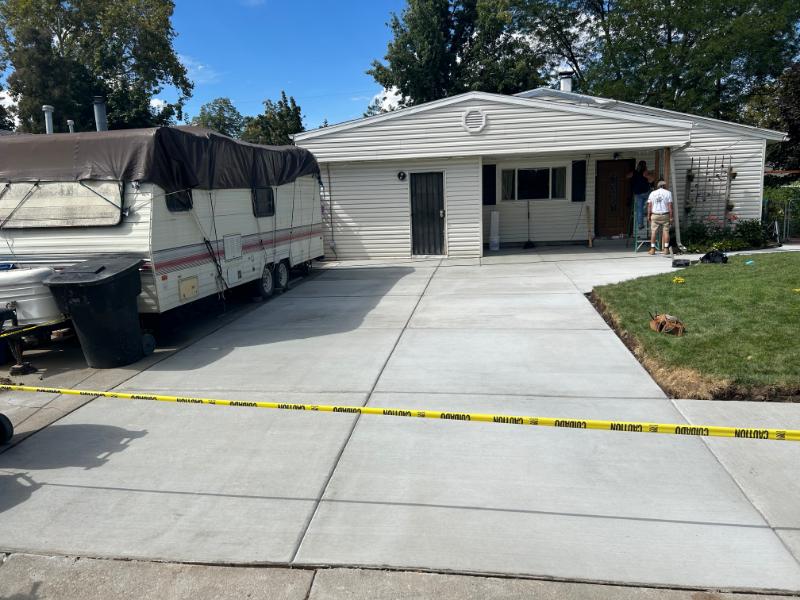
Step: Conduct a final inspection and clean up the site.
Action: The Saratoga Springs contractor performs a thorough inspection to ensure the installation meets all specifications and quality standards. The site is cleaned up, and any remaining construction materials are removed.
Call Smith Builders to set up a free estimate for your next project now: 801-647-7123.
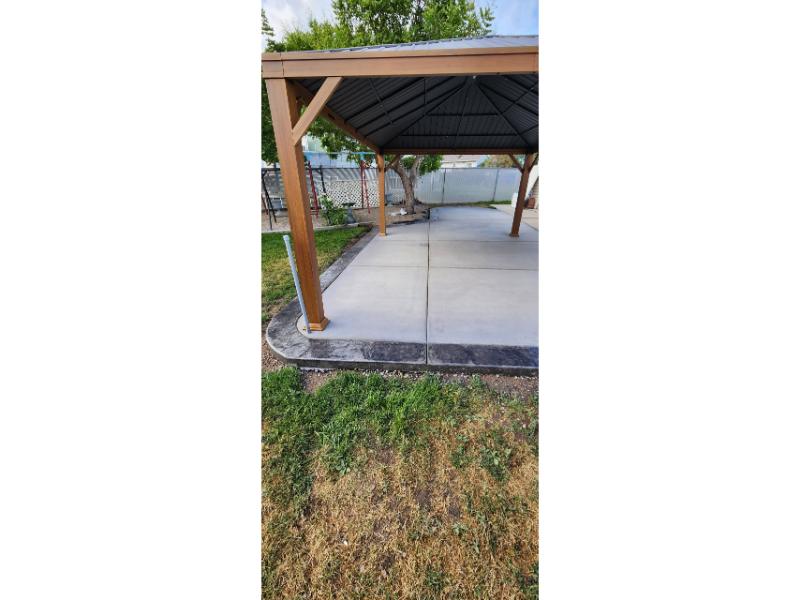
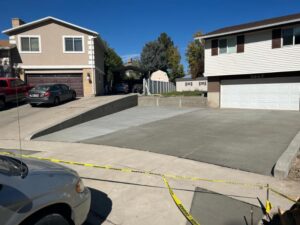
Installing an electrically heated driveway in Saratoga Springs, Utah, involves several critical steps, from initial assessment and permitting to laying the heating system and pouring the concrete. Hiring a professional contractor ensures that each step is executed with precision, resulting in a reliable, efficient, and durable heated driveway. This investment not only enhances the convenience and safety of your property but also adds value by providing a practical solution to winter weather challenges.
Learn more about our Concrete Services or Contact Us for a free estimate on your next project: