
Call Smith Builders to set up a free estimate for your next project now: 801-647-7123.
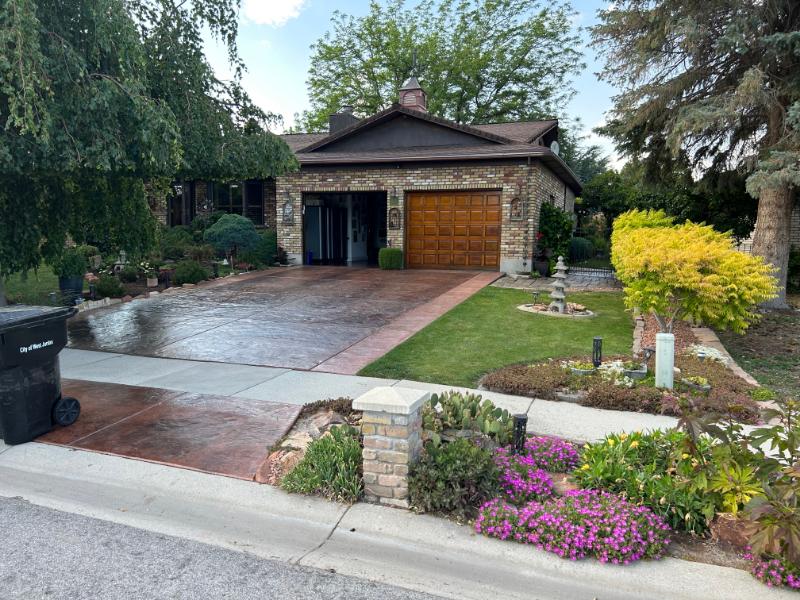
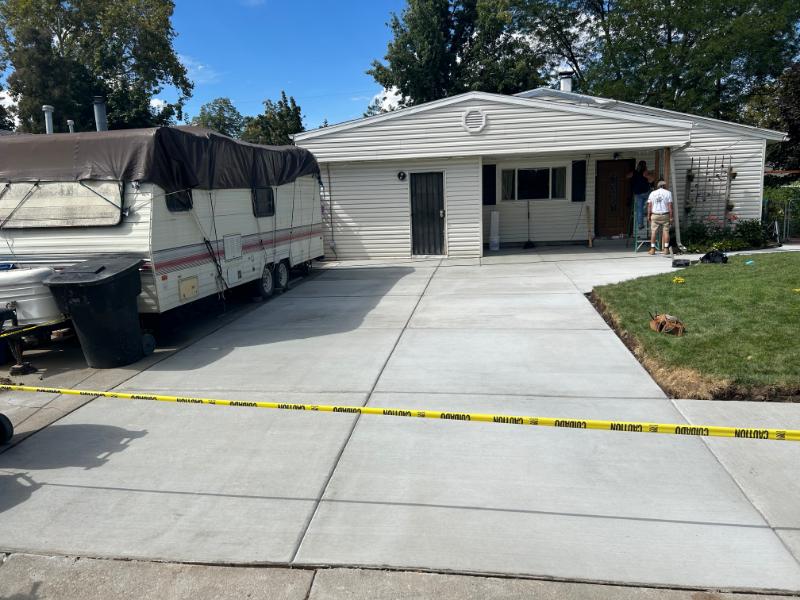
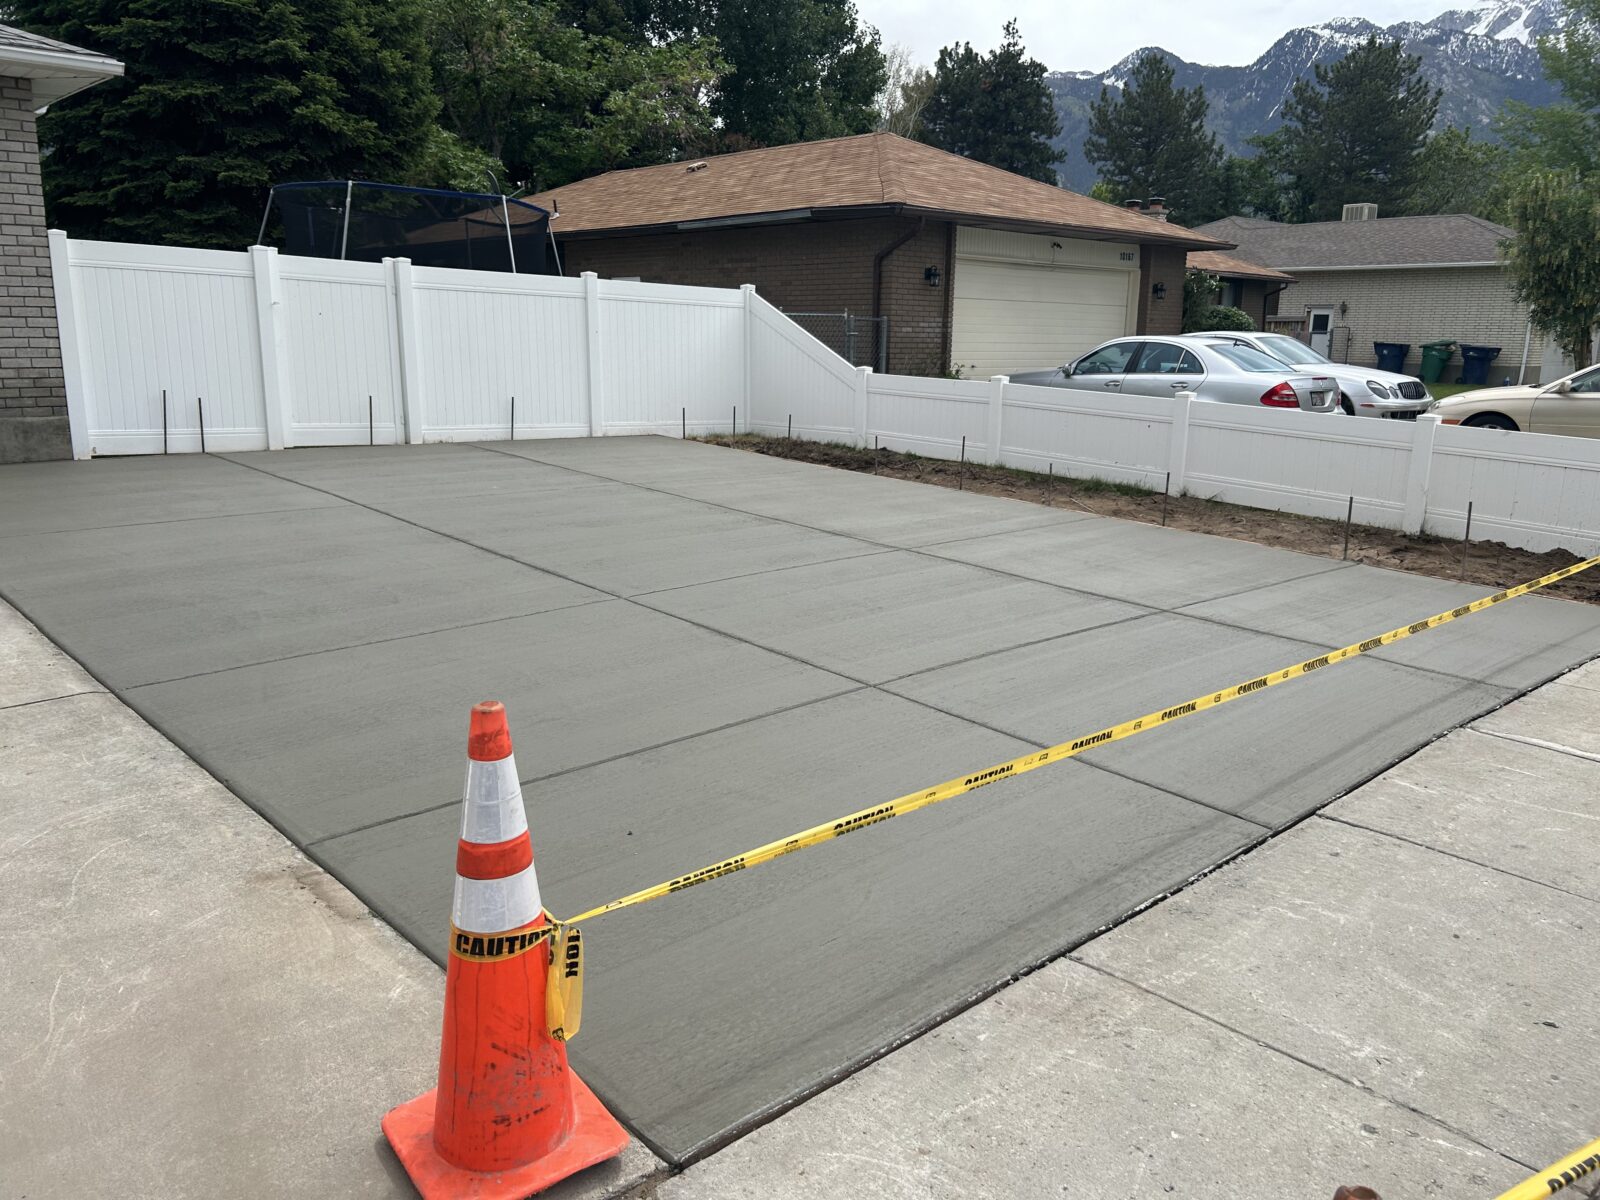
Installing a heated concrete driveway is a fantastic way to enhance your Taylorsville, Utah, home’s functionality and safety during the winter months. This investment ensures a snow-free, ice-free driveway, reducing the need for constant snow shoveling and the use of harmful de-icing chemicals. Preparing your home for the installation is crucial to ensure a smooth and efficient process. Here’s a comprehensive guide to help you get ready for your heated concrete driveway installation.
- Assess Your Driveway Area
- Choose the Right Heating System
- Obtain Necessary Permits
- Prepare the Installation Site
- Plan for Utilities
- Coordinate with Your Contractor
- Post-Installation Considerations
1. Assess Your Driveway Area
Evaluate the Current Condition: Start by assessing the current condition of your driveway. Look for any existing damage, such as cracks or uneven surfaces, that might need to be addressed before installation. If your driveway is in poor condition, it might be necessary to remove the old concrete and start with a fresh base.
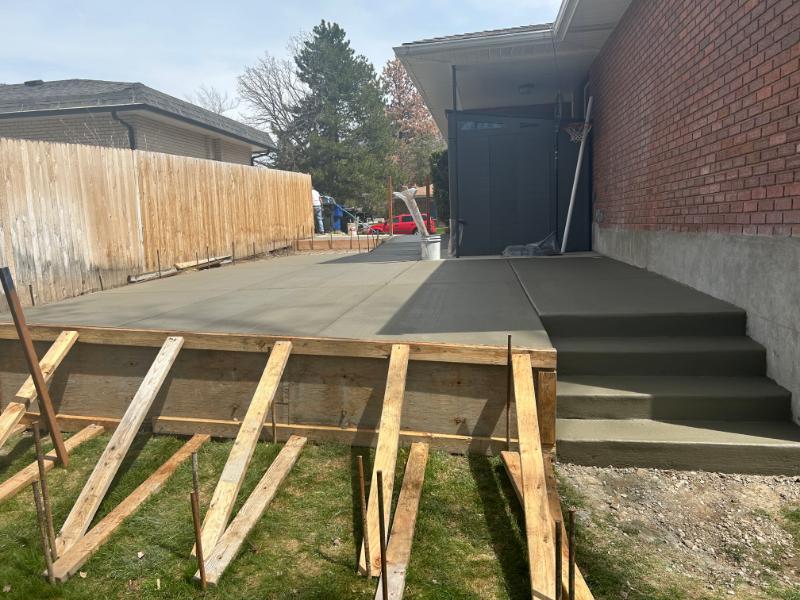
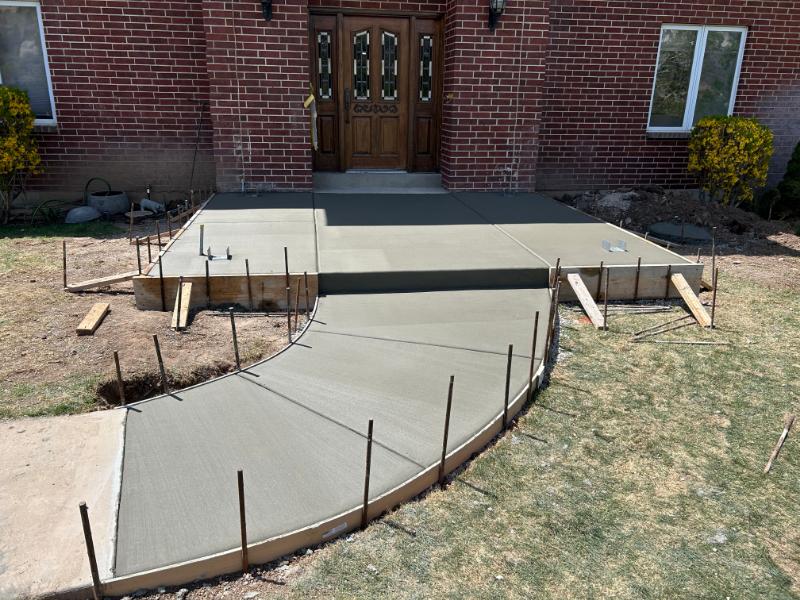
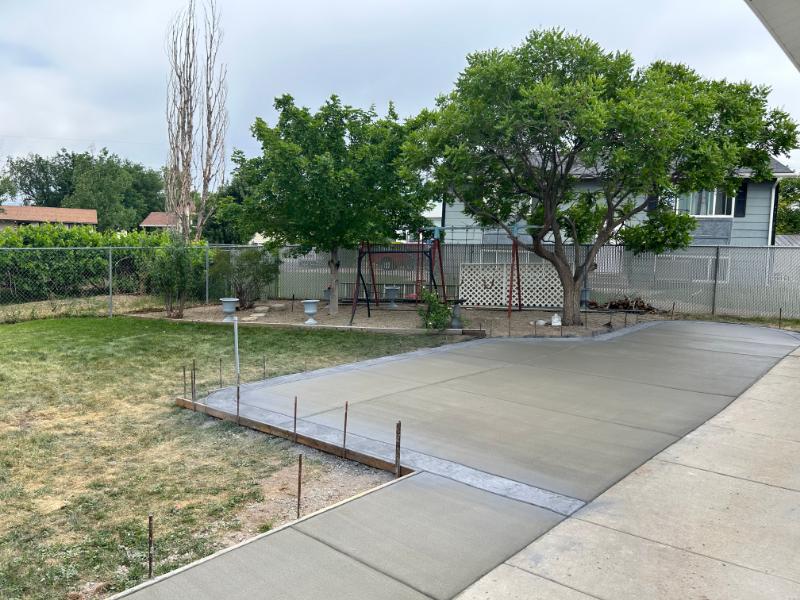
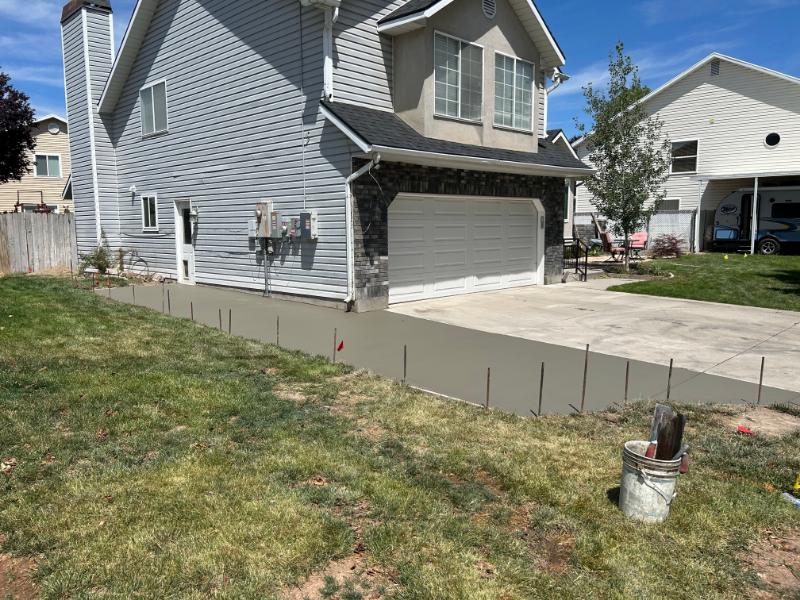
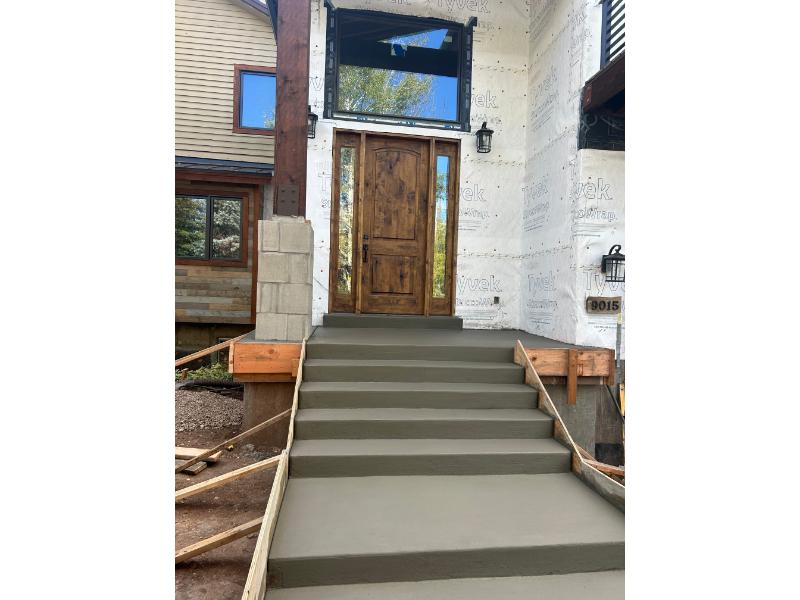
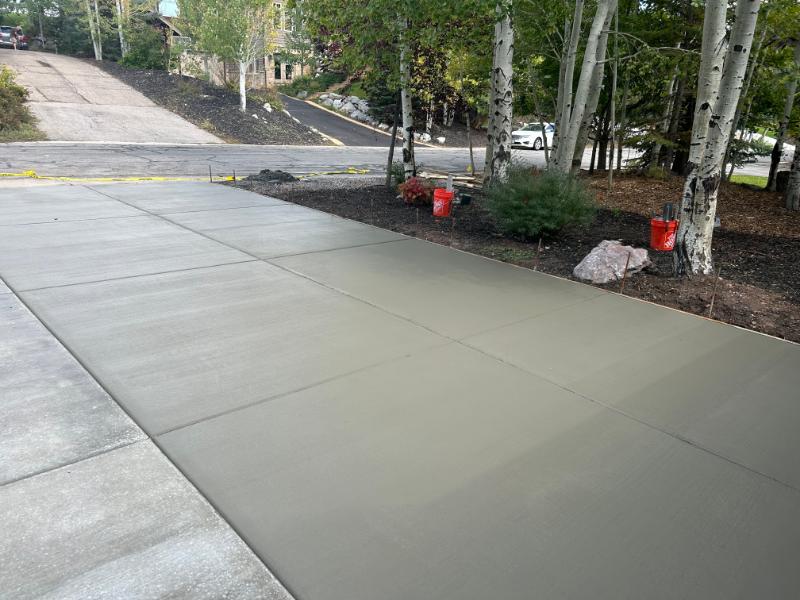
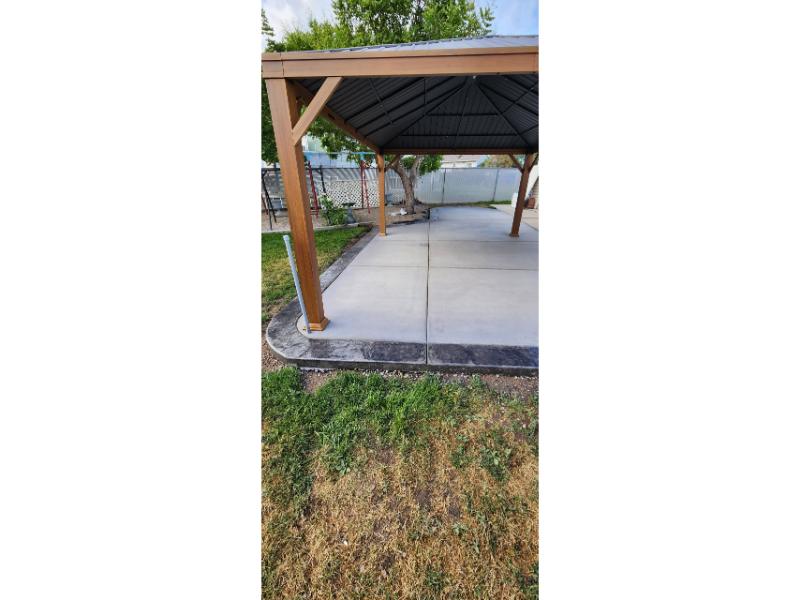
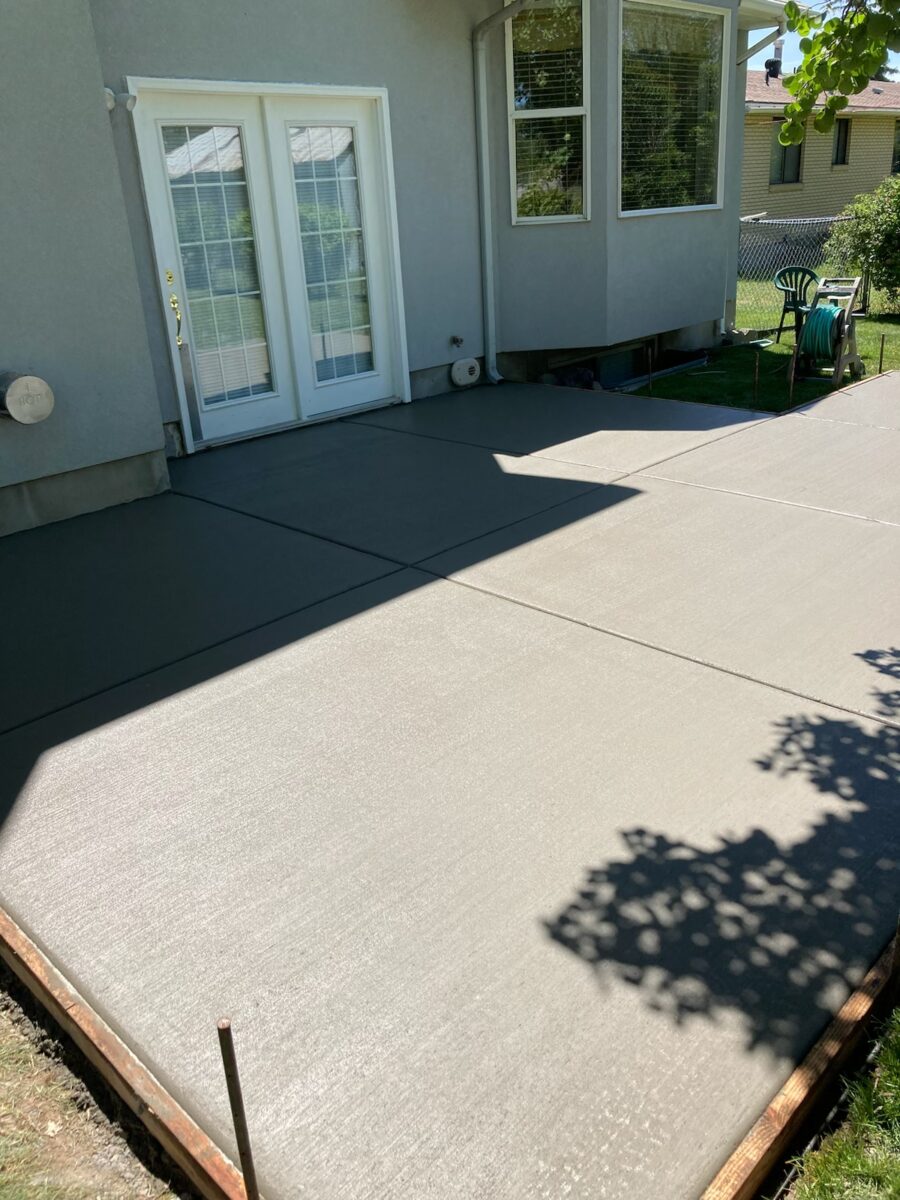
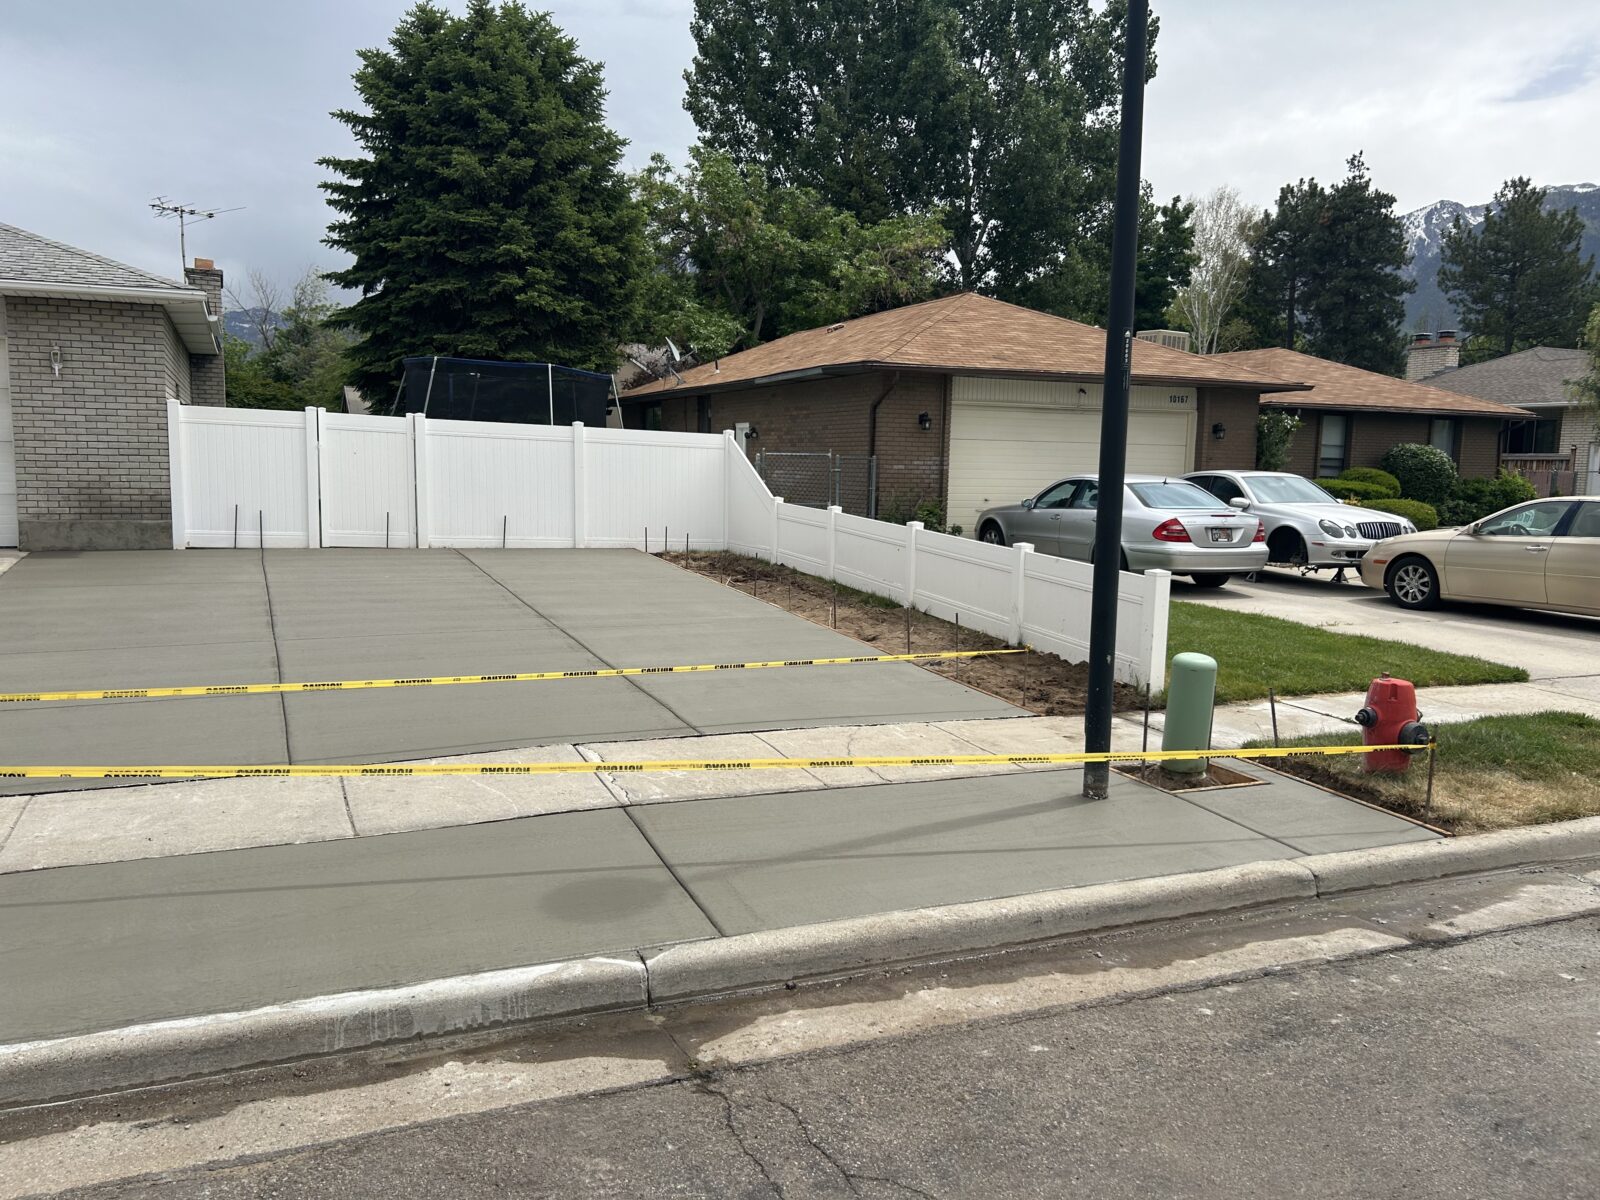
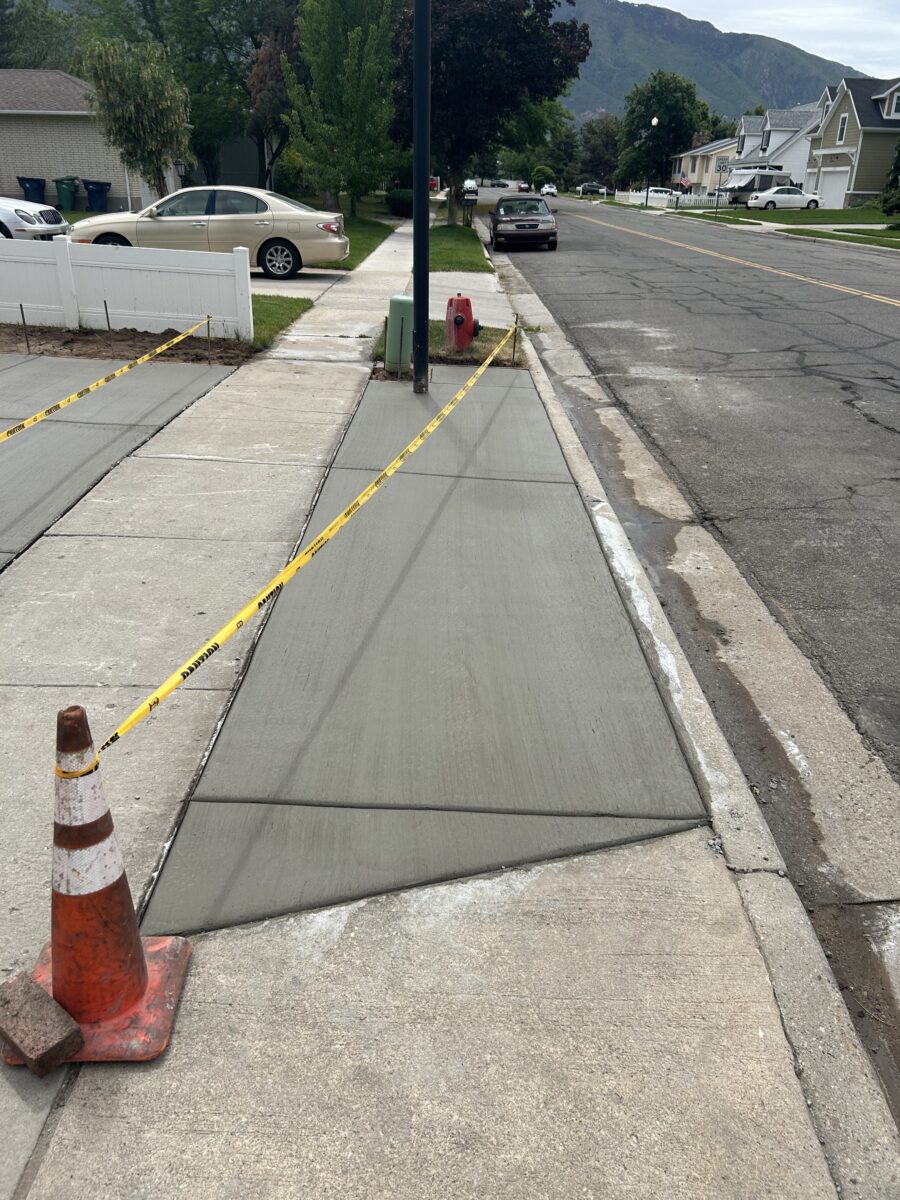
Determine the Layout: Decide on the layout and dimensions of your new heated driveway. Consider any specific areas you want to be heated, such as walkways or steps, and ensure the design meets your needs and preferences.
2. Choose the Right Heating System
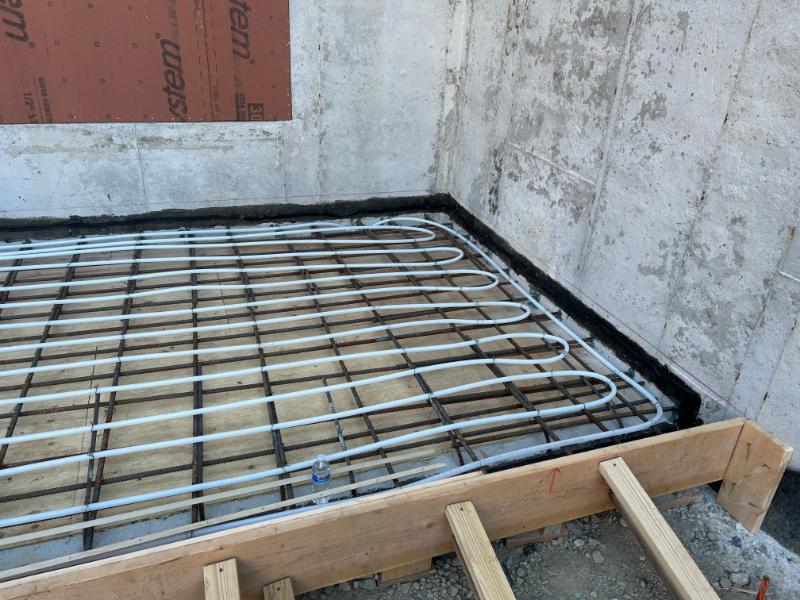
Electric vs. Hydronic: There are two primary types of heating systems for concrete driveways: electric heating cables and hydronic tubing systems. Electric systems use electric cables embedded in the concrete, while hydronic systems use a mixture of water and antifreeze circulated through tubing. Consult with your contractor to determine which system is best suited for your needs, considering factors such as installation cost, energy efficiency, and long-term maintenance.
3. Obtain Necessary Permits
Check Local Regulations: Before starting the installation, check with your local Taylorsville building department to understand any permits or regulations required for installing a heated driveway. Your contractor can typically assist with this process, ensuring all necessary permits are obtained.
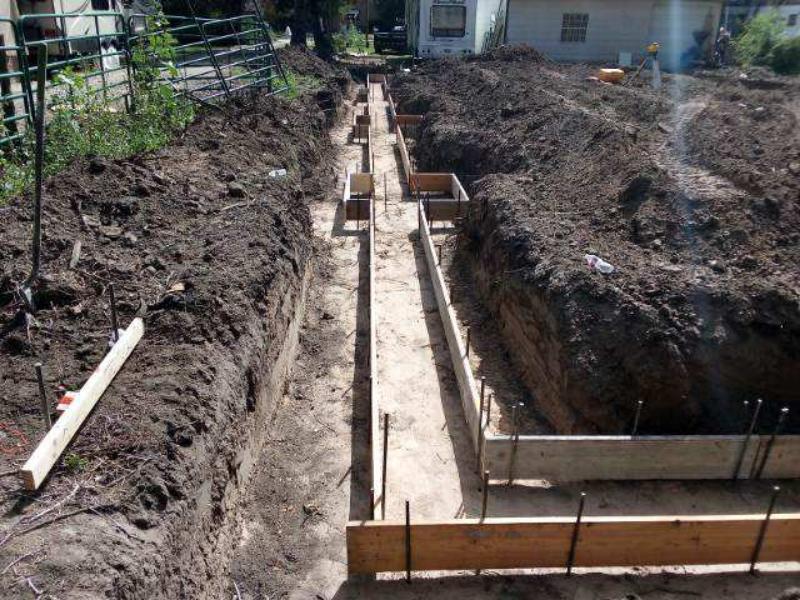
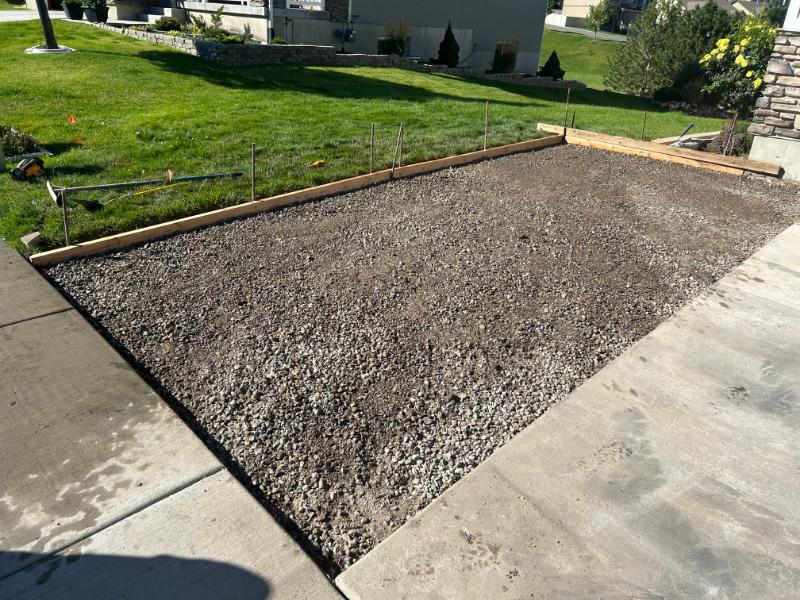
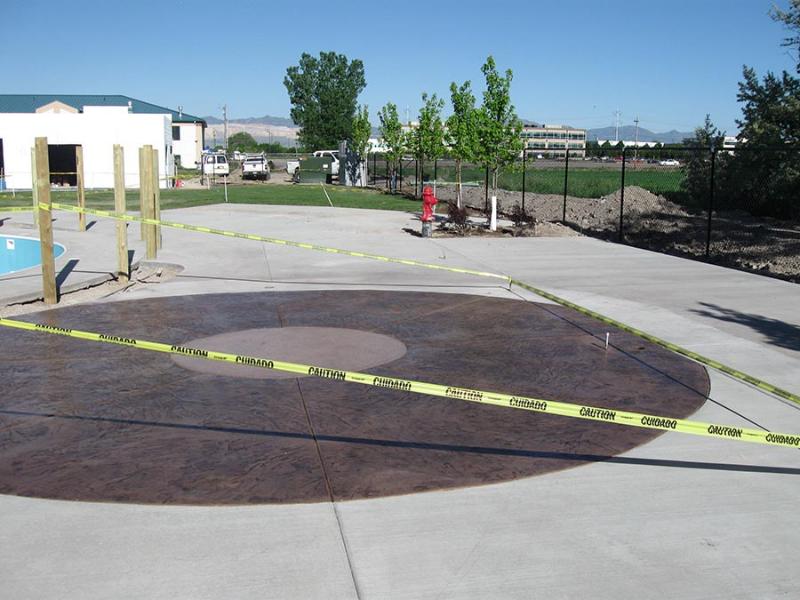
4. Prepare the Installation Site
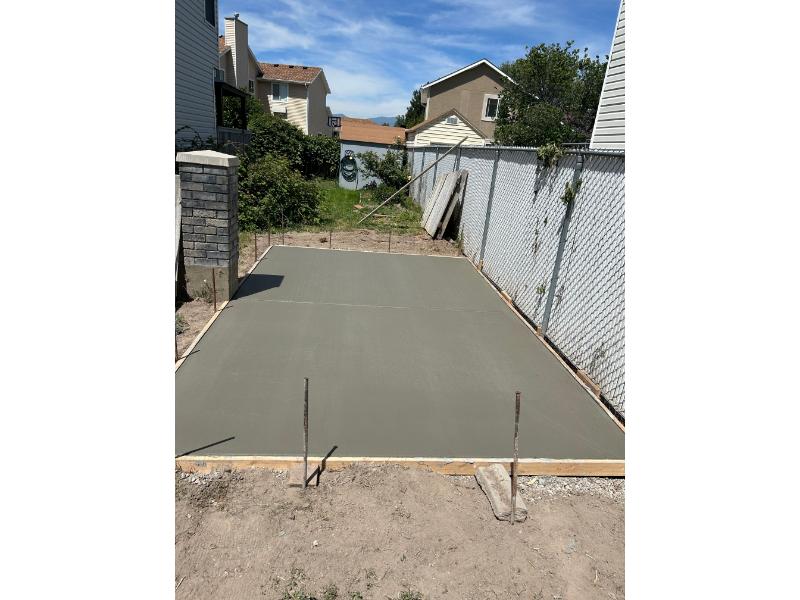
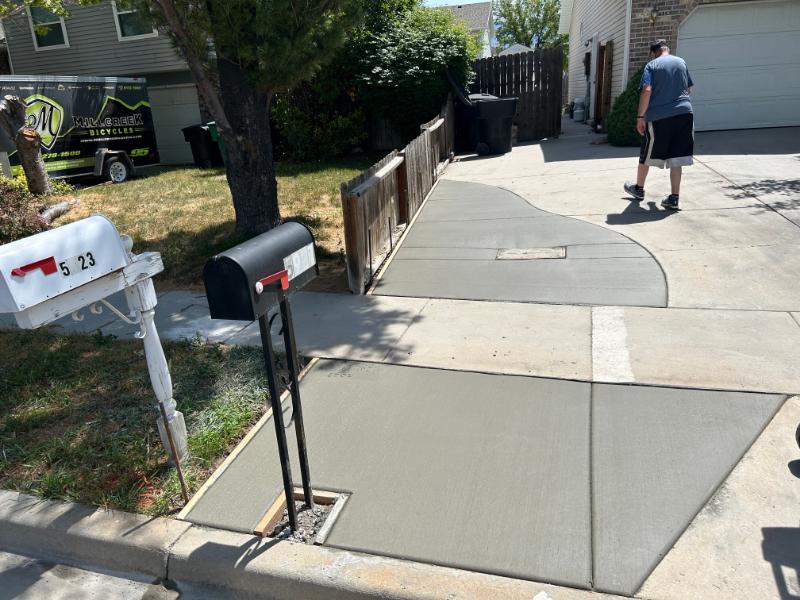
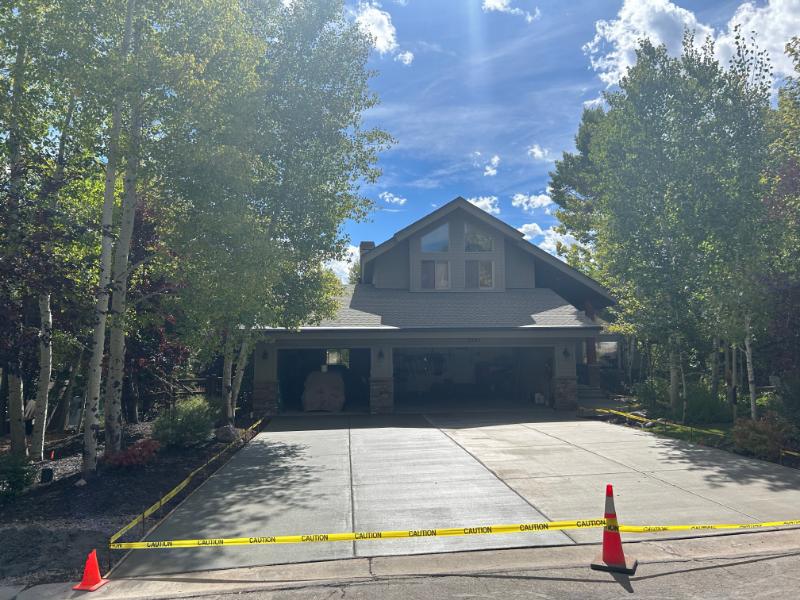
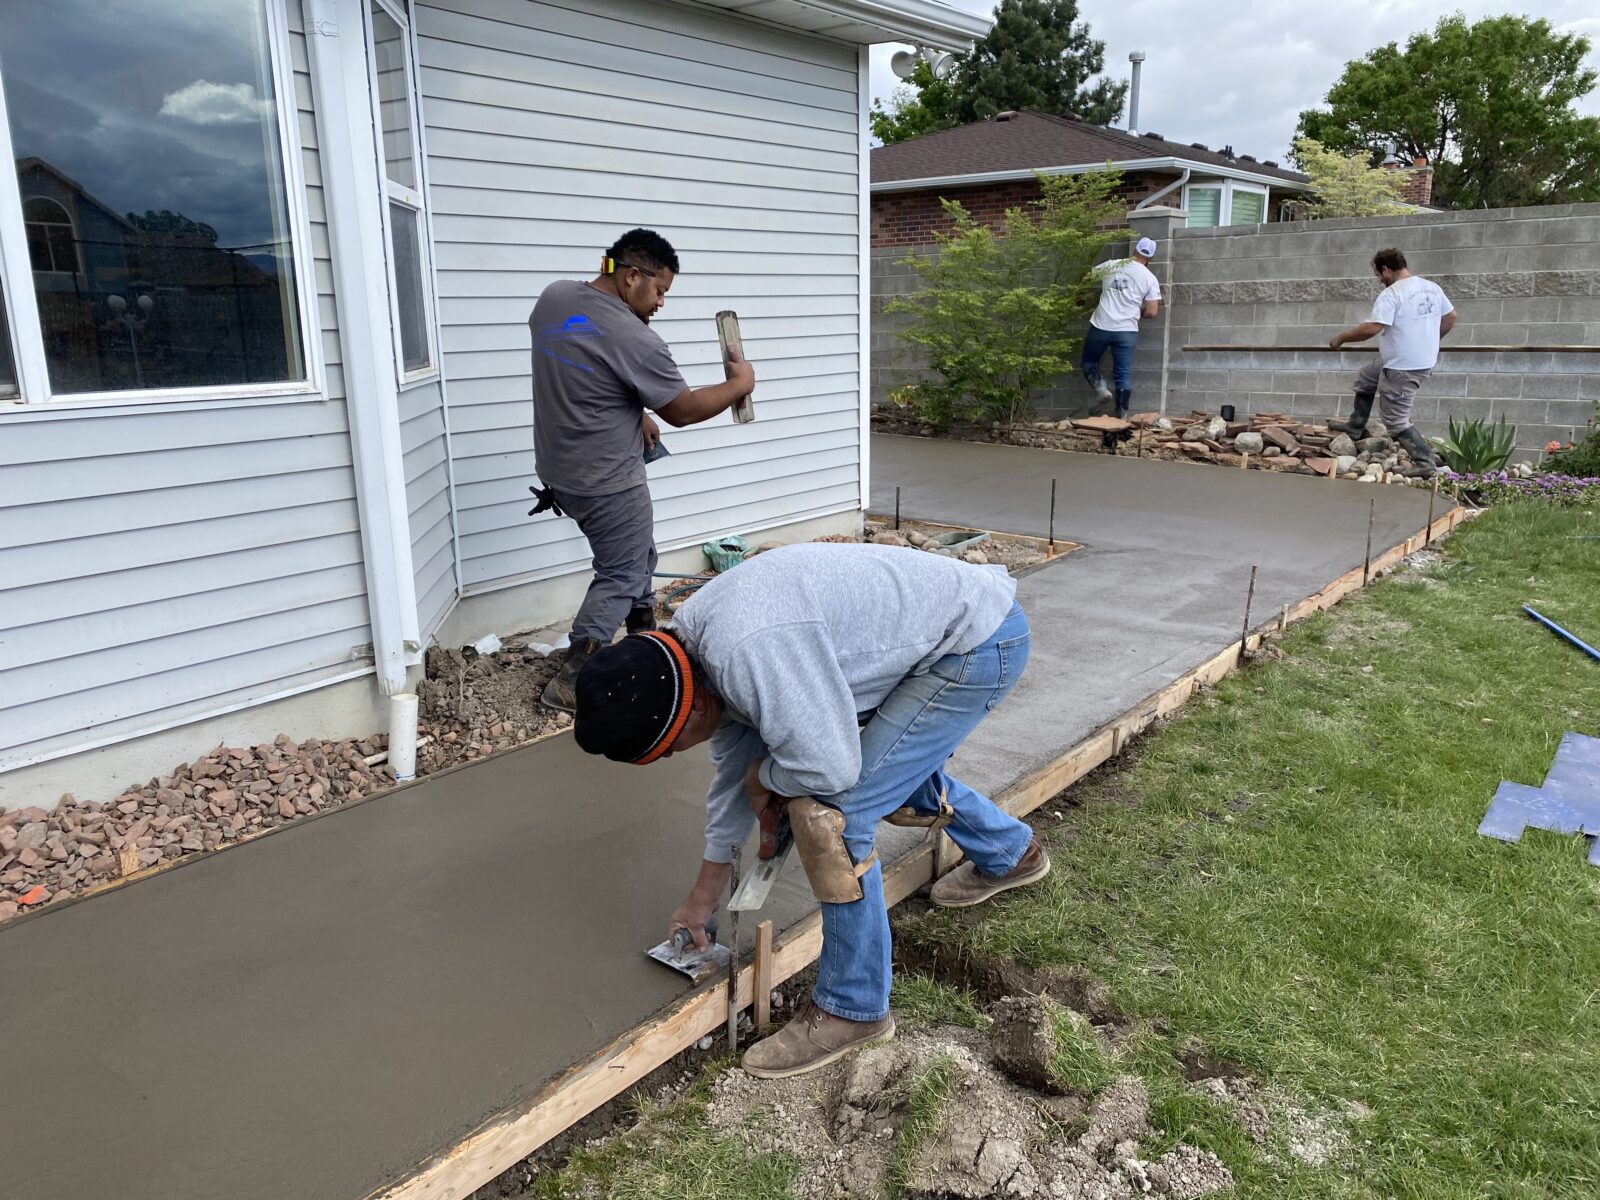
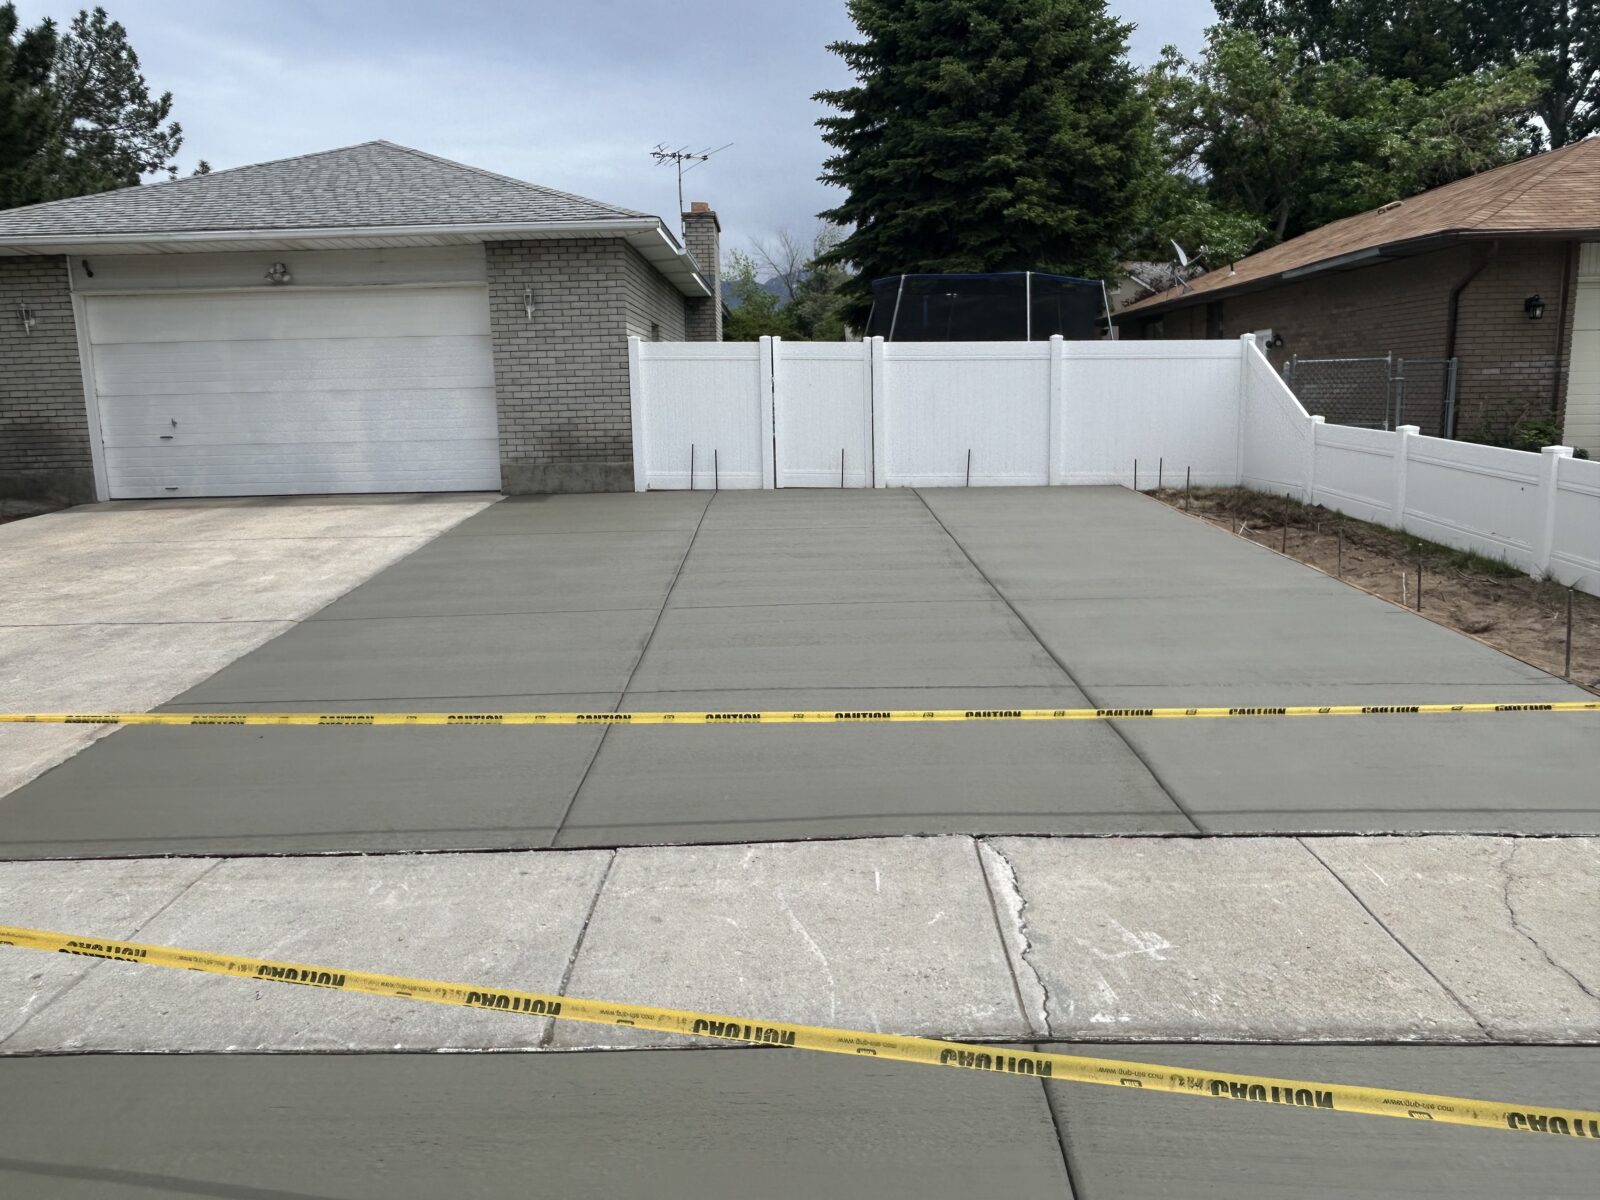
Clear the Area: Ensure the driveway area is clear of any obstacles, such as vehicles, debris, or landscaping features. This will provide a clean workspace for the installation crew and prevent any delays.
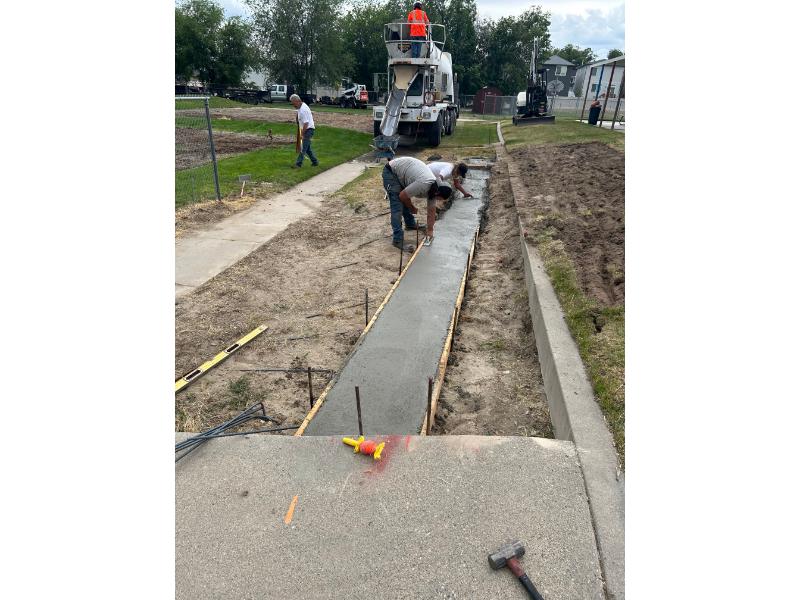
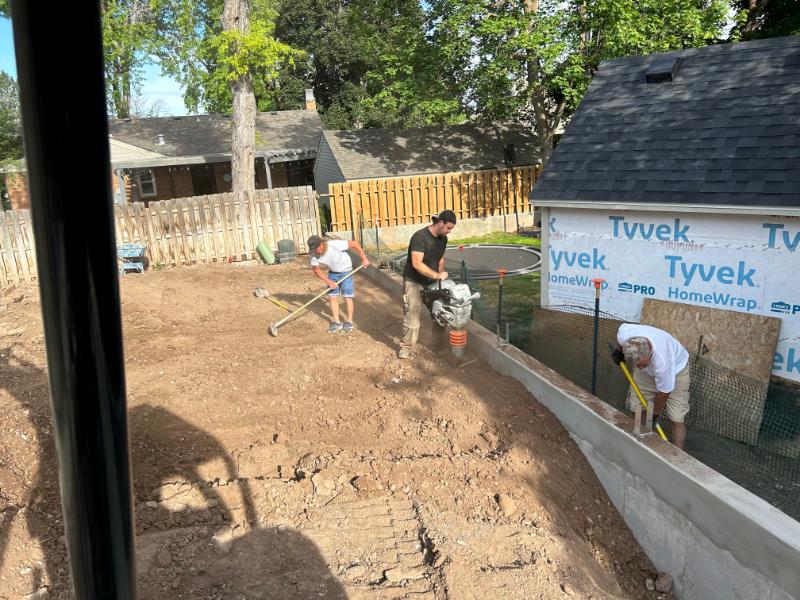
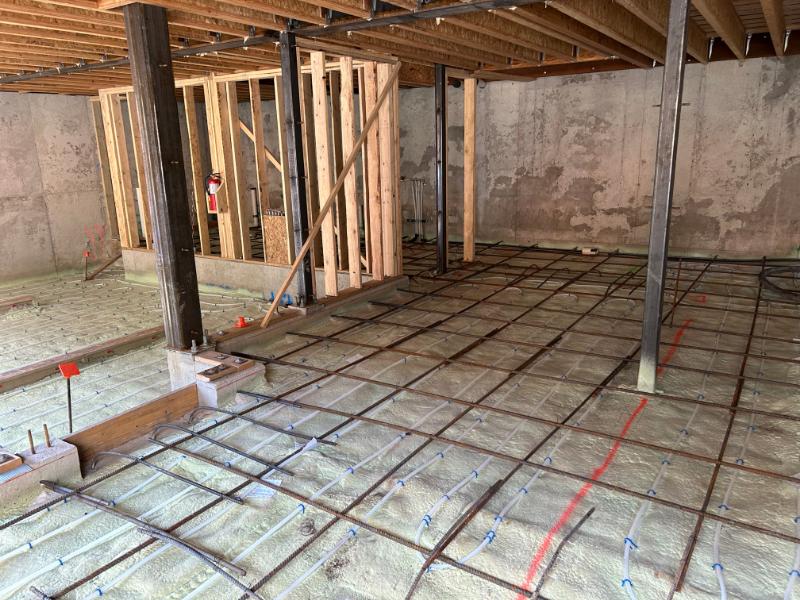
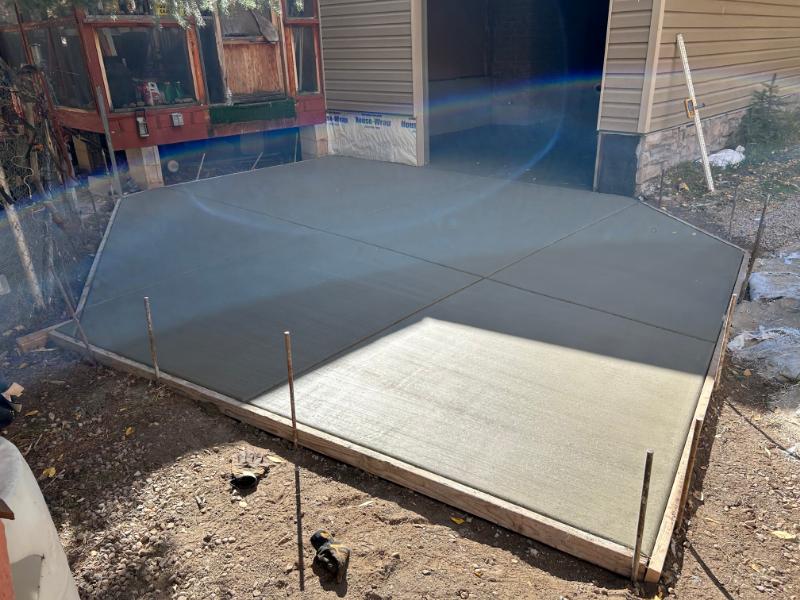
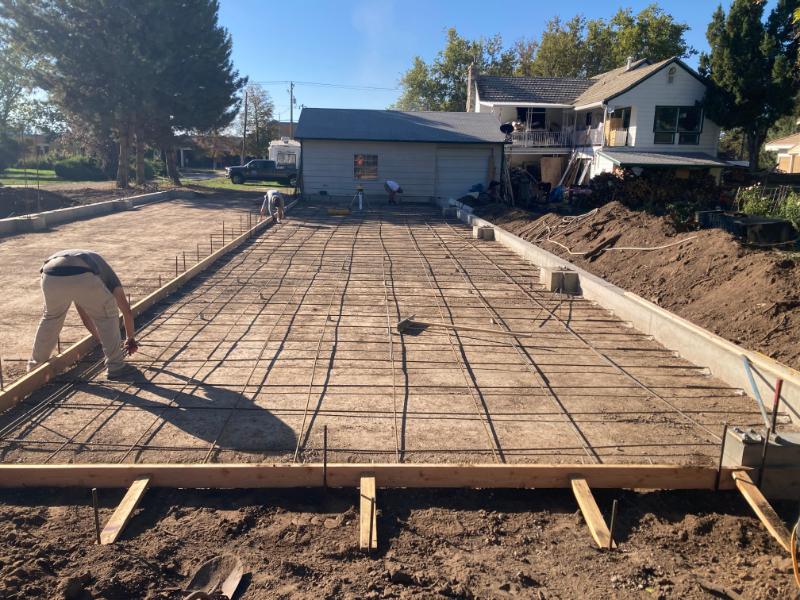
Excavation and Base Preparation: The installation process typically involves excavating the existing driveway and preparing a solid base. This step is crucial for ensuring the stability and longevity of your new heated driveway. Your contractor will handle the excavation and base preparation, but you should be aware of the process and timeline.
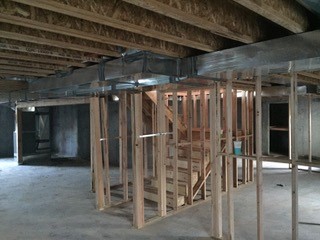
5. Plan for Utilities
Electrical Supply: If you are installing an electric heating system, ensure your home’s electrical system can handle the additional load. This might involve upgrading your electrical panel or adding new circuits. Your contractor will assess your current electrical capacity and recommend any necessary upgrades.
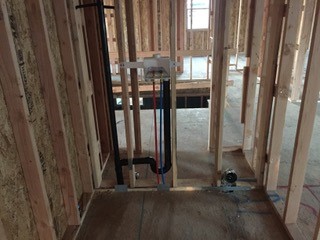
Plumbing for Hydronic Systems: For hydronic systems, you’ll need a reliable heat source, such as a boiler, to heat the water-antifreeze mixture. Ensure your home’s plumbing system is equipped to support the hydronic heating system. Your contractor will help with any required plumbing modifications.
6. Coordinate with Your Contractor
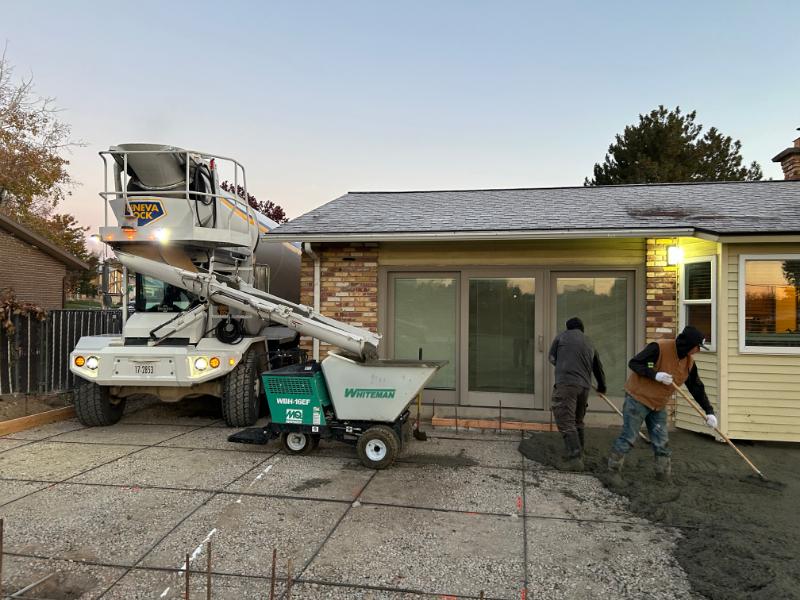
Schedule the Installation: Work with your contractor to schedule the installation at a convenient time. Be prepared for potential weather-related delays, especially if you’re installing during the colder months.
Discuss the Timeline: Understand the timeline for the project, including the excavation, base preparation, installation of the heating system, and pouring of the concrete. Knowing the schedule will help you plan accordingly and make any necessary arrangements.
7. Post-Installation Considerations
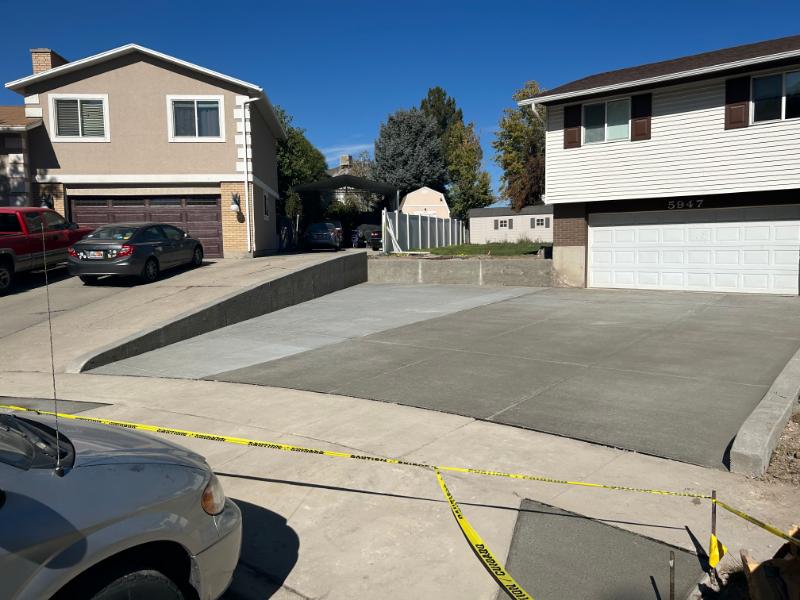
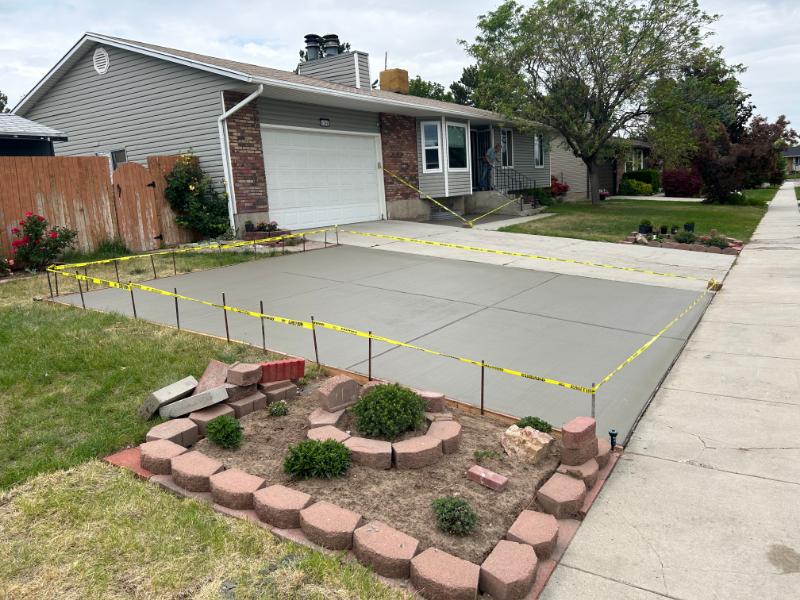
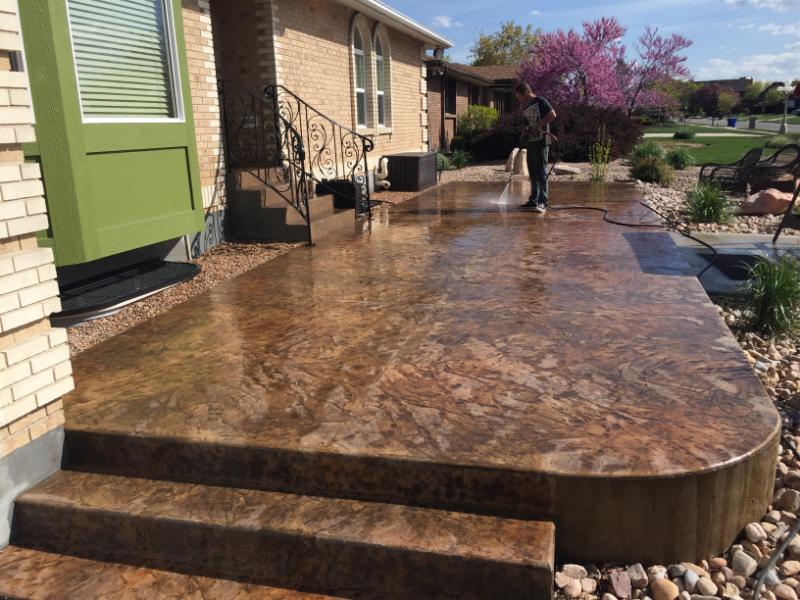
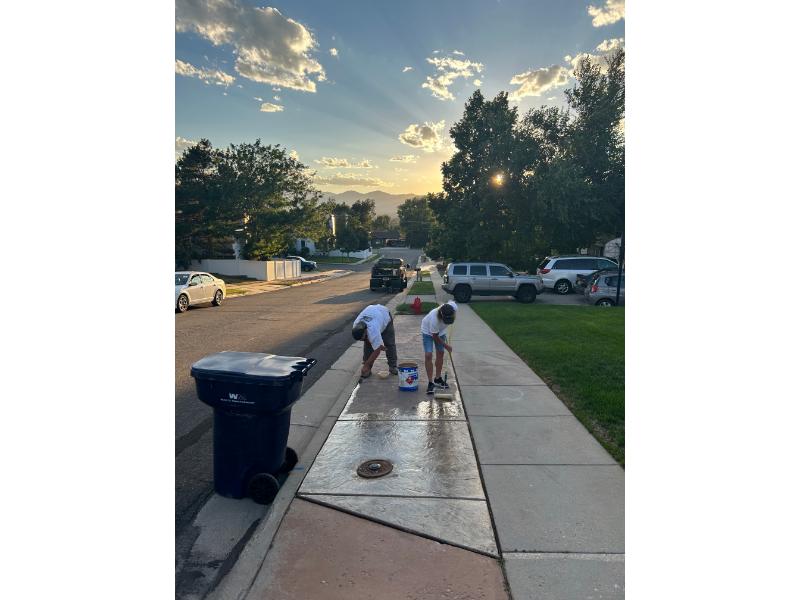
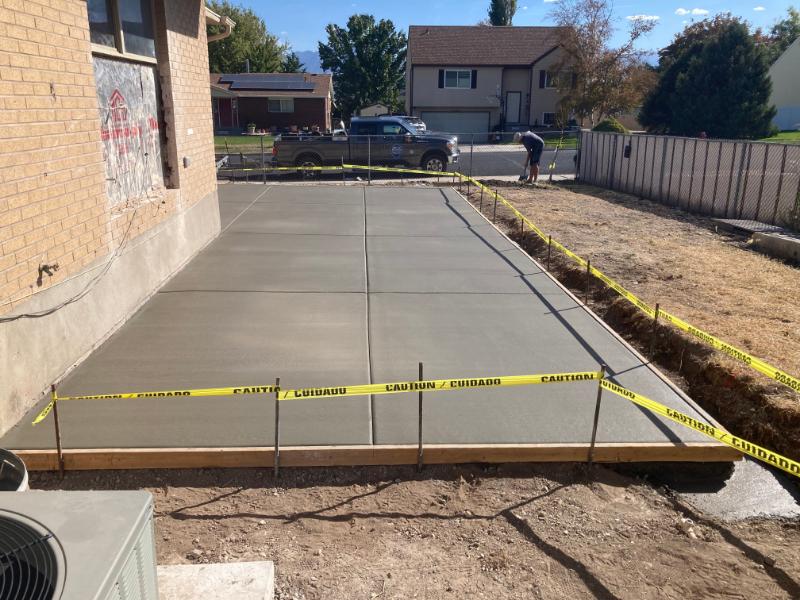
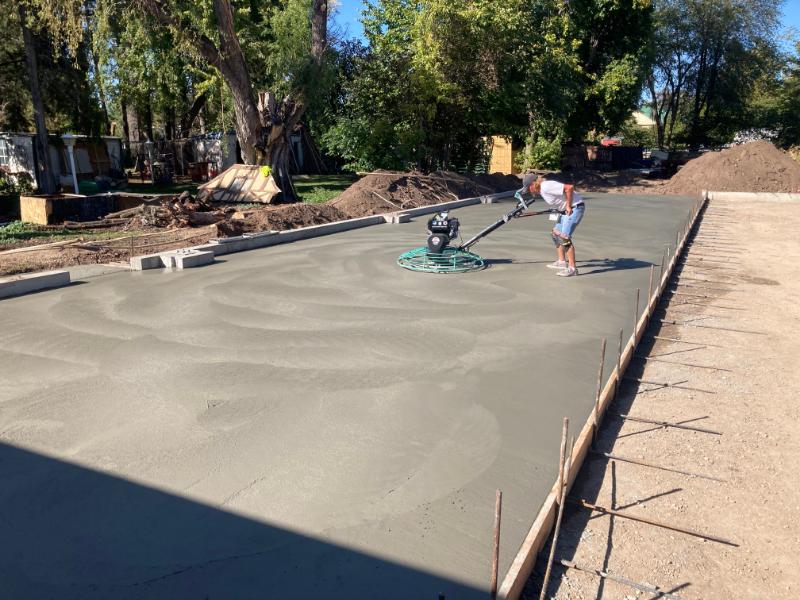
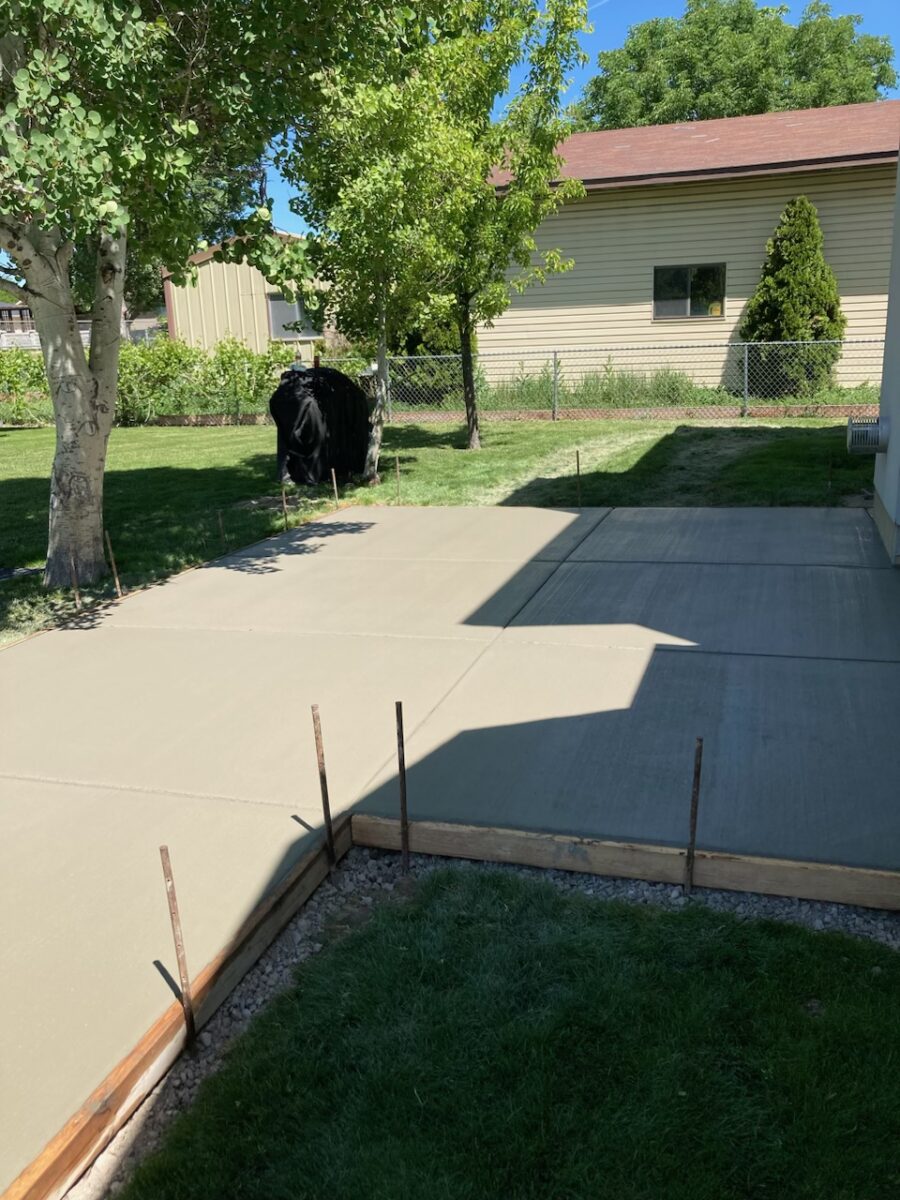
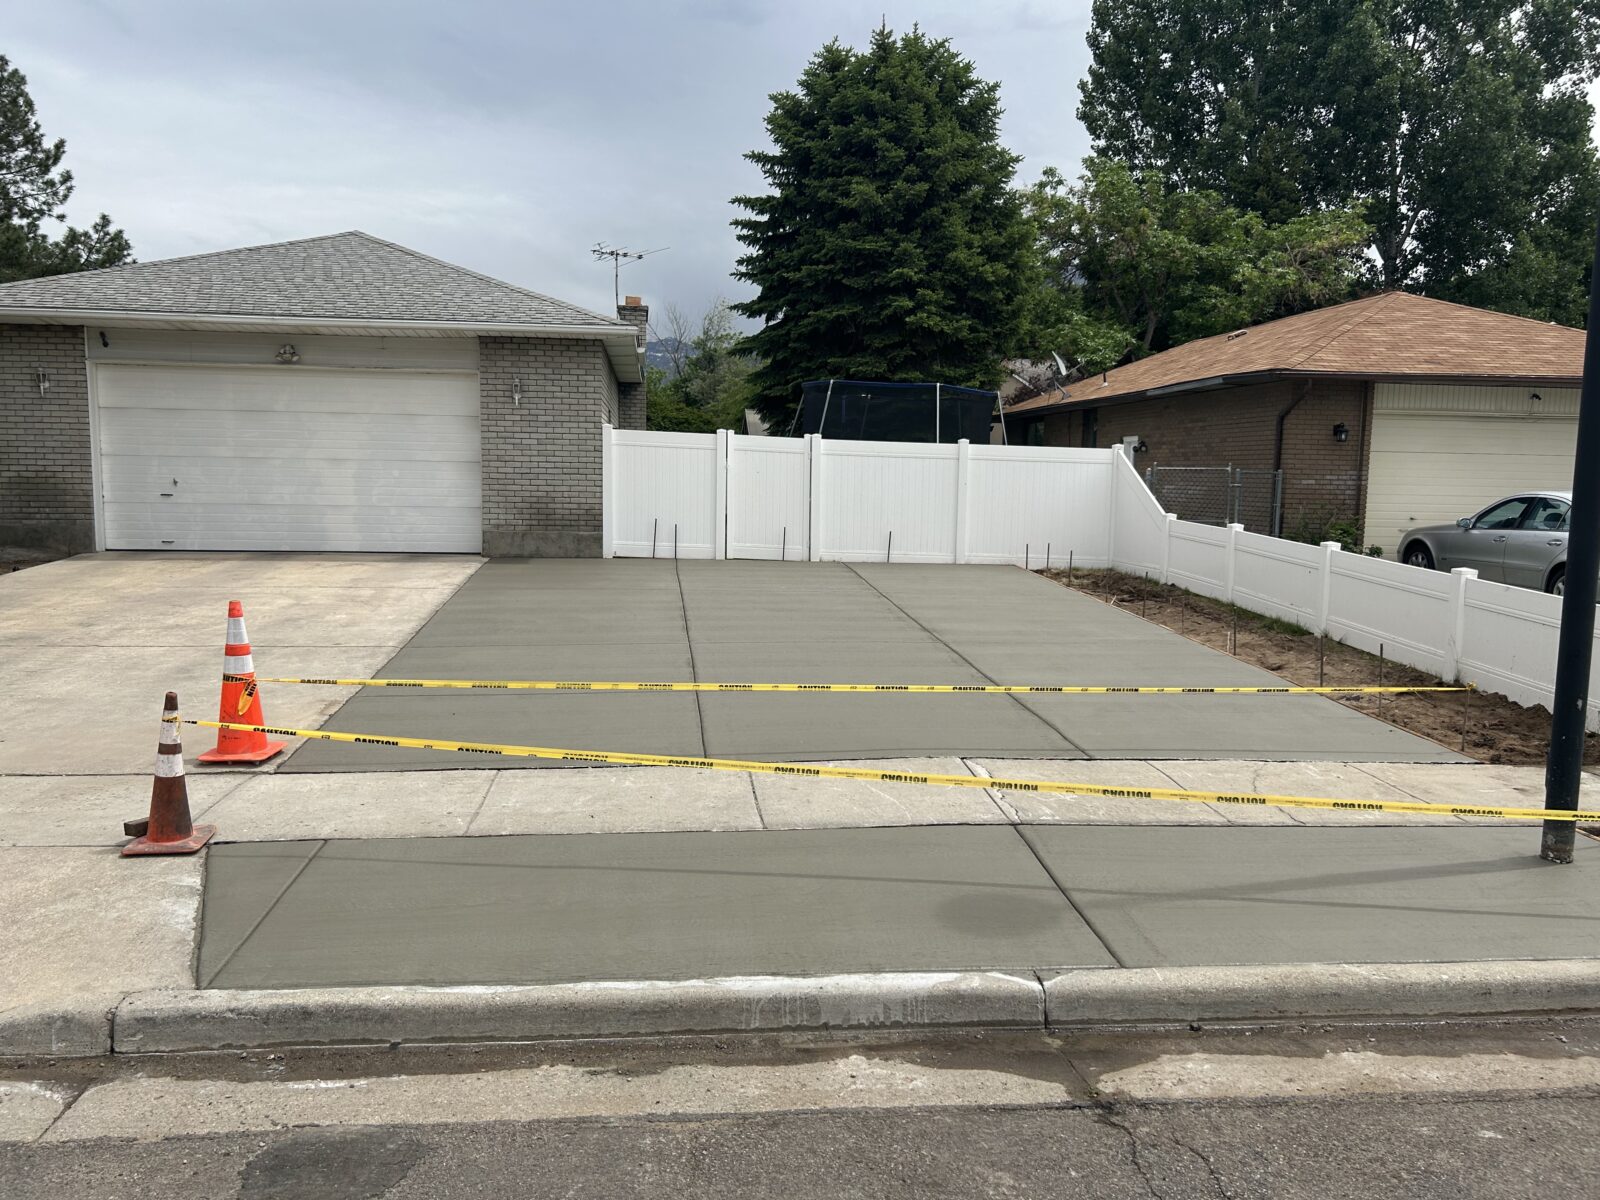
Curing Time: After the concrete is poured, it will need time to cure properly. This can take several days to a few weeks, depending on the weather conditions. During this time, avoid using the driveway to ensure the concrete sets correctly.
System Testing: Once the concrete has cured, your contractor will test the heating system to ensure it’s working correctly. They will demonstrate how to operate the system and provide maintenance tips to keep it running efficiently.

Call Smith Builders to set up a free estimate for your next project now: 801-647-7123.
Preparing your Taylorsville, Utah, home for a heated concrete driveway installation involves several important steps, from assessing the current driveway condition to coordinating with your contractor and ensuring your utilities are ready. By following this guide, you can ensure a smooth and successful installation process, resulting in a durable, efficient, and convenient heated driveway that enhances your home’s winter readiness.
Learn more about our Concrete Services or Contact Us for a free estimate on your next project: