
Call Smith Builders to set up a free estimate for your next project now: 801-647-7123.
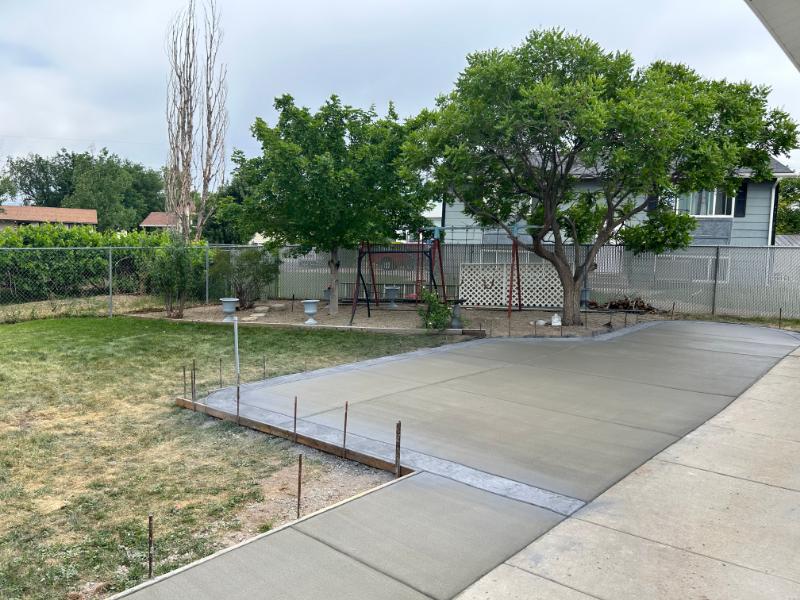
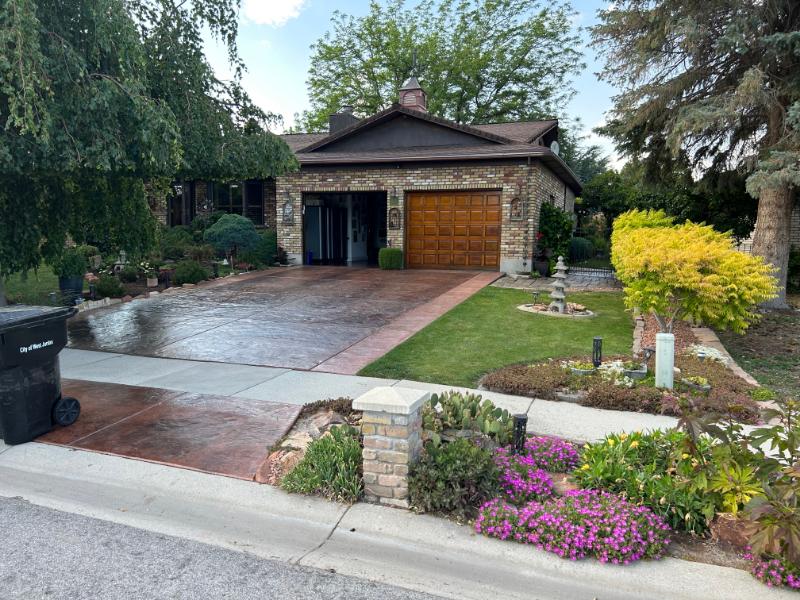
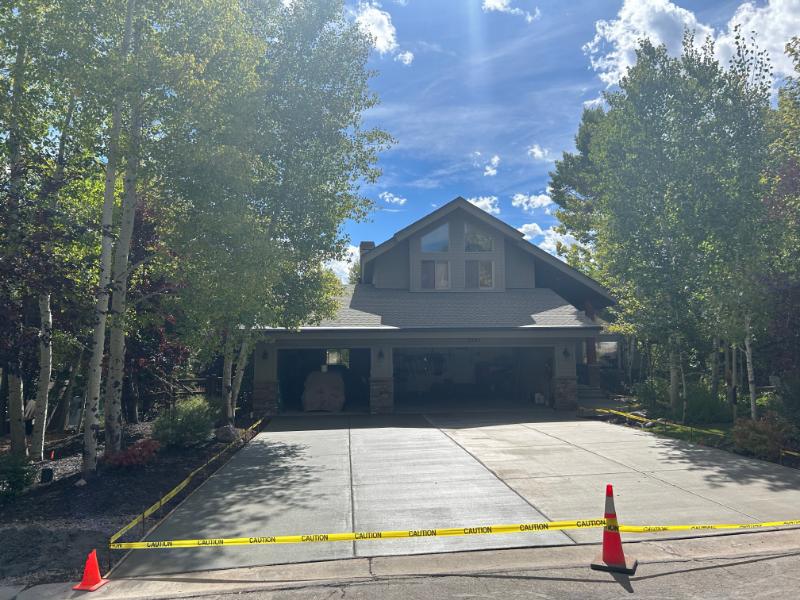
Heated concrete driveways are an excellent solution for homeowners in Draper, Utah, looking to combat the harsh winter weather. These driveways provide safety and convenience by melting snow and ice, ensuring a clear and safe surface. As a contractor, understanding the step-by-step process of installing a heated concrete driveway is essential to deliver high-quality results. Here’s a comprehensive guide to help you through the installation process.
- Initial Consultation and Planning
- Excavation and Base Preparation
- Installing the Heating System
- Pouring the Concrete
- Testing and Final Adjustments
- Educating the Homeowner
Step 1: Initial Consultation and Planning
Site Assessment: Begin with a thorough site assessment. Evaluate the existing driveway or the planned location for the new driveway. Check for proper drainage, soil conditions, and any potential obstacles.
Customer Consultation: Discuss the project with the homeowner. Understand their needs, budget, and preferences. Explain the benefits of a heated driveway and provide an overview of the installation process.
Design and Layout: Create a detailed design and layout plan. This should include the driveway dimensions, heating system specifications, and any additional features the homeowner desires, such as decorative concrete finishes.
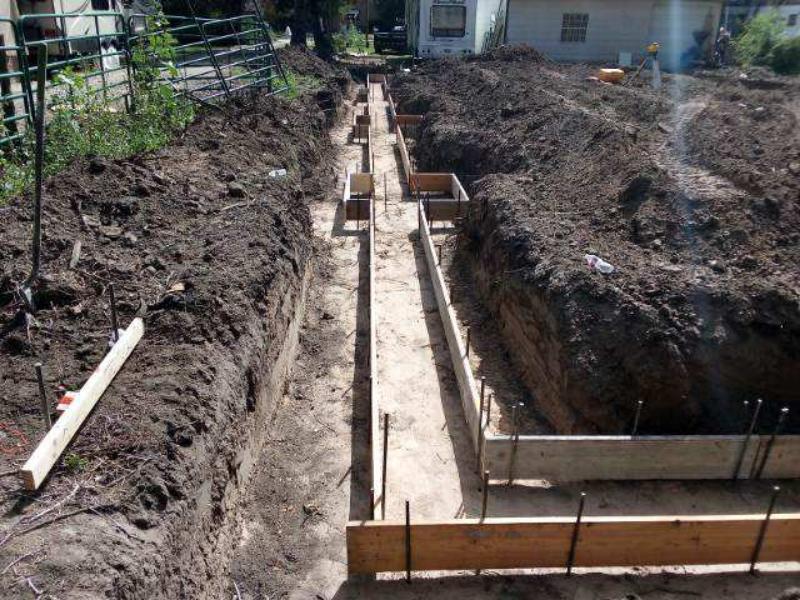
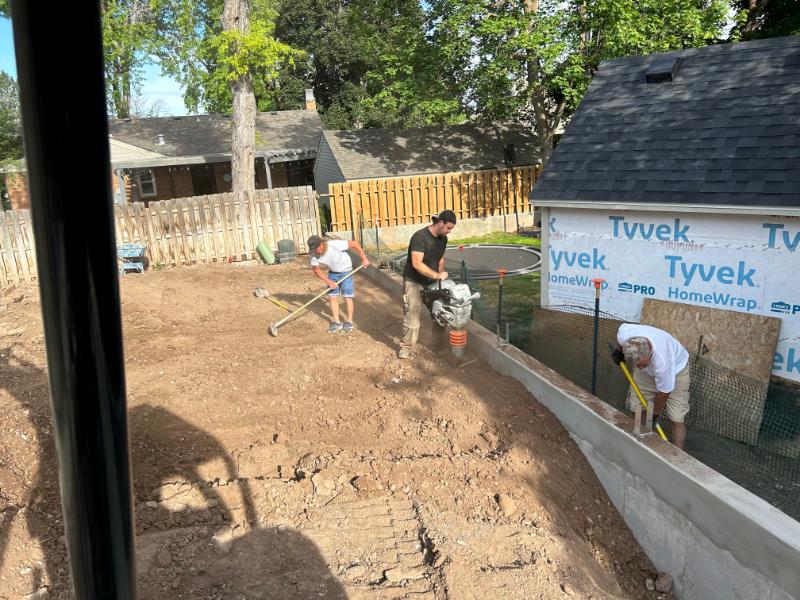
Step 2: Excavation and Base Preparation
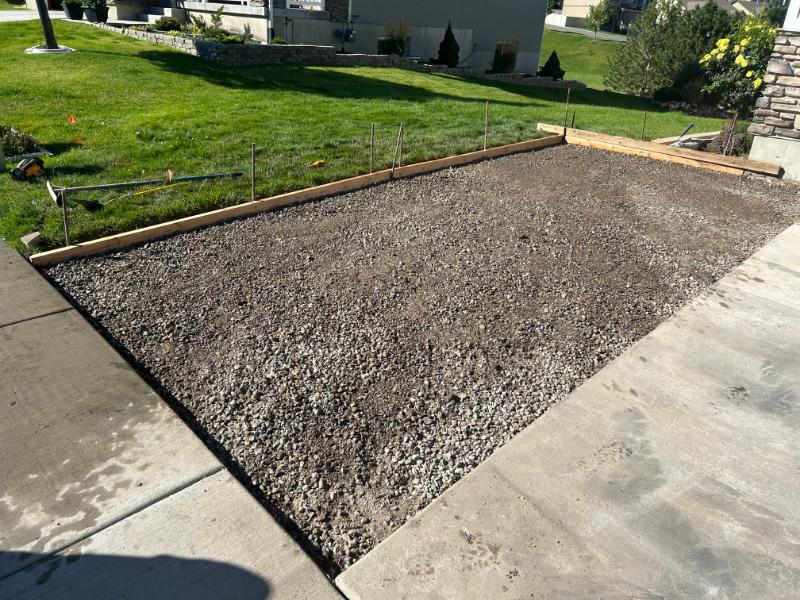
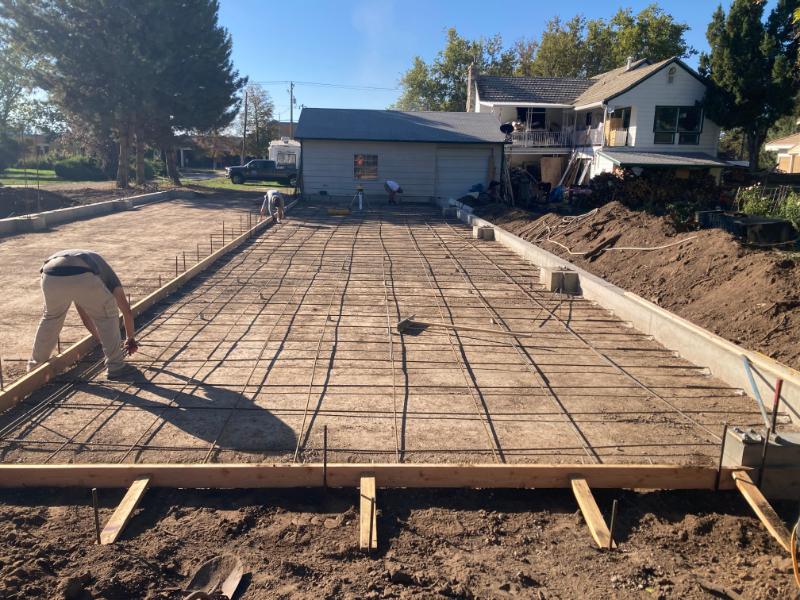
Marking and Excavation: Mark the area for the driveway and begin excavation. Ensure the depth is sufficient to accommodate the heating system, concrete, and a compacted gravel base.
Subbase Installation: Lay a layer of compacted gravel or crushed stone as the subbase. This provides a stable foundation and improves drainage. The subbase should be at least 4-6 inches thick, depending on soil conditions and expected load.
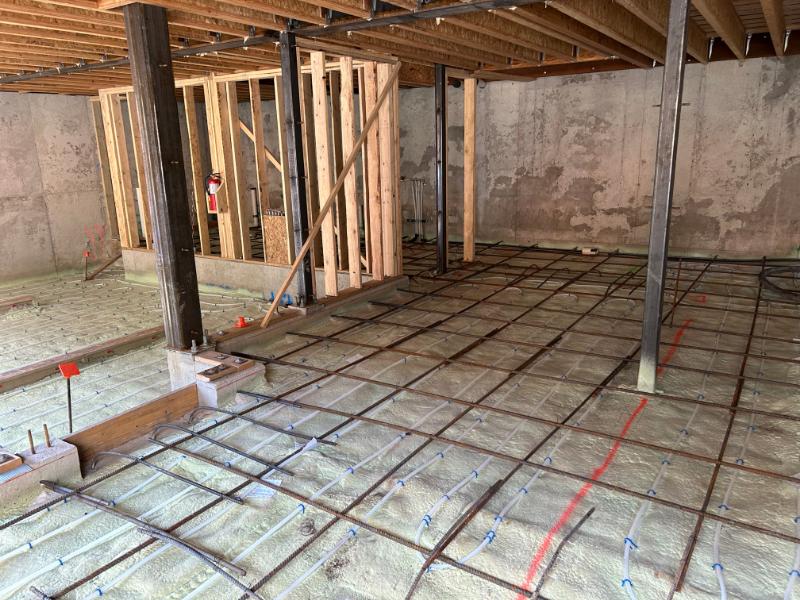
Step 3: Installing the Heating System
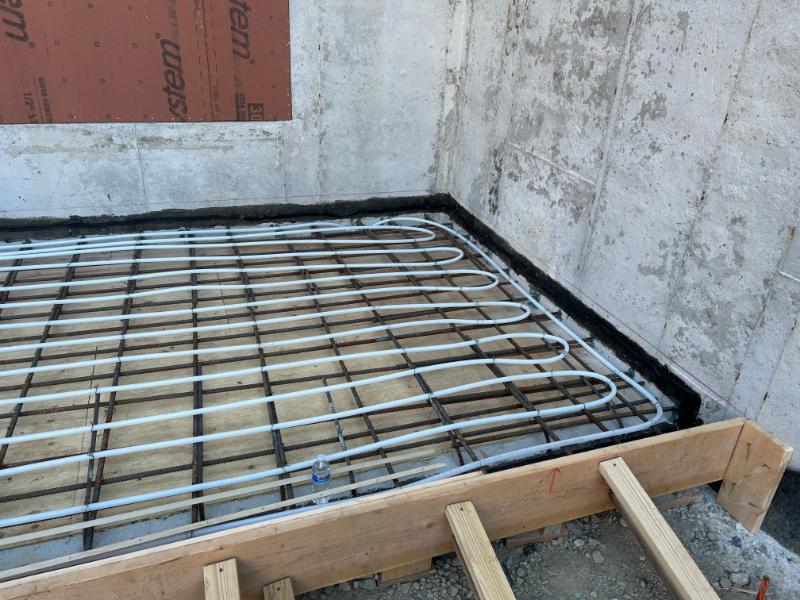
Choosing the Heating System: Select the appropriate heating system for the project. The two main types are electric heating cables and hydronic (hot water) systems. Each has its advantages, and the choice will depend on the homeowner’s preference and budget.
Layout of Heating Elements: Carefully lay out the heating cables or hydronic tubing according to the design plan. Ensure even spacing and secure the elements to the base using zip ties or metal clips. Follow the manufacturer’s guidelines for installation.
Connection to Power Source: For electric systems, connect the heating cables to the power source, including installing a control unit and thermostat. For hydronic systems, connect the tubing to the boiler or water heater and install the necessary pumps and controls.
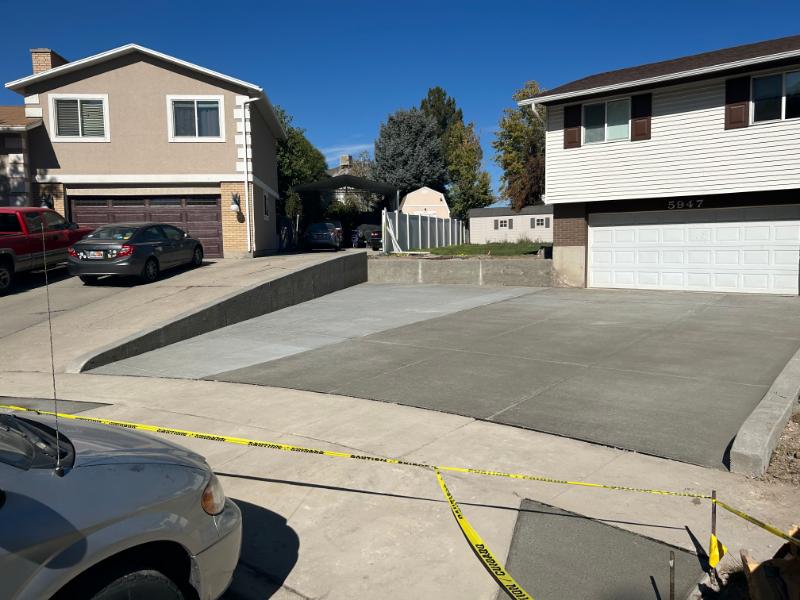
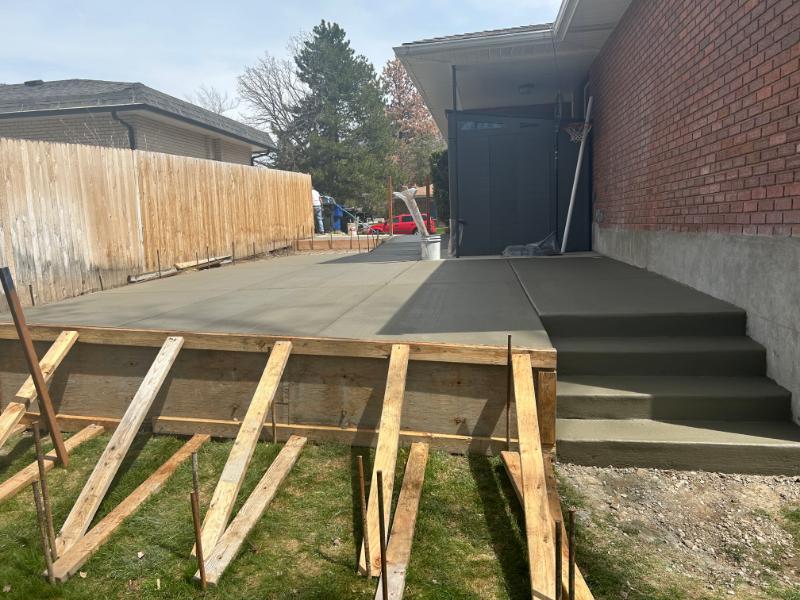
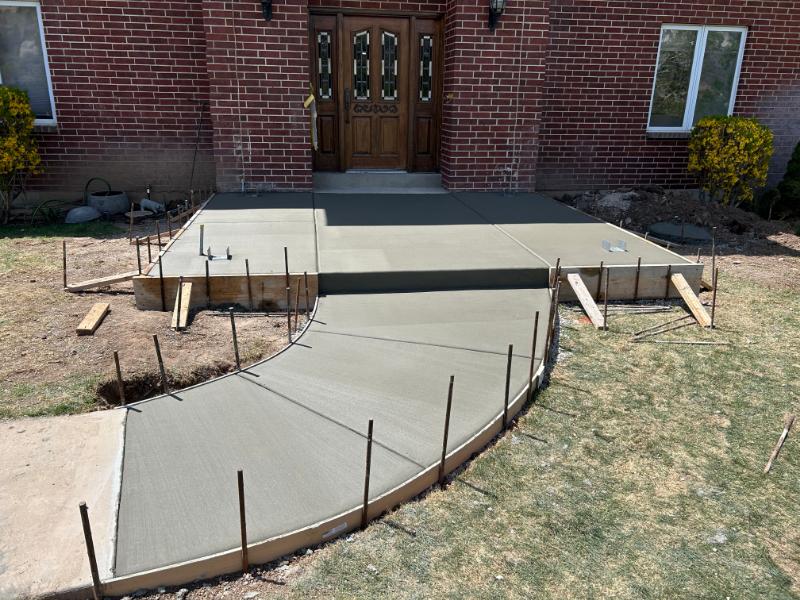
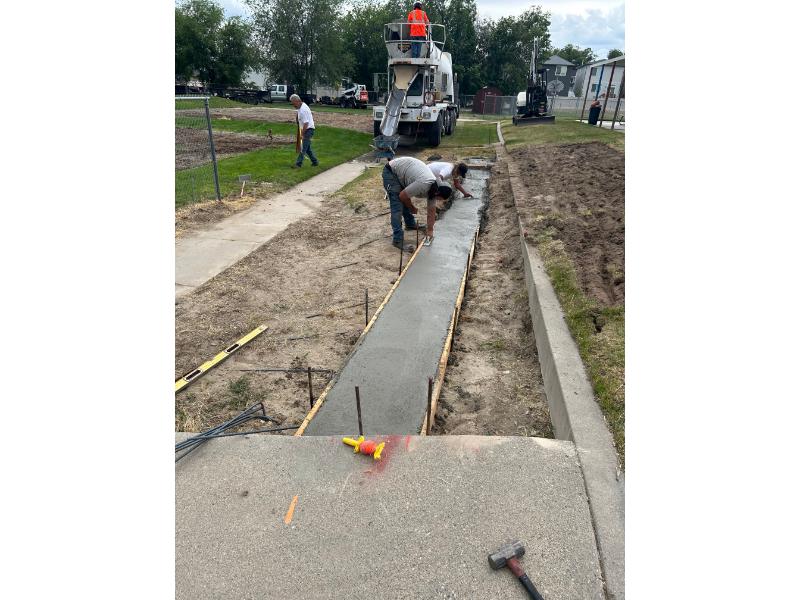
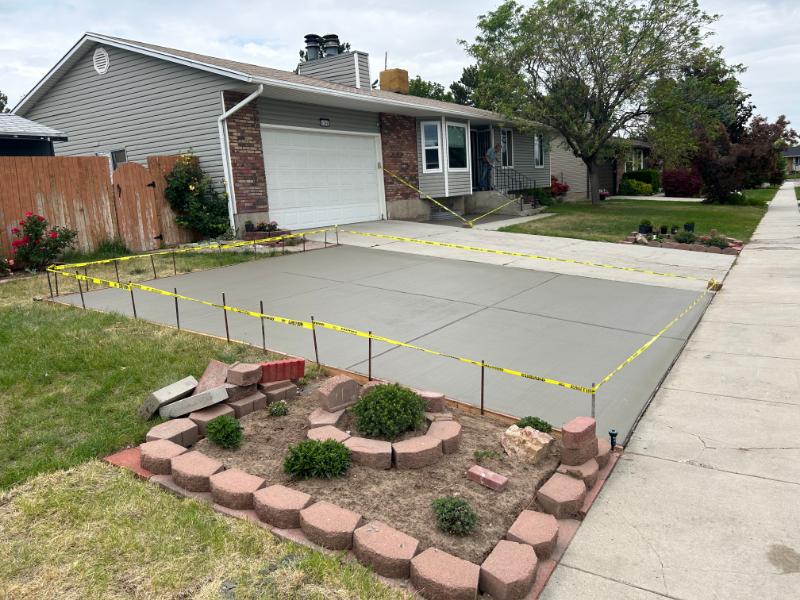
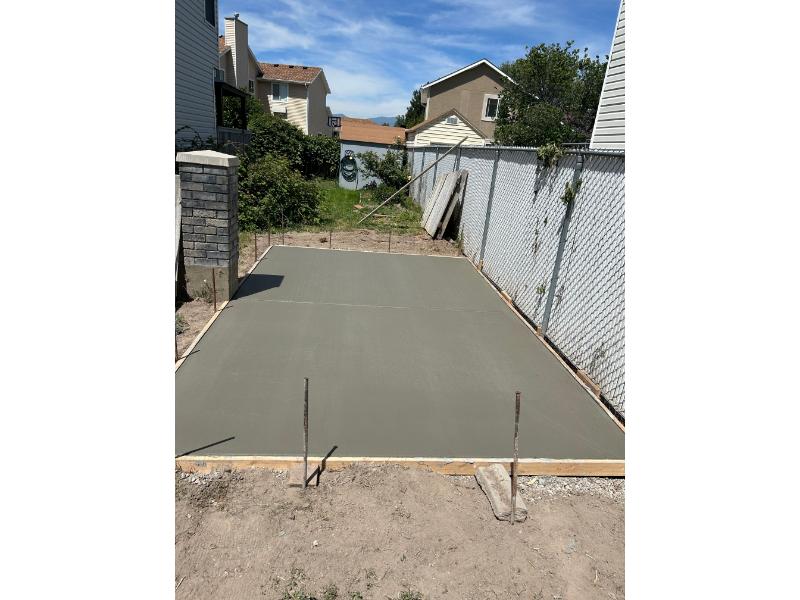
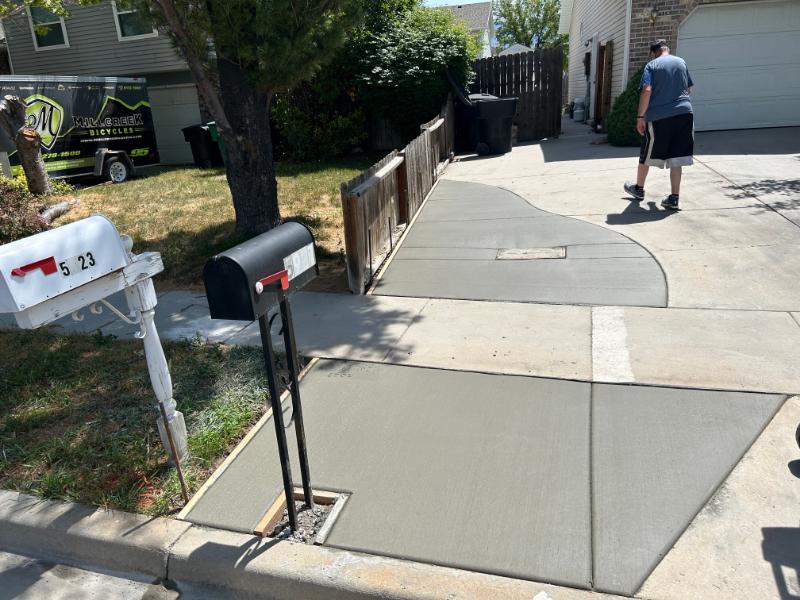
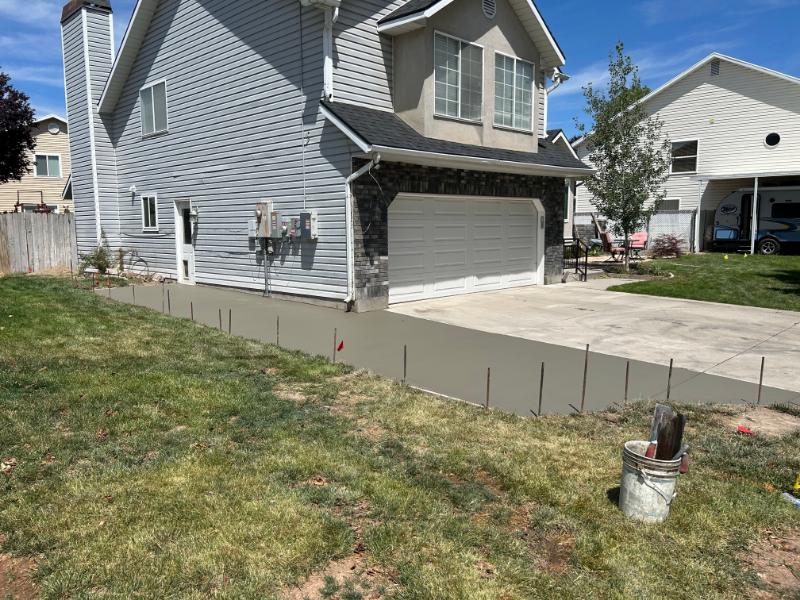
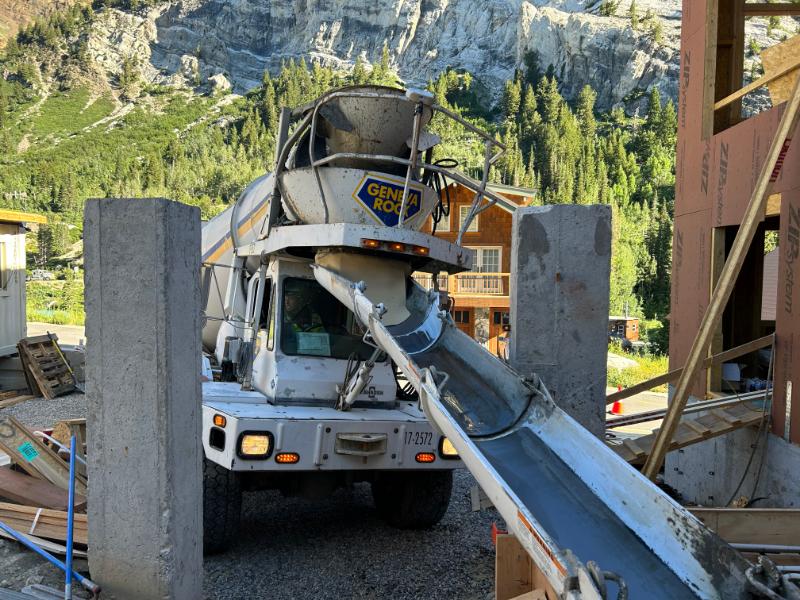
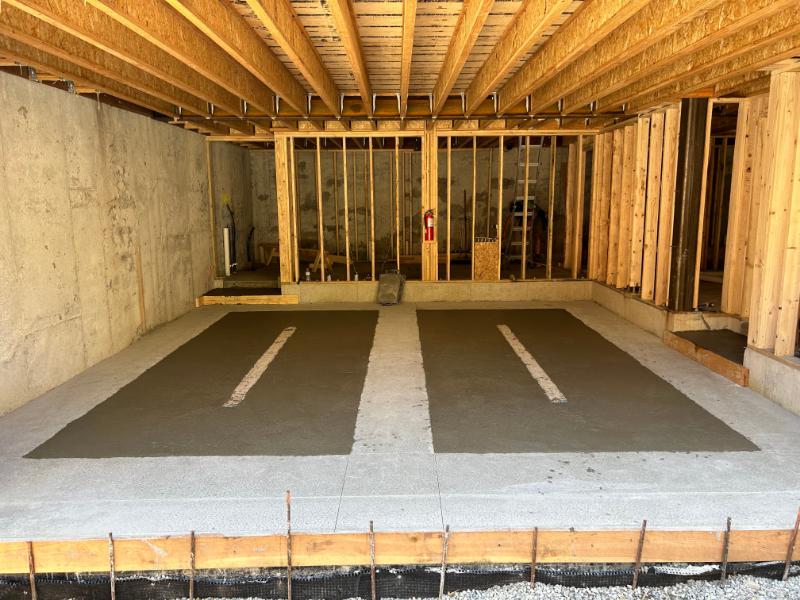
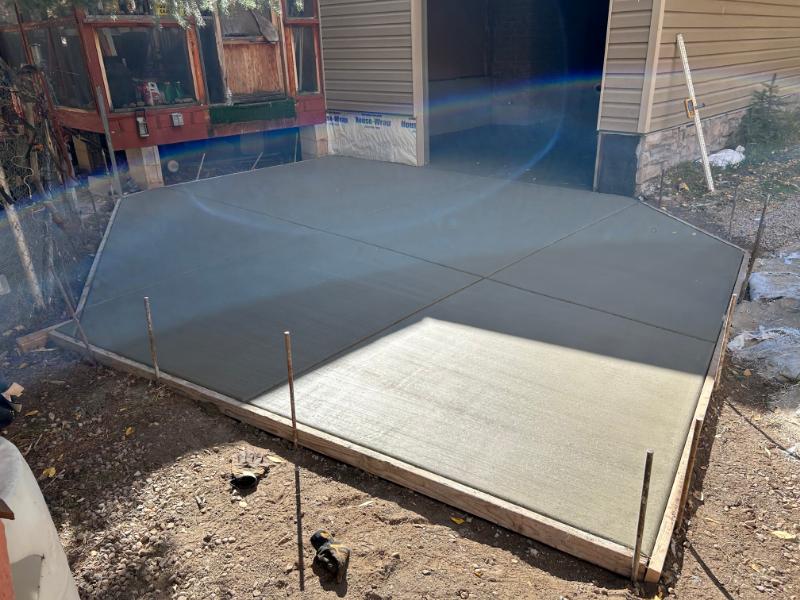
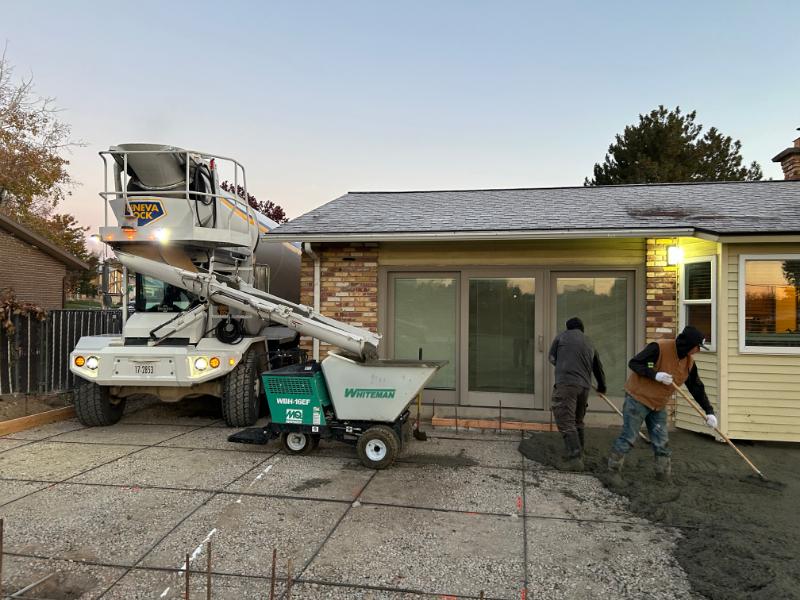
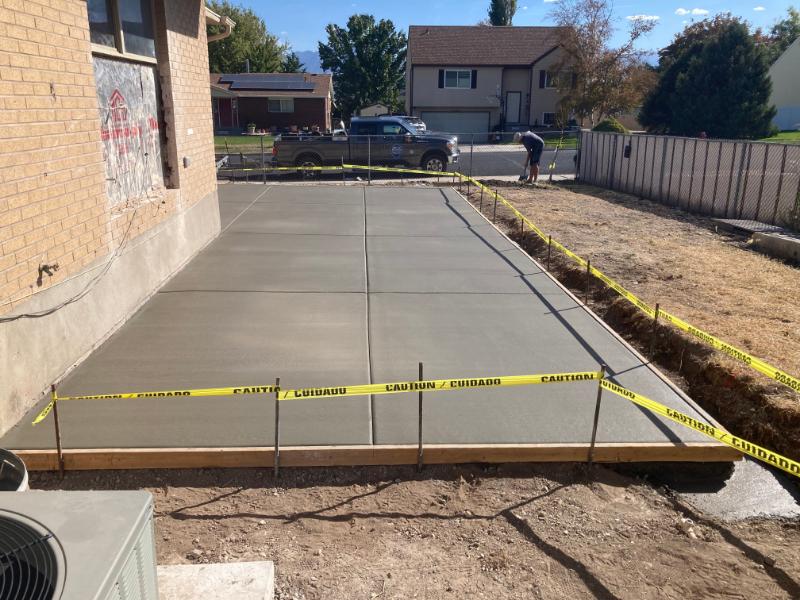
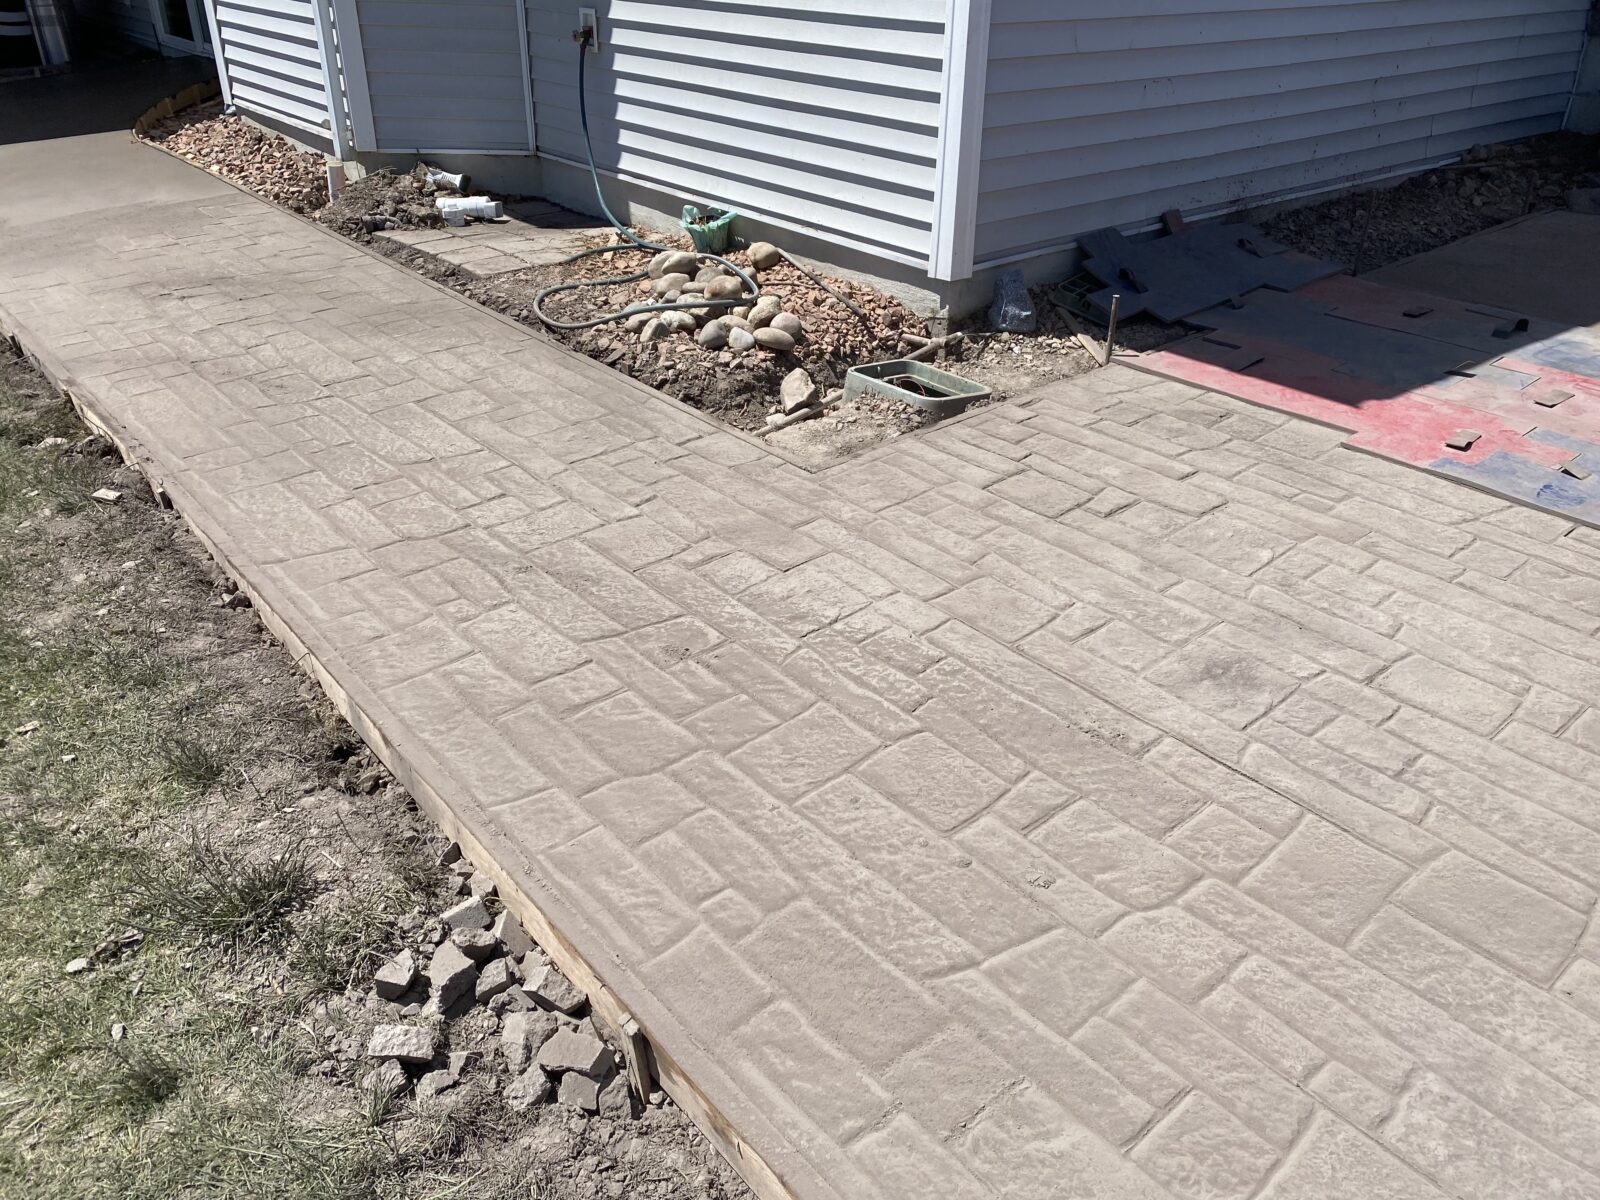
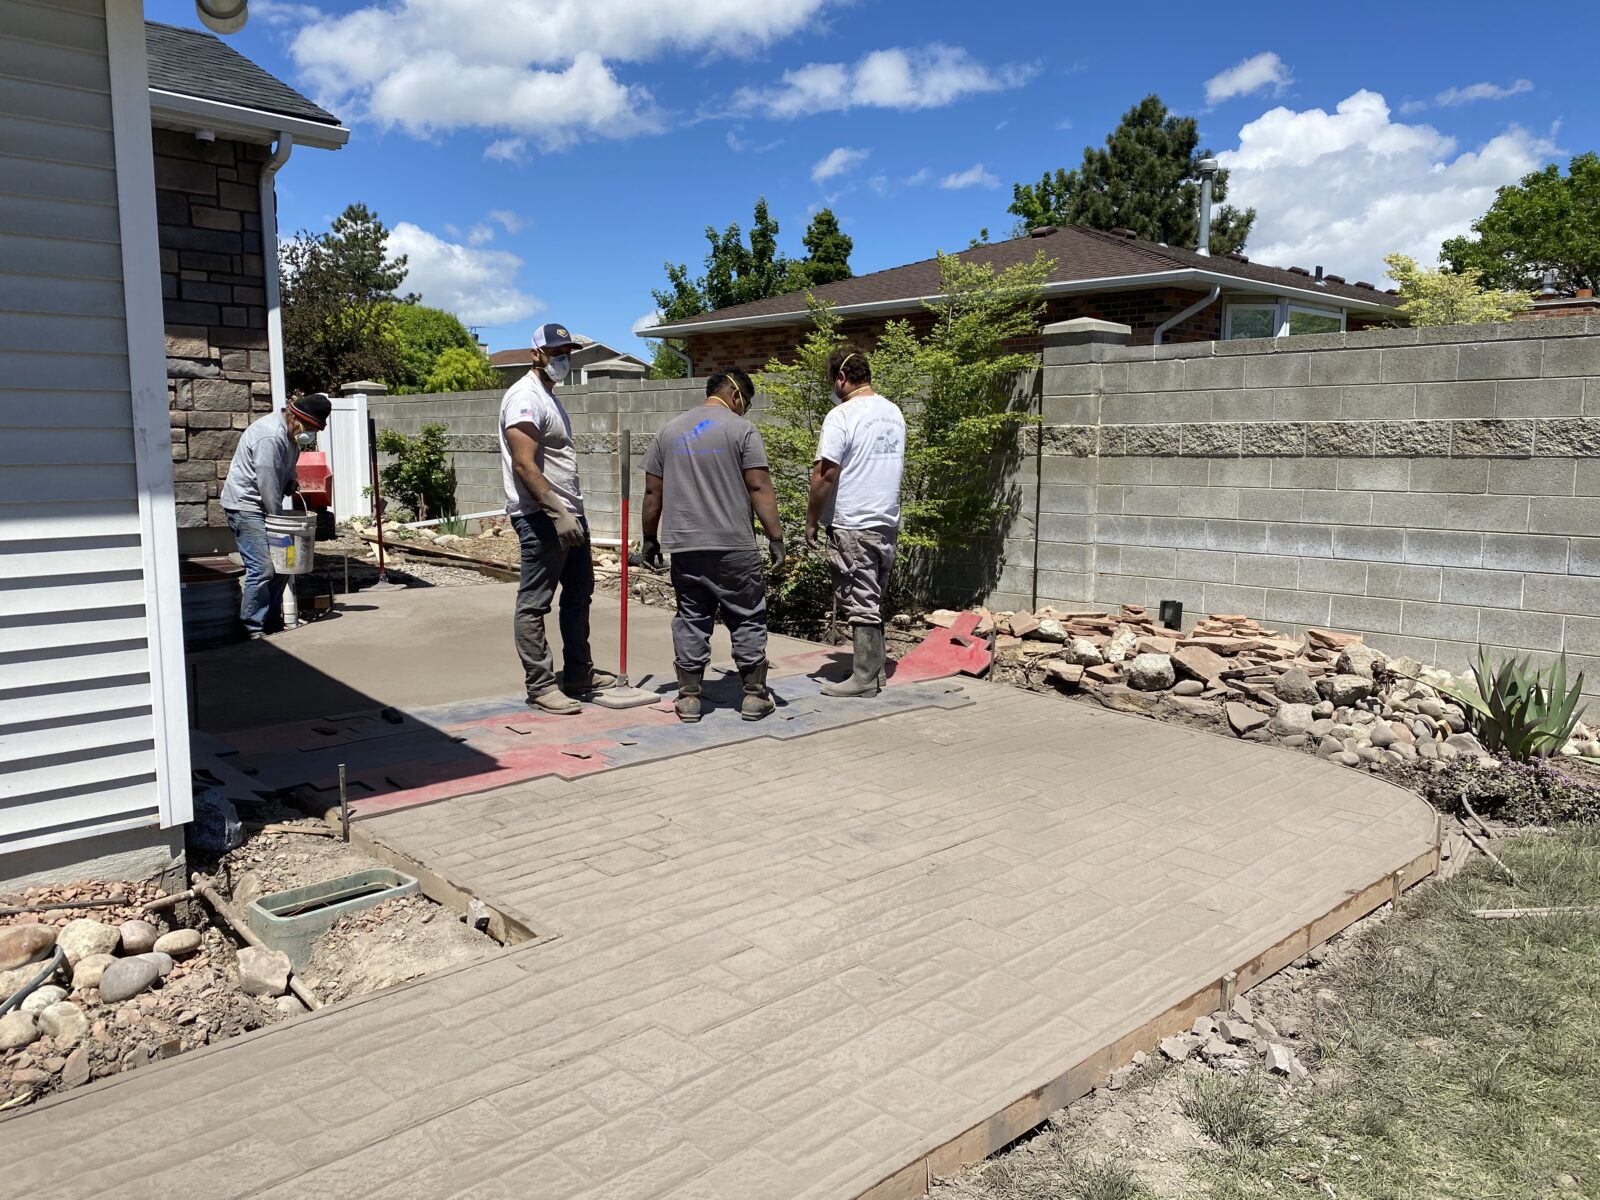
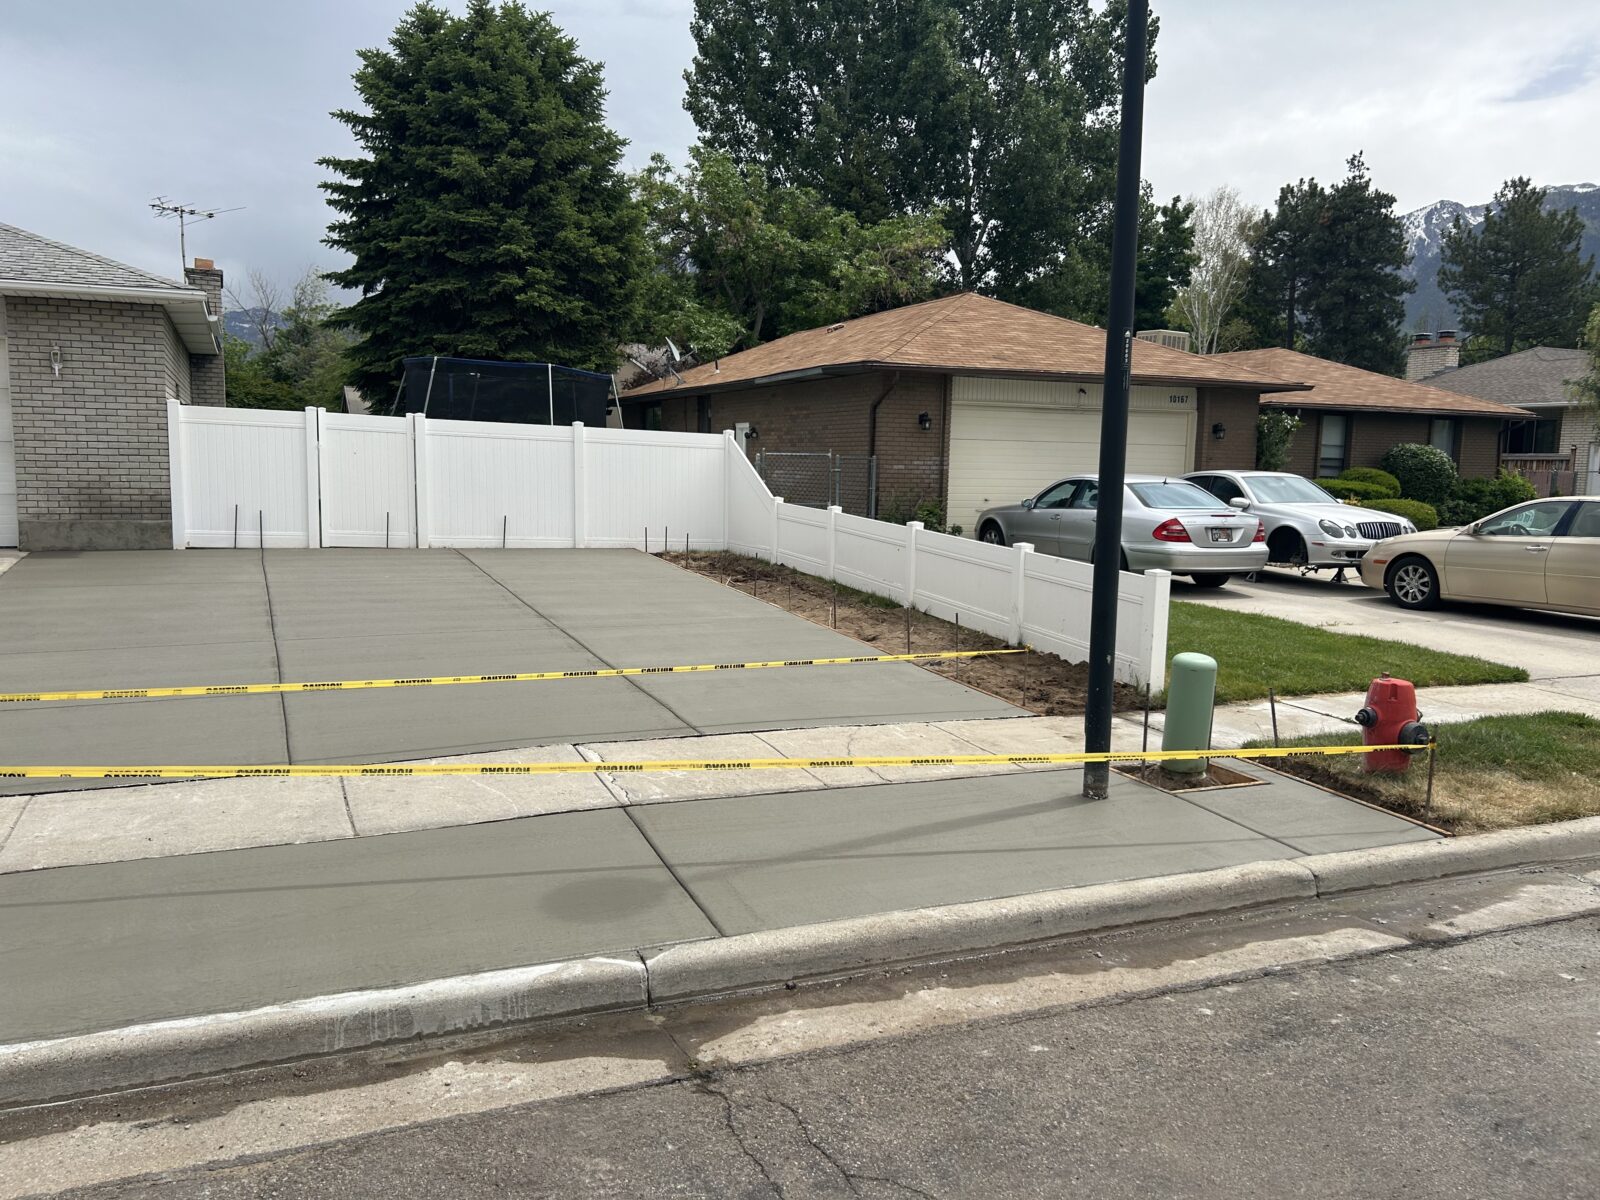
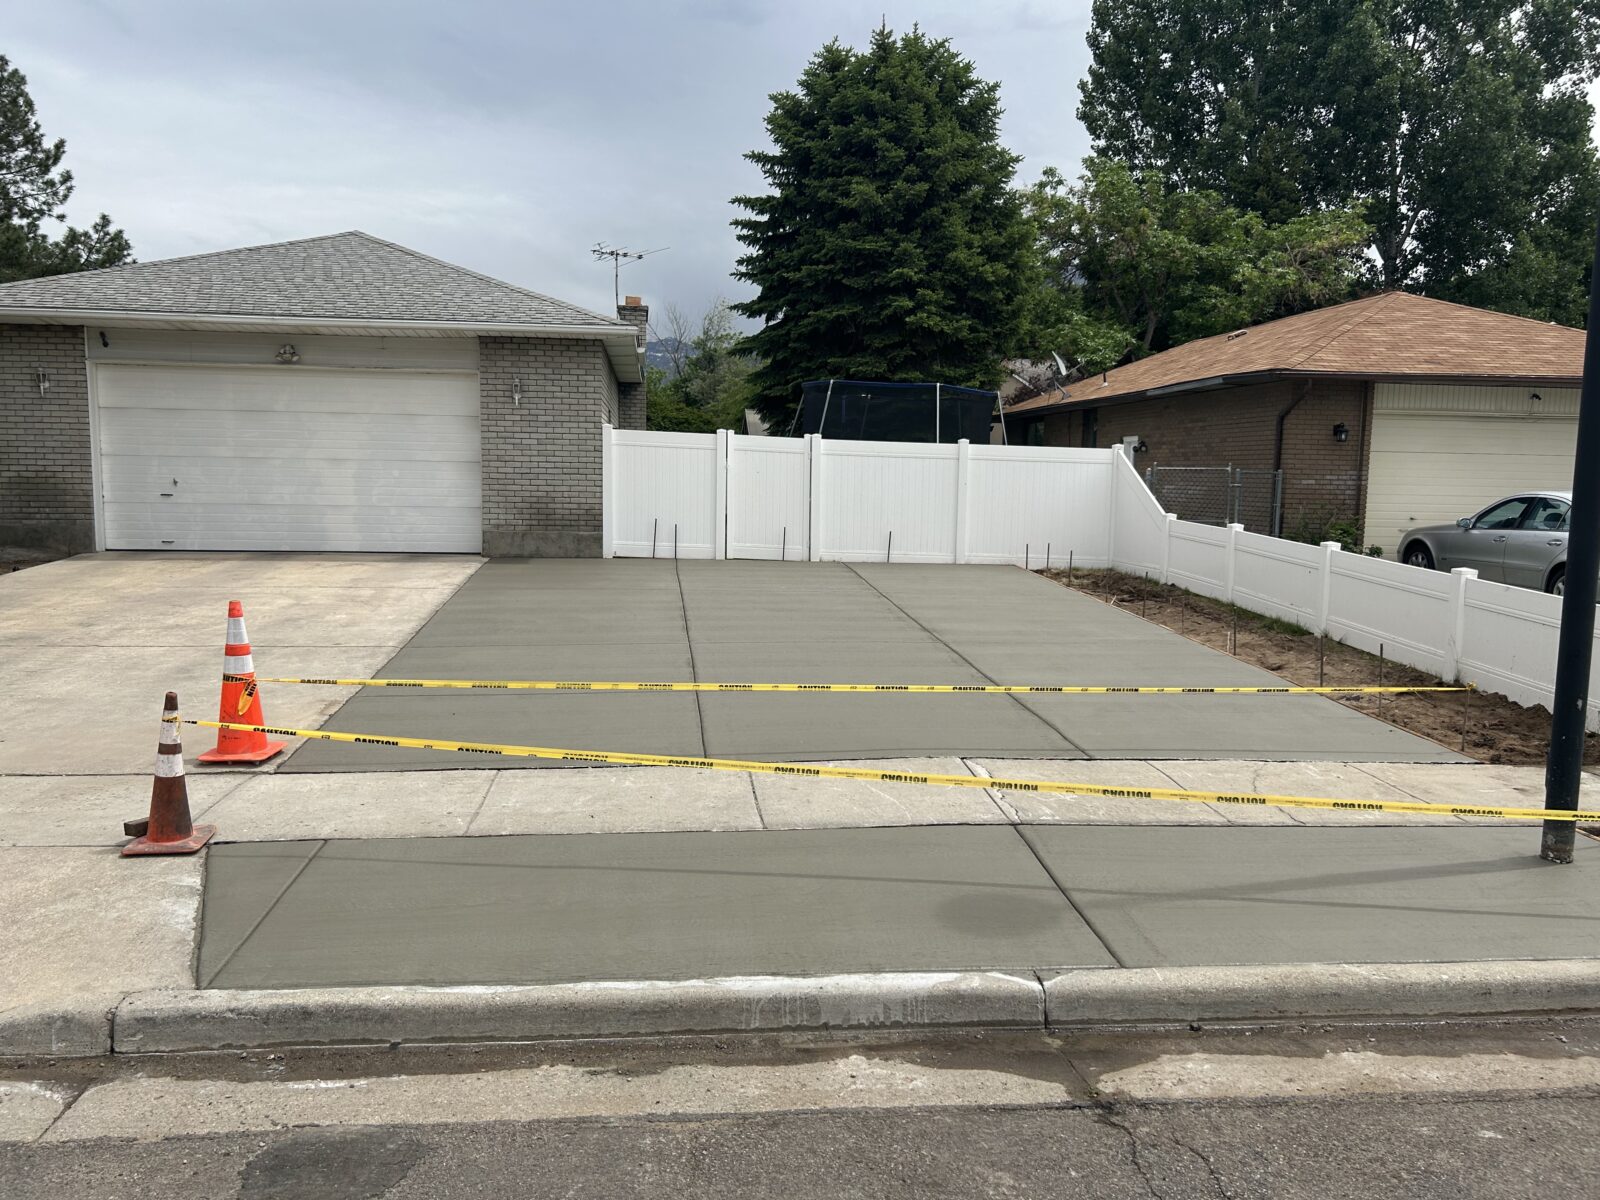
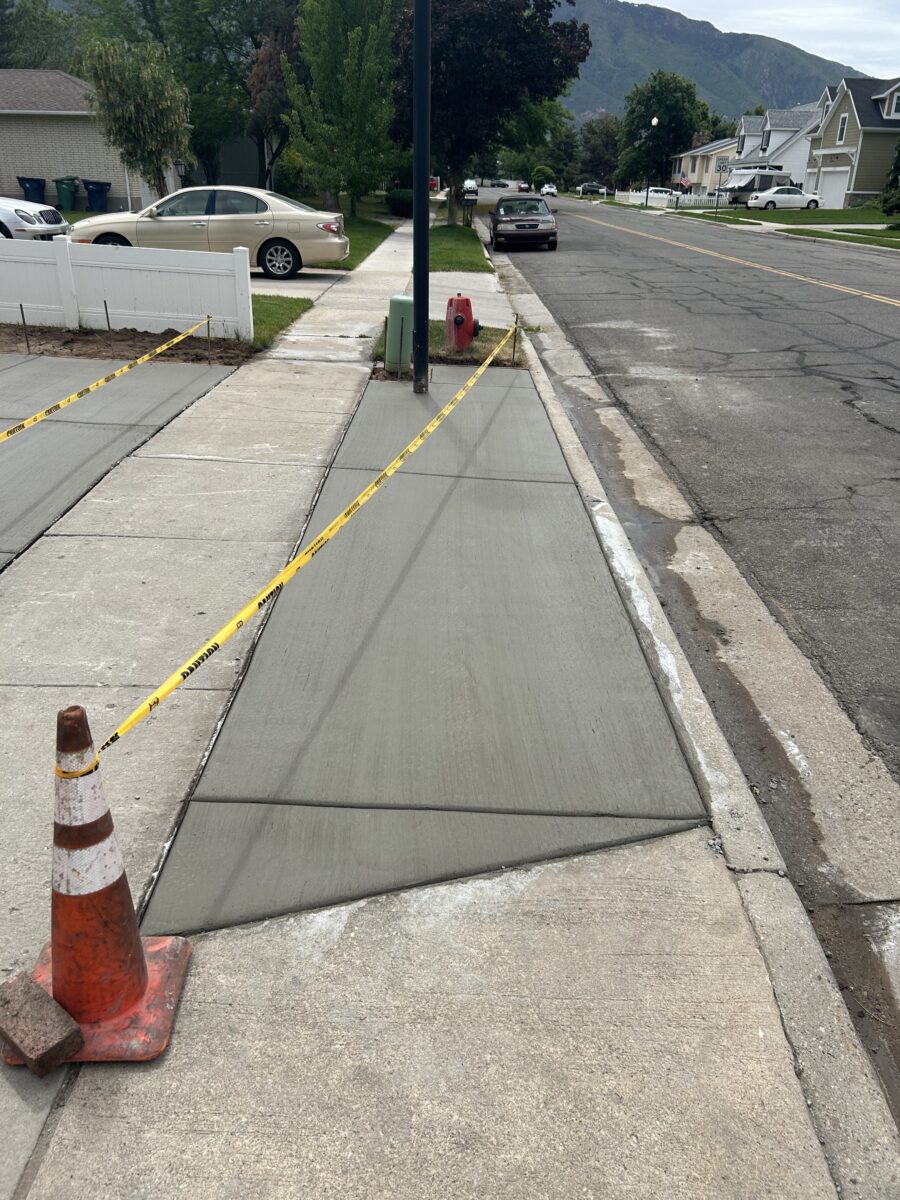
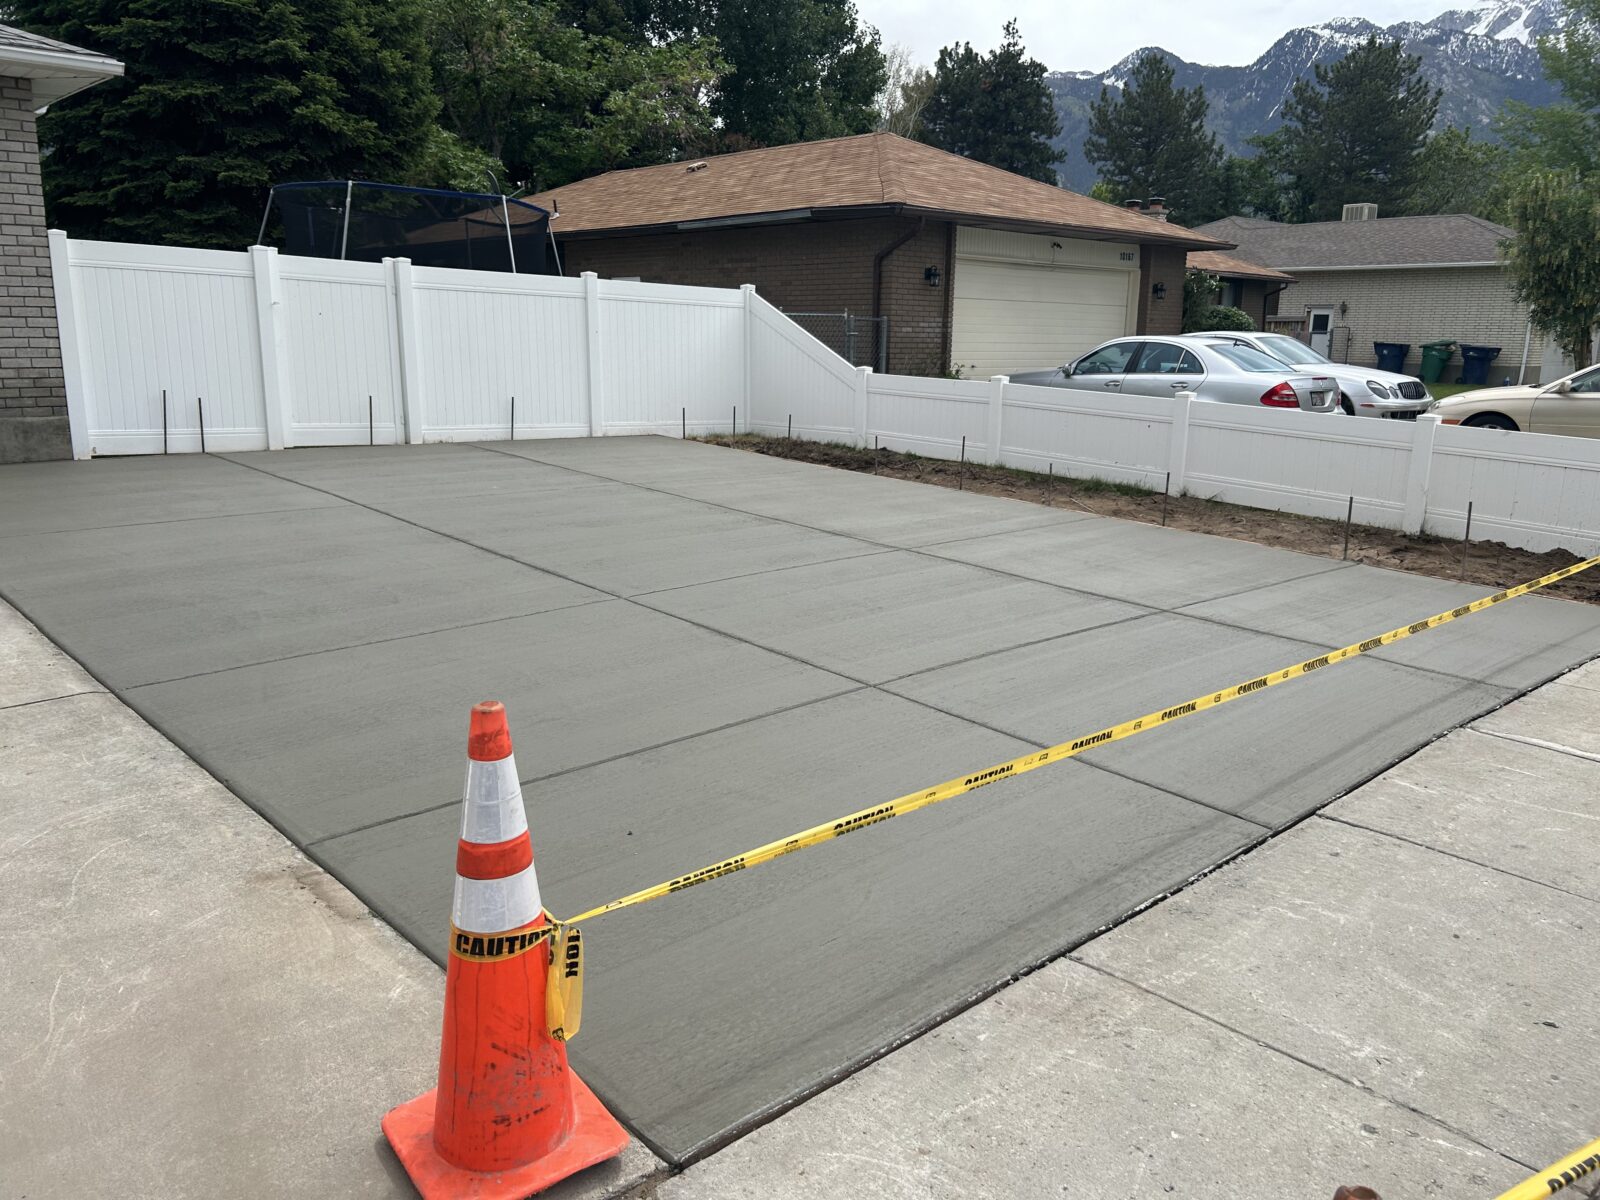
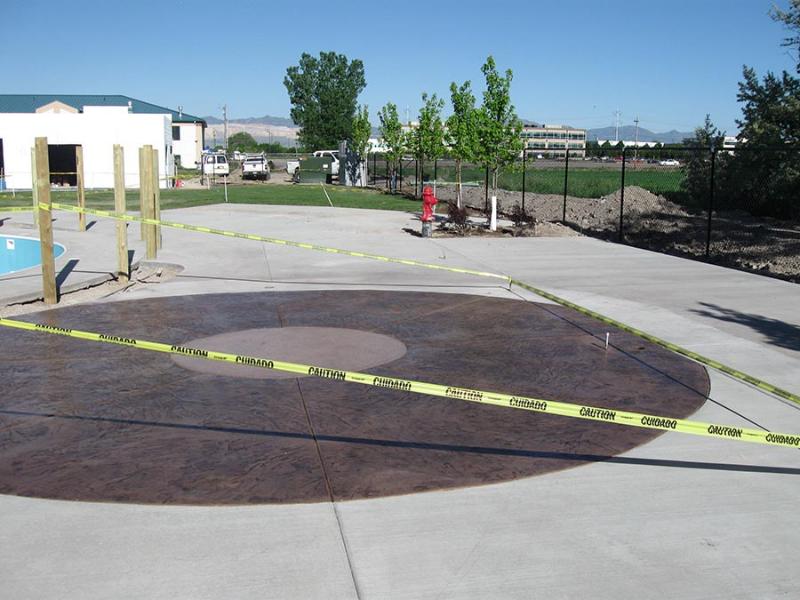
Step 4: Pouring the Concrete
Preparation: Before pouring the concrete, ensure the heating elements are properly secured and covered with a protective mesh if required by the system’s specifications.
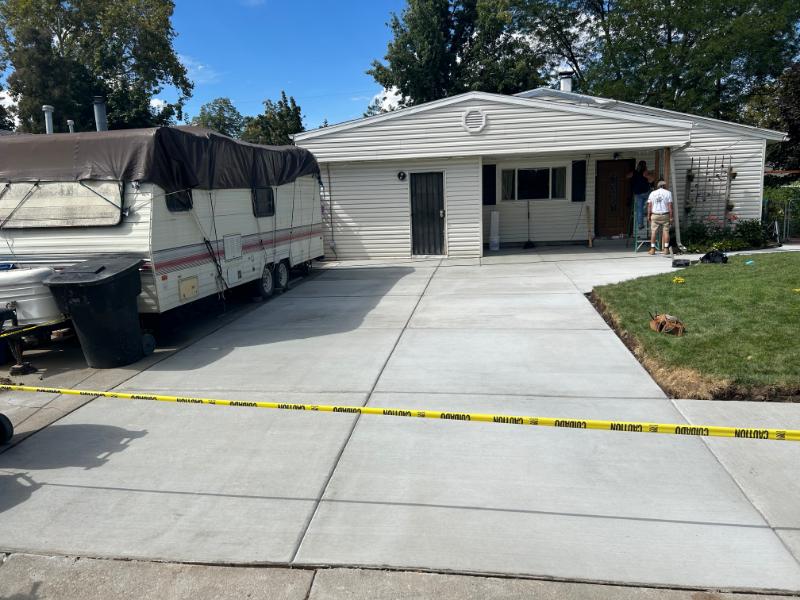
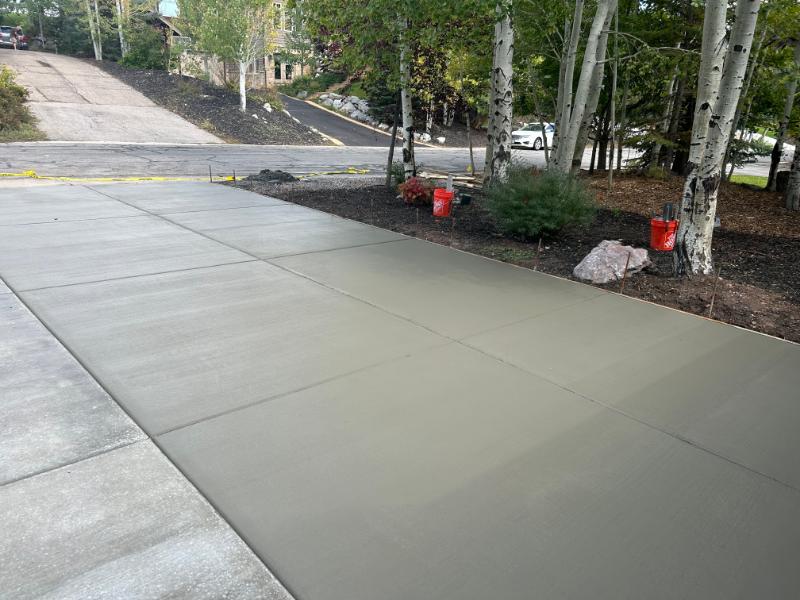
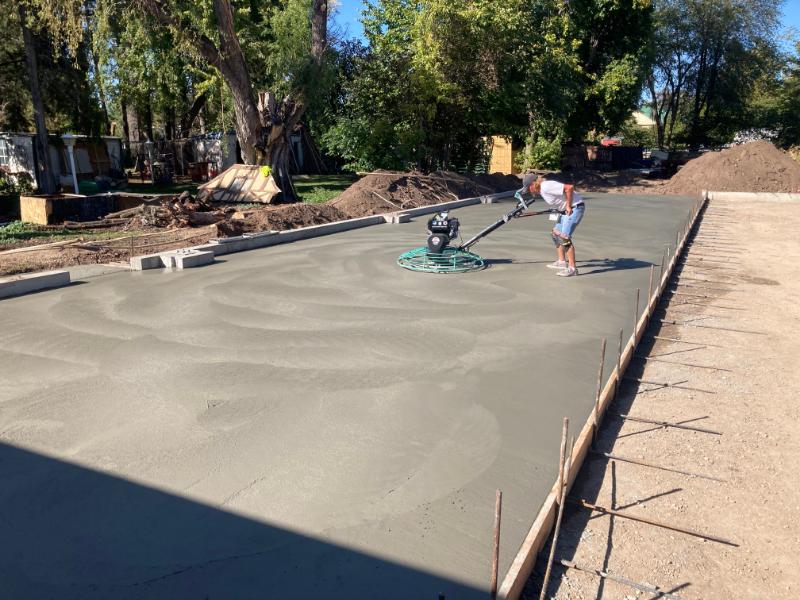
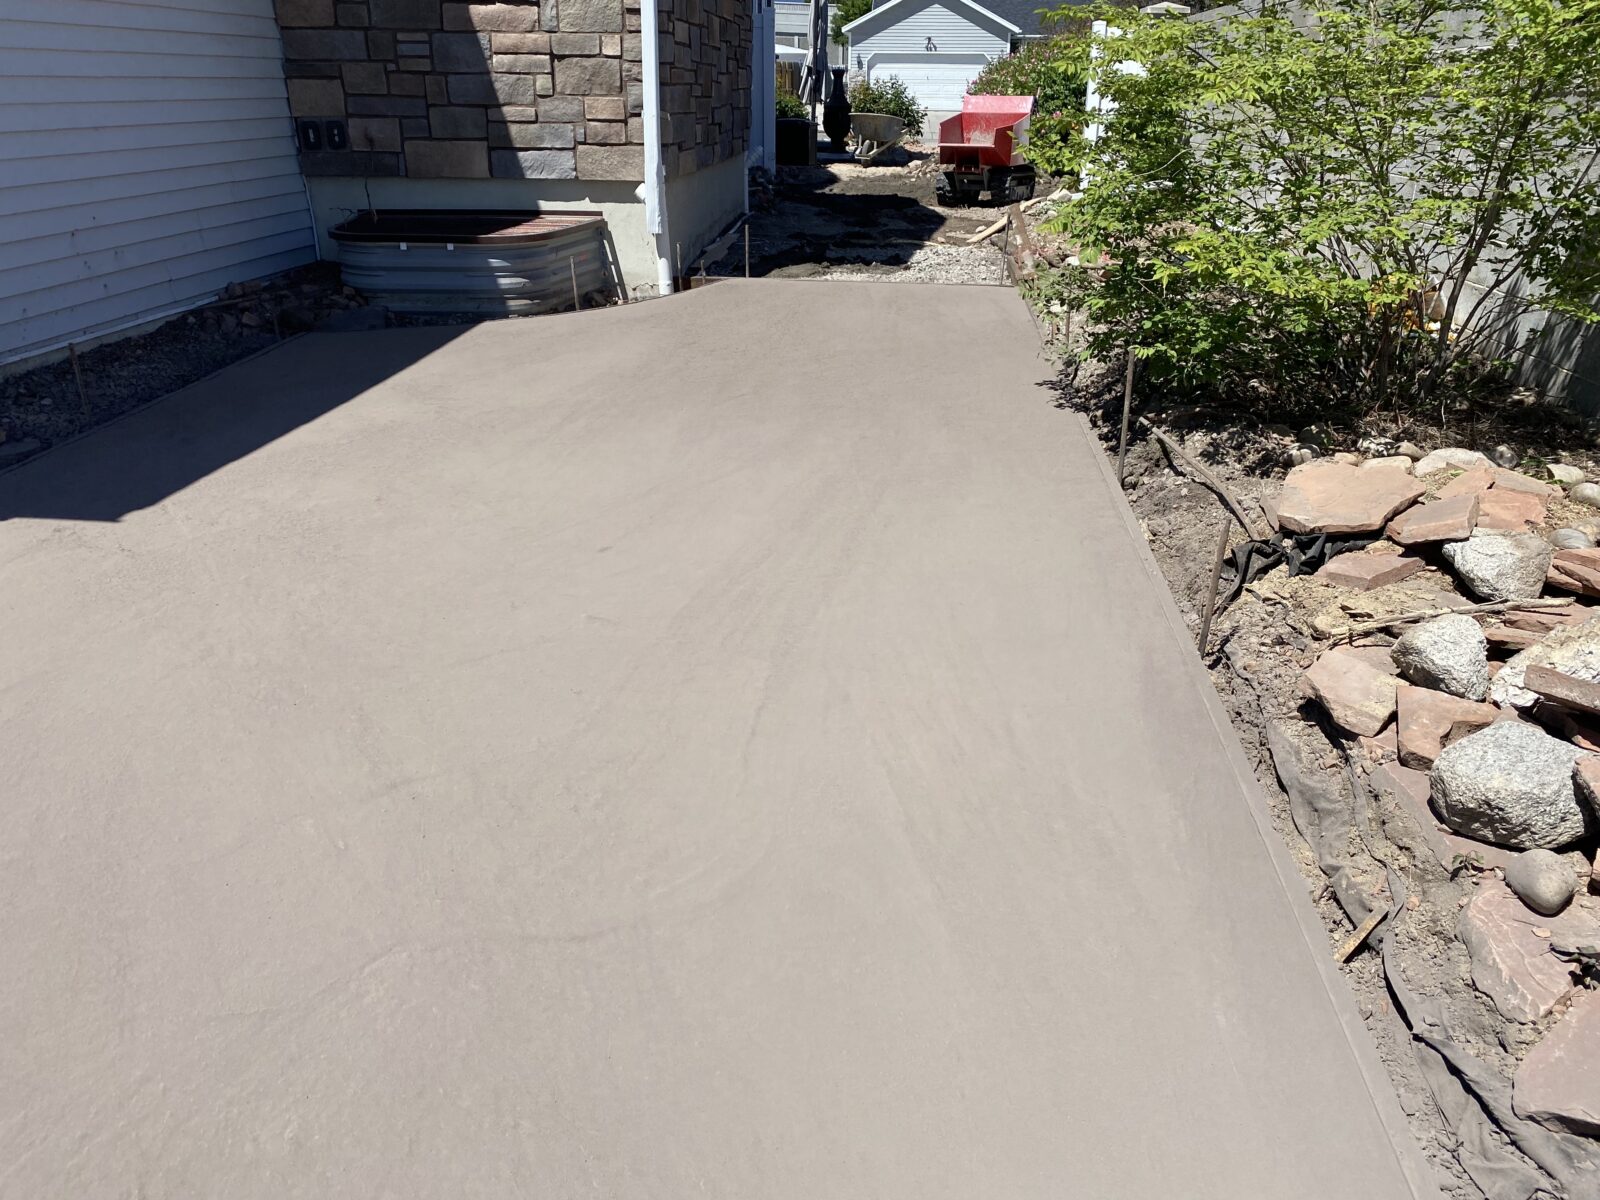
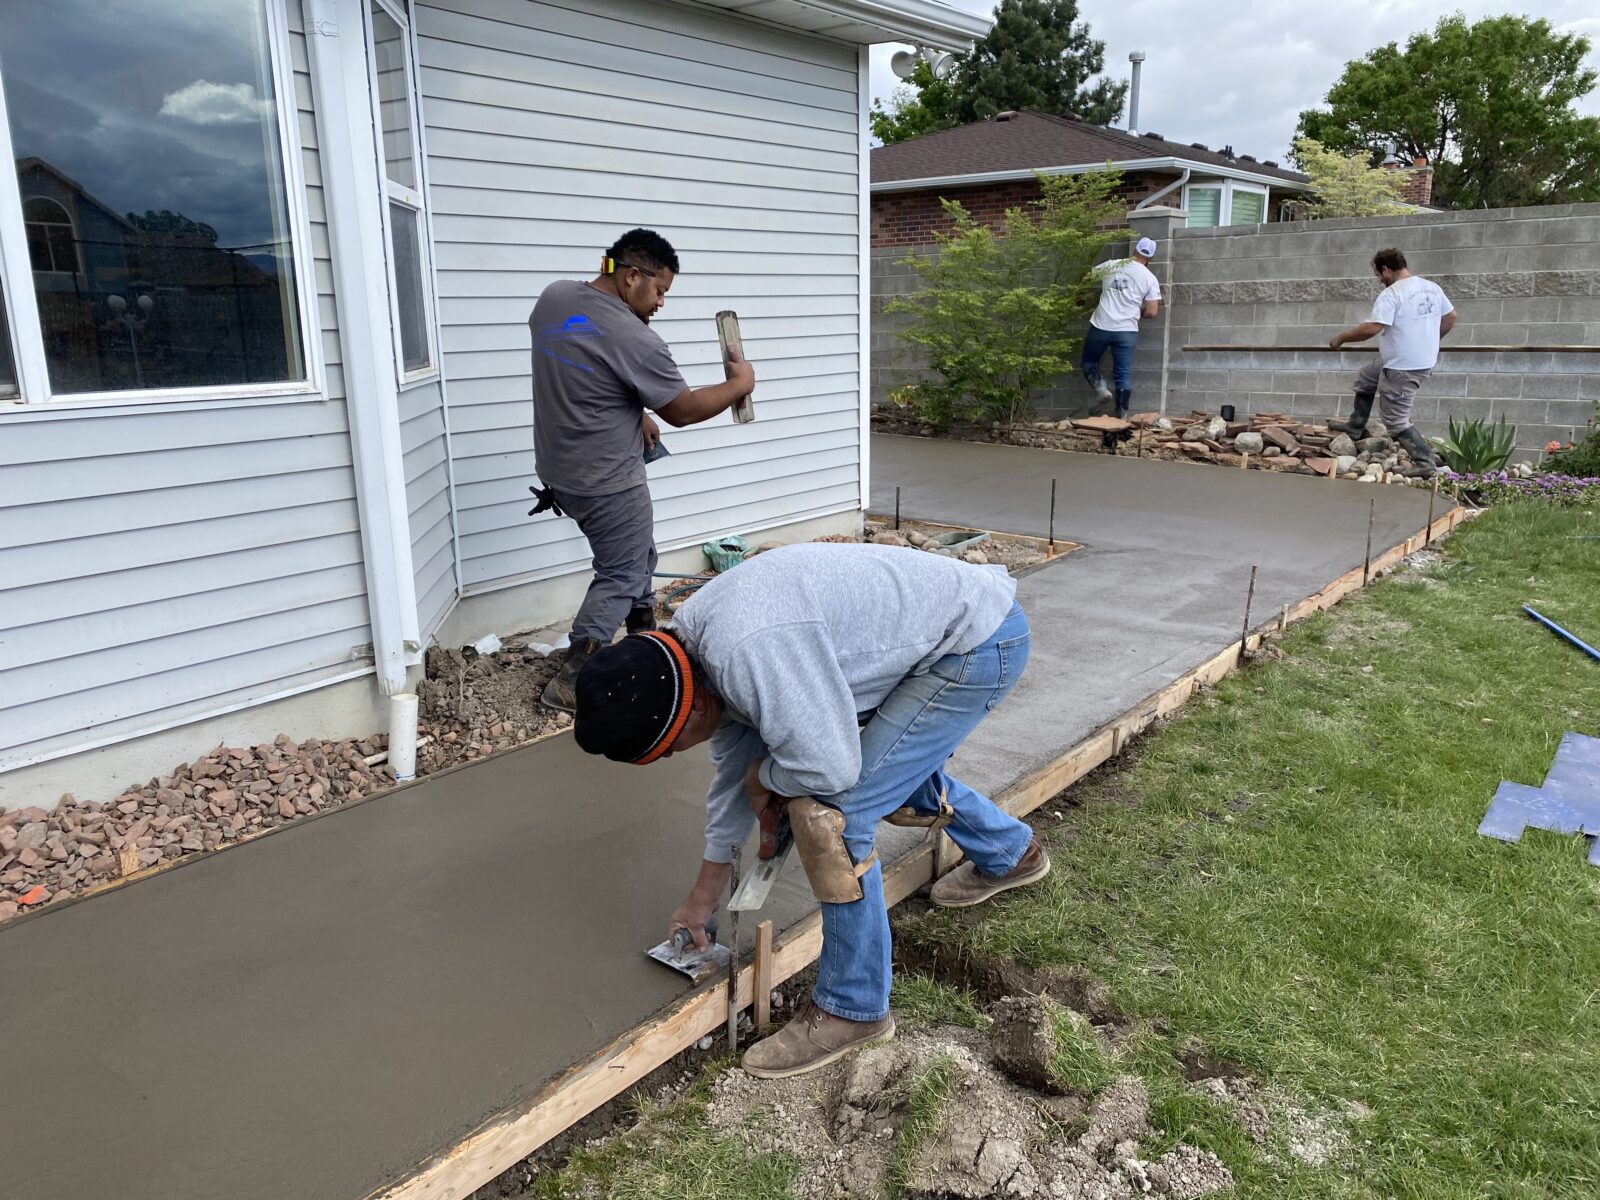
Mixing and Pouring: Mix the concrete to the recommended consistency. Pour the concrete evenly over the heating elements, ensuring it is adequately distributed and free of air pockets. Use tools like screeds and bull floats to level and smooth the surface.
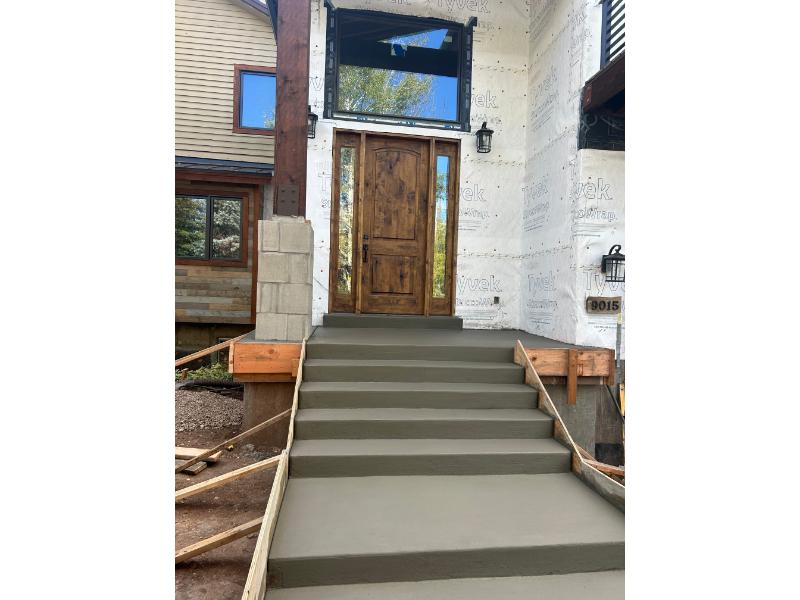
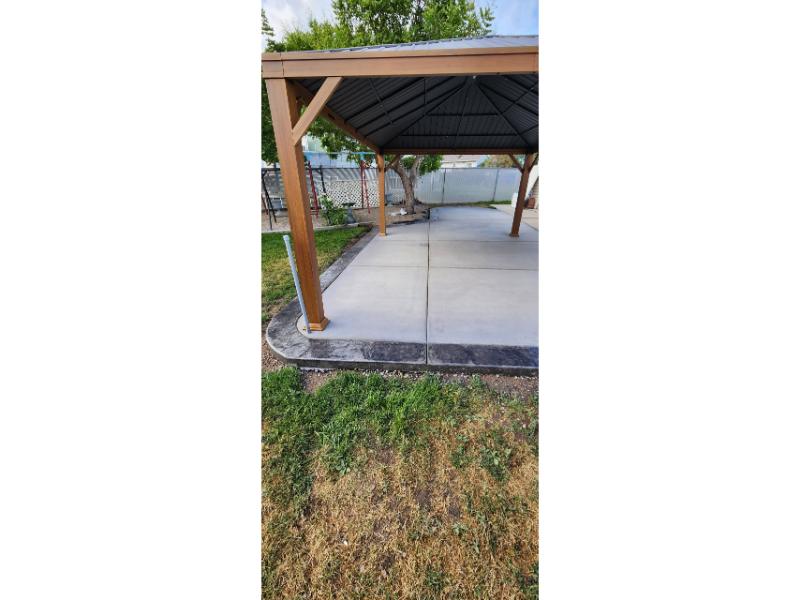
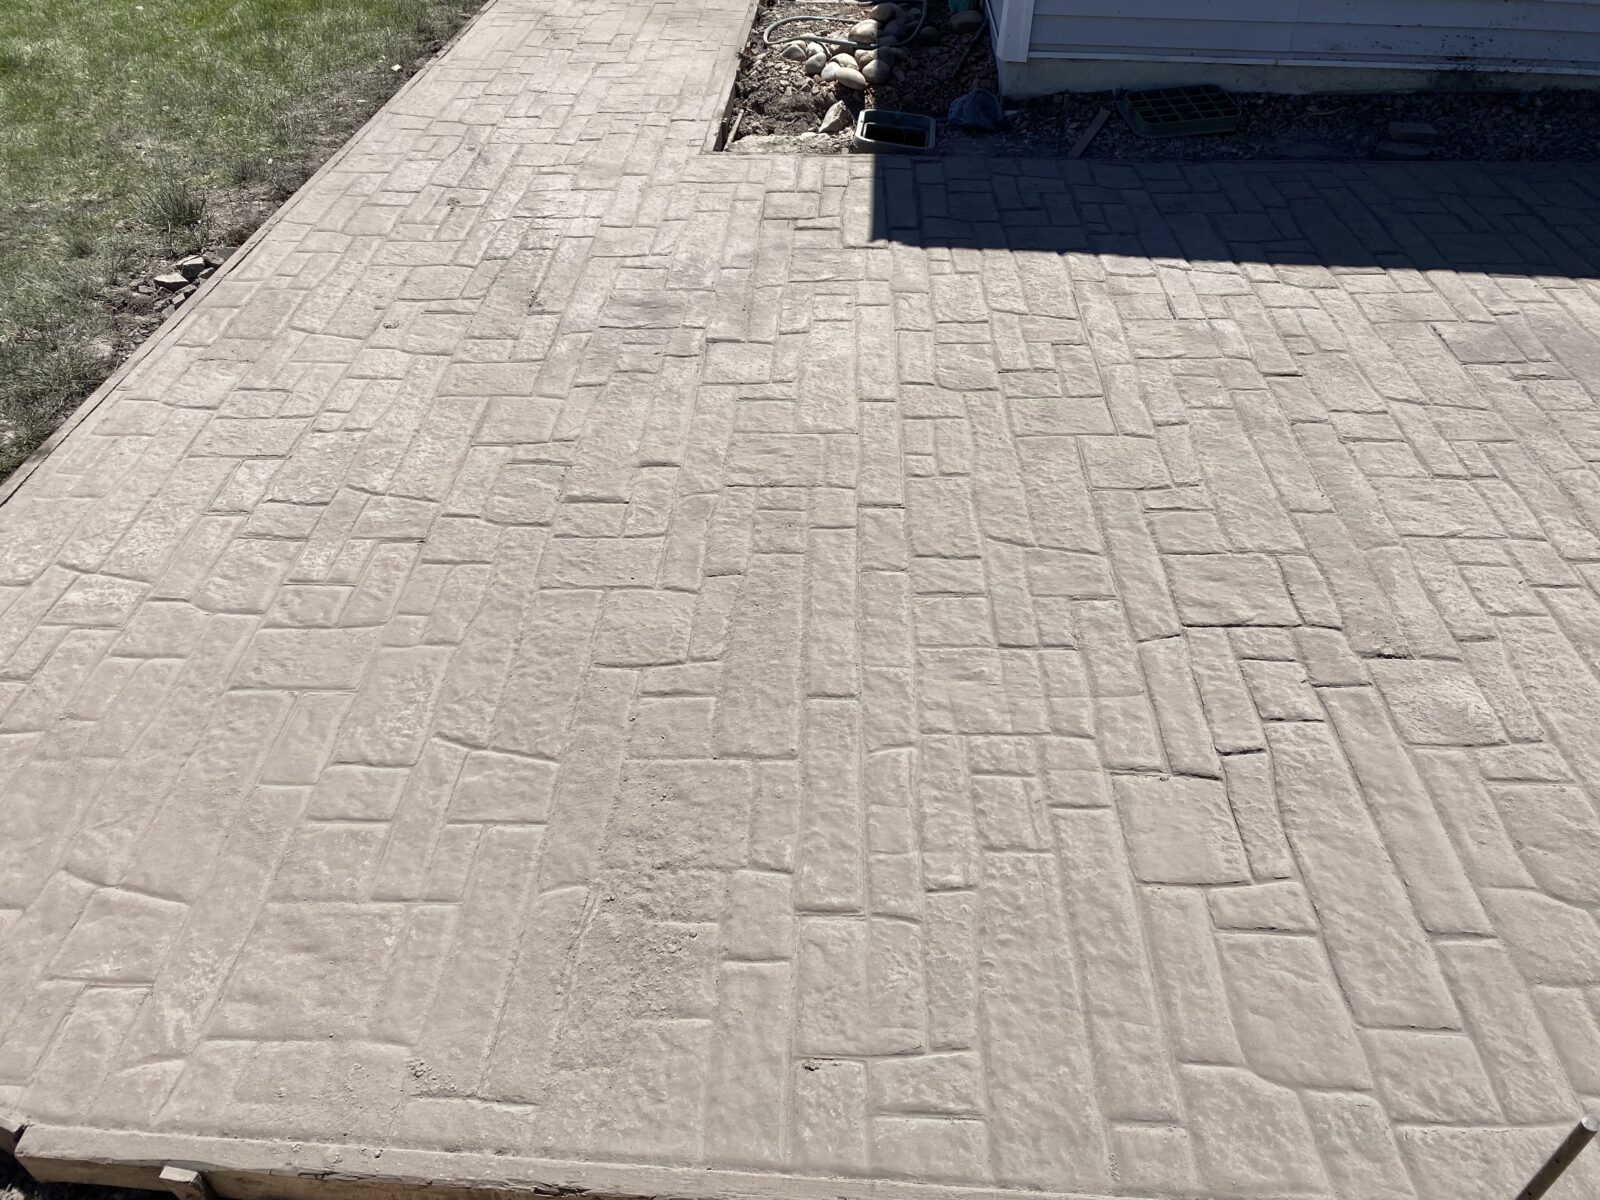
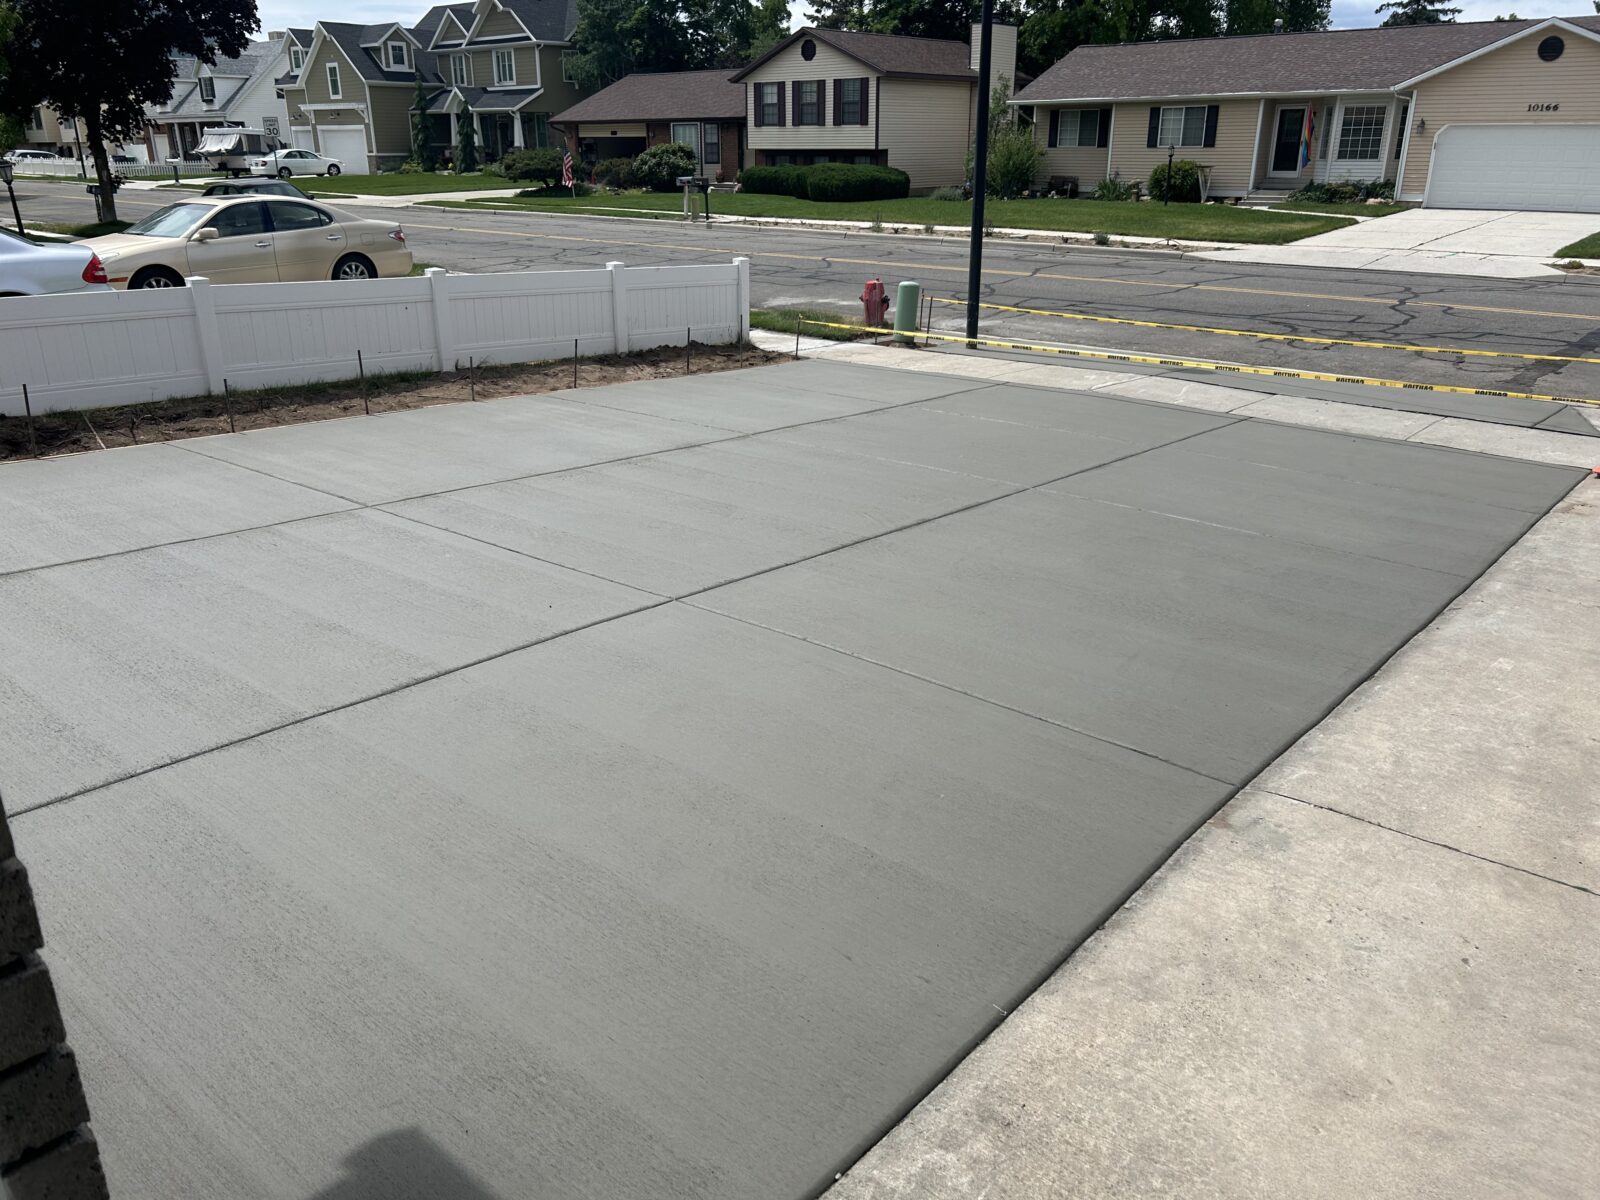
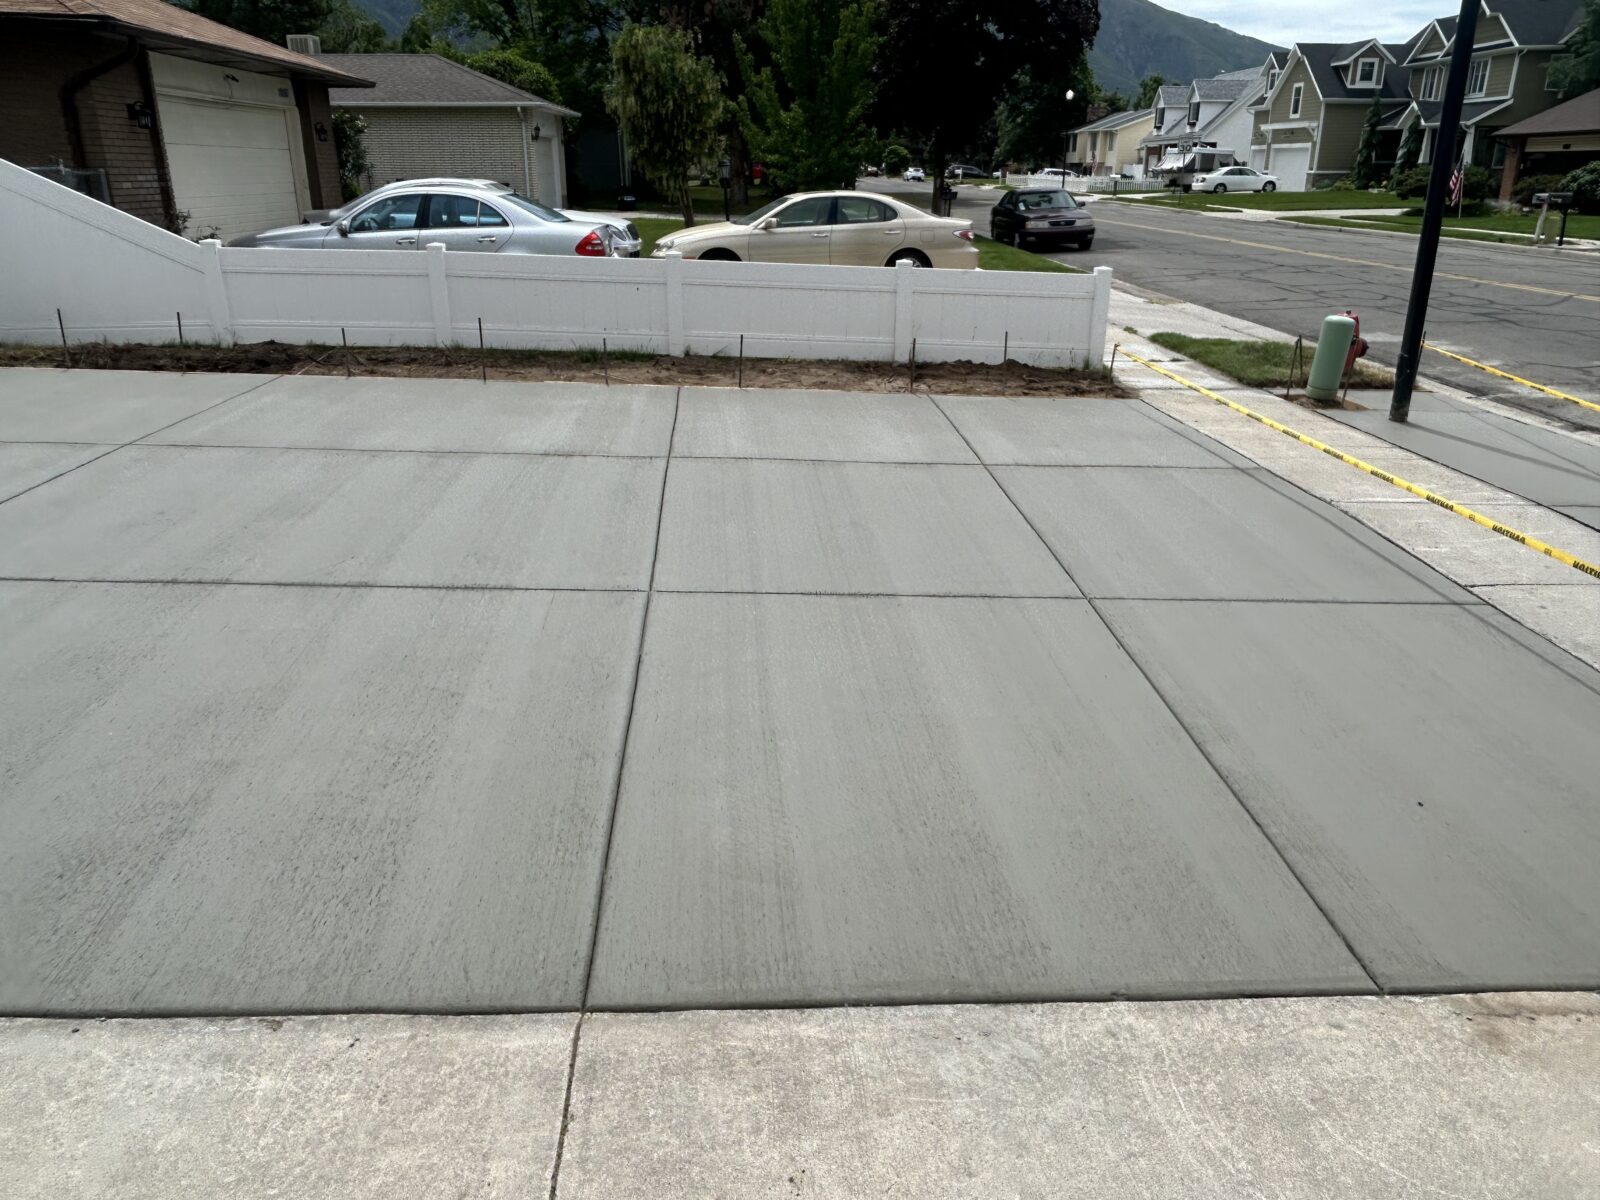
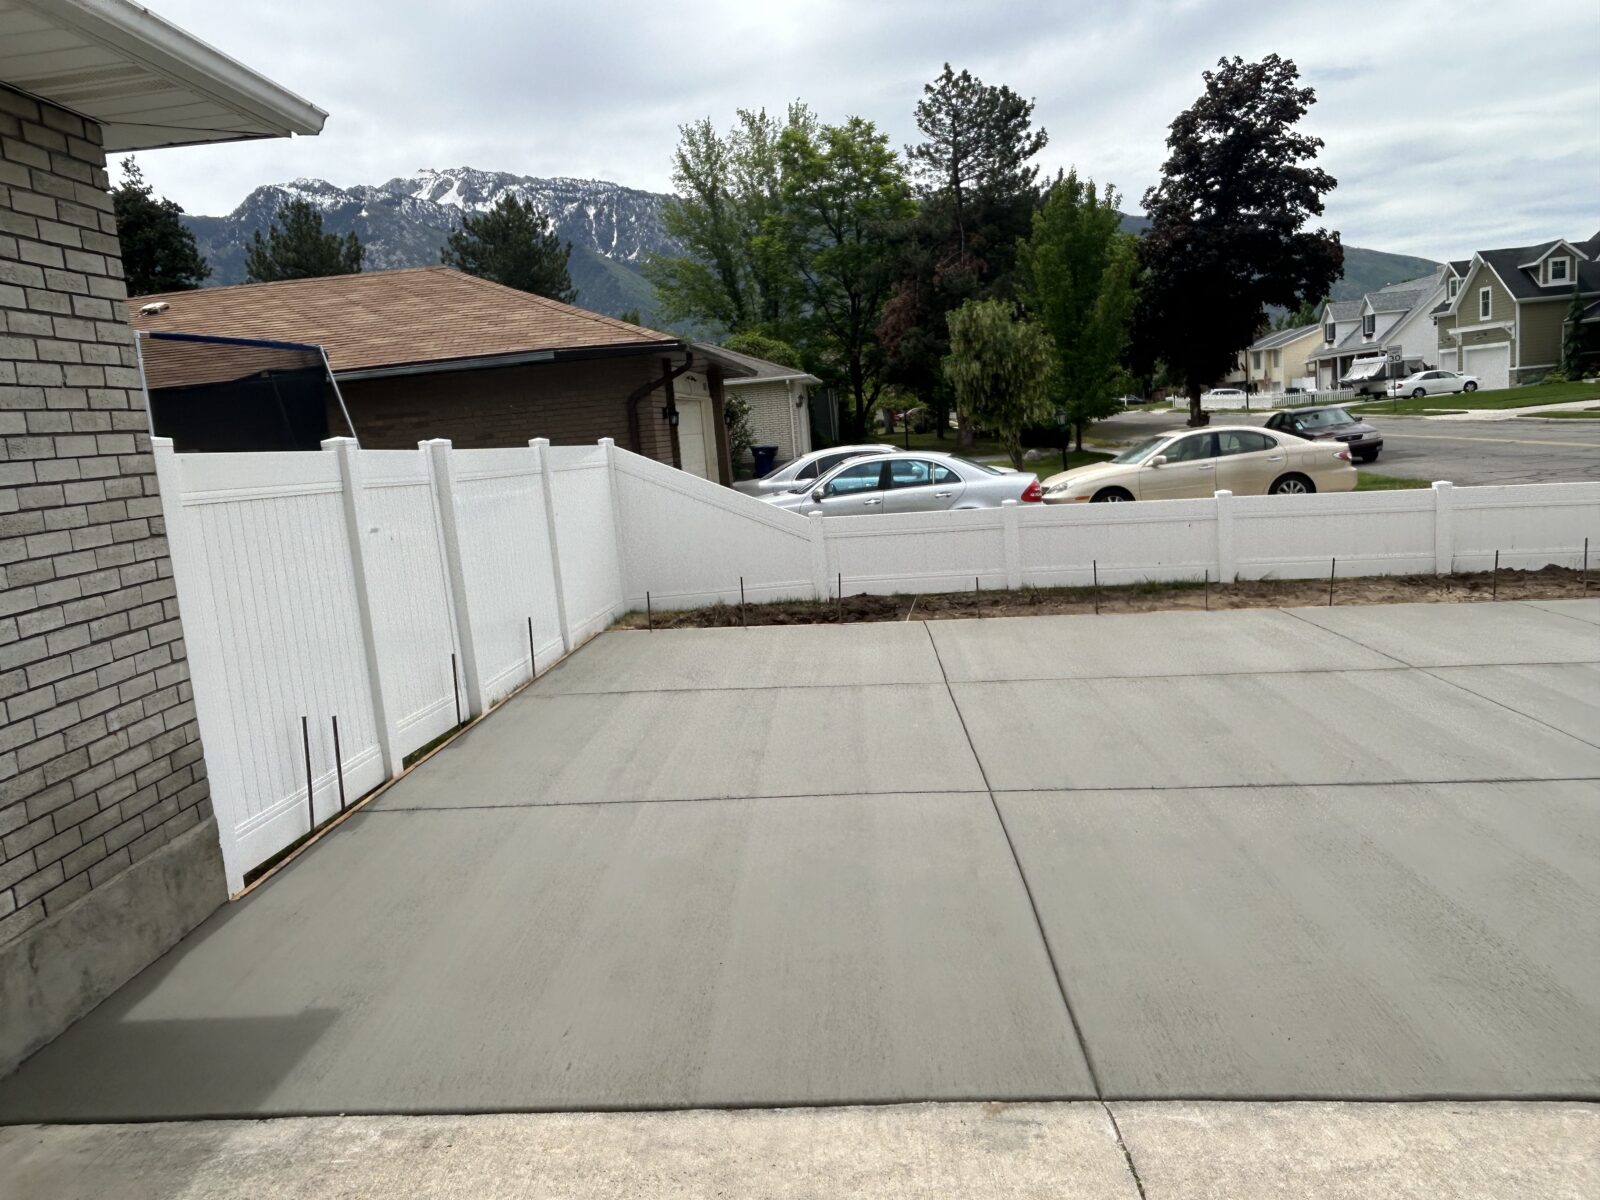
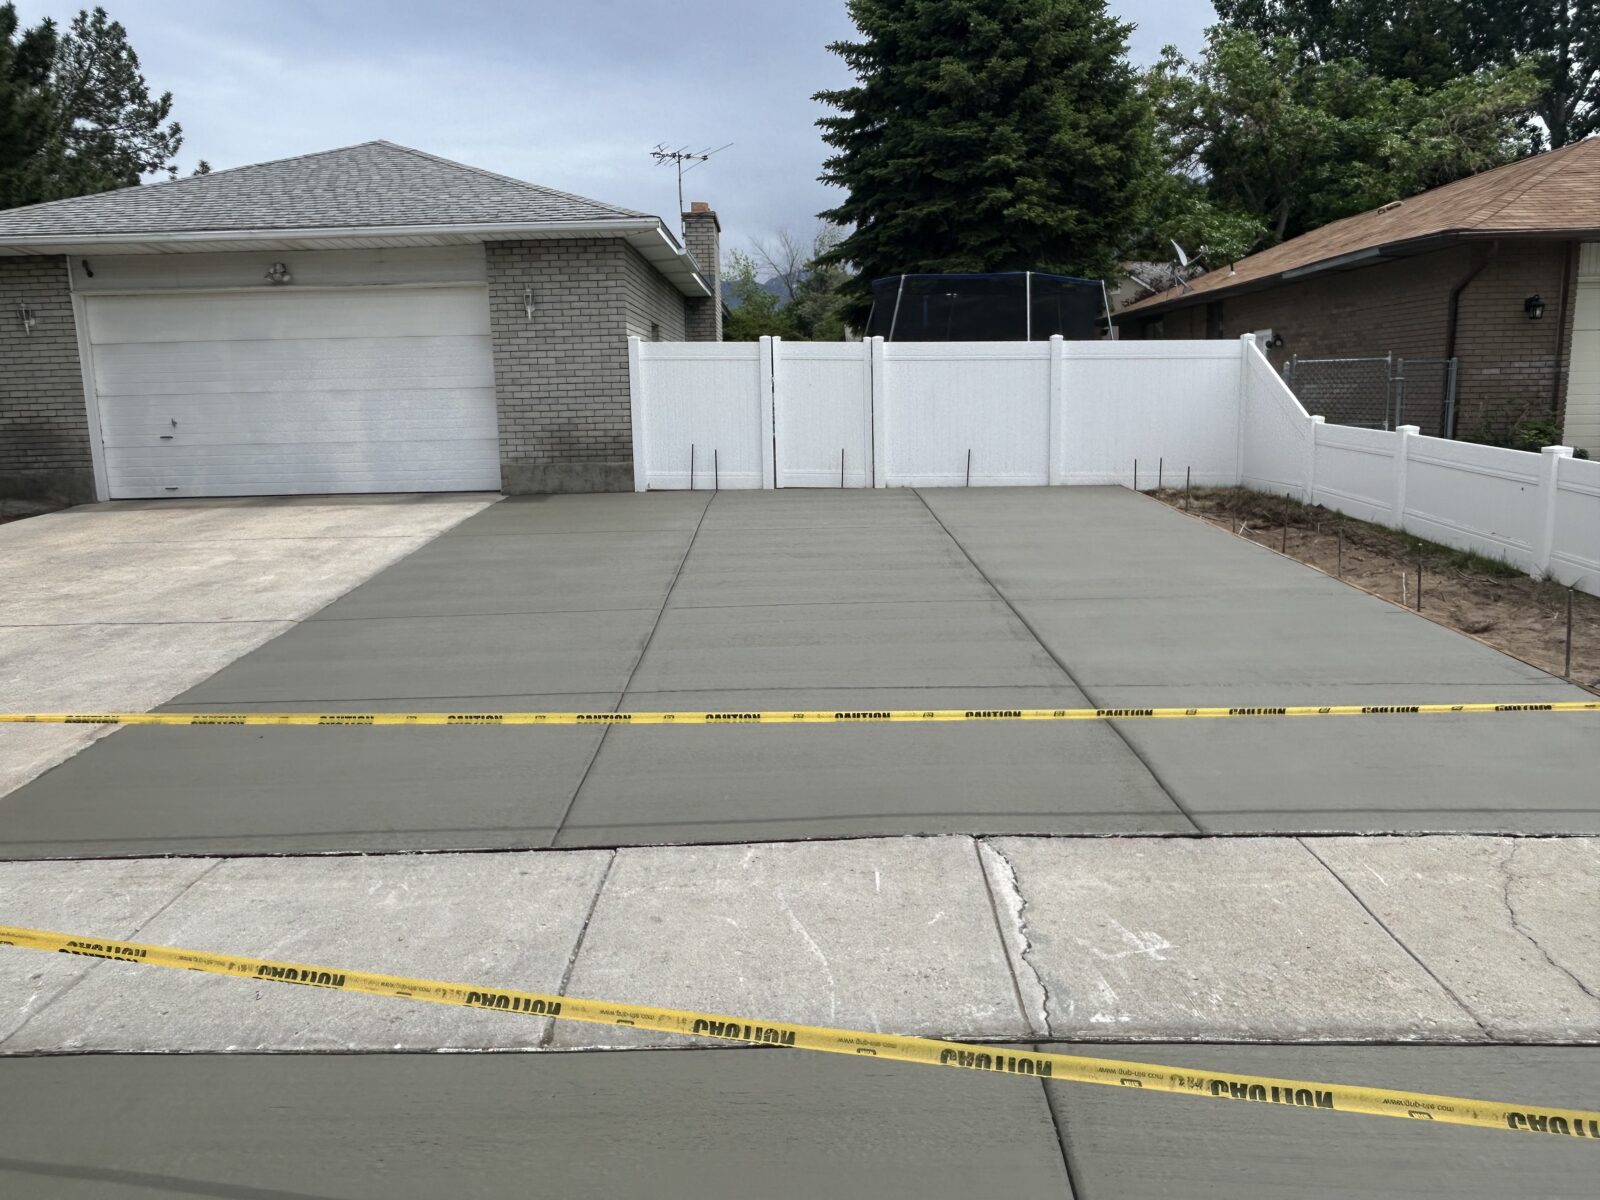
Finishing Touches: Apply the desired finish to the concrete surface. This could be a simple broom finish for better traction or a decorative finish for added aesthetic appeal. Allow the concrete to cure properly, following the recommended curing time and procedures.
Step 5: Testing and Final Adjustments
System Testing: Once the concrete has cured, test the heating system to ensure it functions correctly. Check for any cold spots or malfunctions and address any issues immediately.
Final Inspection: Conduct a thorough inspection of the entire installation. Ensure that the driveway meets the design specifications and quality standards. Make any necessary adjustments or repairs.
Step 6: Educating the Homeowner
Operation and Maintenance: Provide the homeowner with detailed instructions on how to operate and maintain the heated driveway system. Explain the importance of regular maintenance to ensure longevity and optimal performance.
Safety Tips: Offer safety tips and recommendations for using the heated driveway, such as keeping the control unit accessible and scheduling annual system check-ups.

Call Smith Builders to set up a free estimate for your next project now: 801-647-7123.
Installing a heated concrete driveway in Draper, Utah, involves careful planning, precise execution, and thorough testing. By following this step-by-step guide, contractors can ensure a high-quality installation that provides homeowners with a safe and convenient solution for managing winter weather. Heated driveways not only enhance safety and convenience but also add value to the property, making them a worthwhile investment for any homeowner.
Learn more about our Concrete Services or Contact Us for a free estimate on your next project: